
Alright, so the ash tree out back was looking a bit ragged. Branches everywhere, some looked dead, others just growing weirdly. Decided it was time to sort it out.
First thing, got my tools together. Needed the loppers for the medium stuff, a hand saw for anything thicker. Grabbed my gloves too, don’t want splinters. Looked at the tree for a bit, figuring out which branches really had to go.
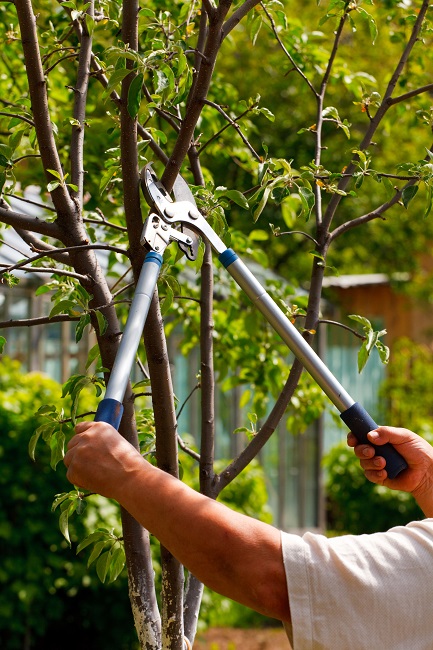
Always check your tools first, make sure they’re sharp. Dull tools make ugly cuts and are dangerous.
Getting Started
Started with the obvious dead wood. Easy enough, just snipped it off close to the main branch or trunk. Found a few branches rubbing against each other – that’s bad, creates wounds. Took one of those out.
Then there were some branches growing straight up, kinda weak looking, and a few pointing back towards the middle of the tree. Chopped those off too. The goal was to open it up a bit, let some light and air in.
For a couple of slightly bigger branches, I didn’t just hack them off at the base. Made a small cut underneath first, then sawed from the top a bit further out. Finally, cut the remaining stub off neatly near the trunk. Heard somewhere that stops the bark tearing off.
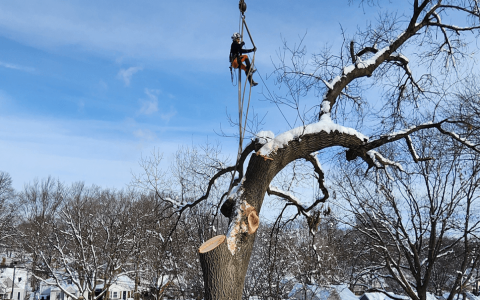
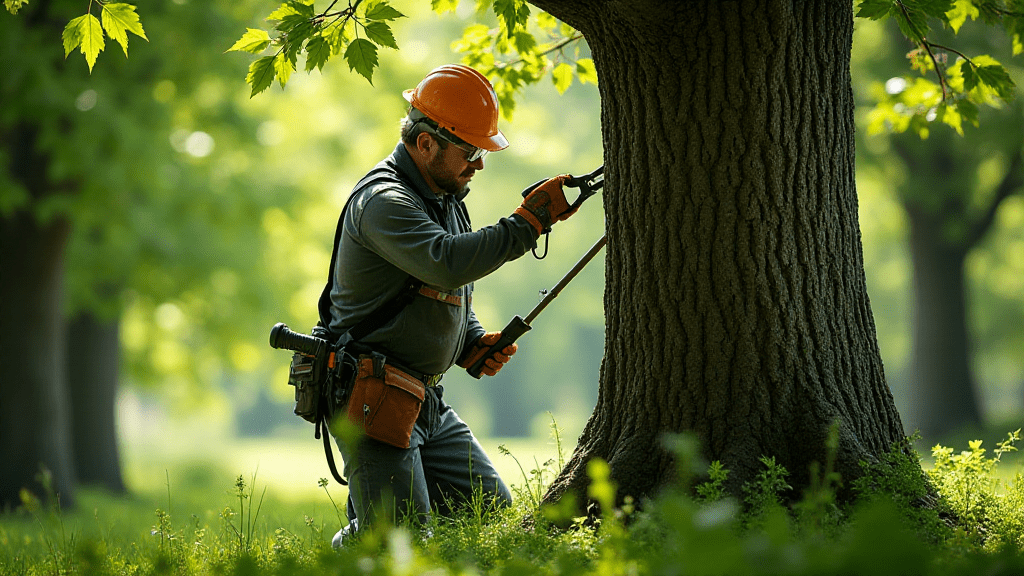
Had to be careful on the ladder for the higher bits. Always keep your balance, don’t overreach. Saw some weird D-shaped holes in the bark on one branch I removed… not sure what that is, maybe bugs? Cut that whole section out just in case.
Safety glasses are a must, by the way. Stuff flies around.
The Aftermath
Ended up with a pretty big pile of branches. Took a while to cut them down into smaller pieces to bundle up. Dragged it all out to the curb.
Stepped back and looked. Yeah, the tree looks much better. Tidier. More like a proper tree shape now. Hopefully, it’ll be healthier this year. It’s a bit of work, but worth doing yourself if you can.
- Got rid of dead stuff.
- Stopped branches rubbing.
- Opened up the canopy.
Feels good to get it done.


