

So, the birch trees in my yard. They’re lovely, but boy, can they get a bit wild if you don’t keep an eye on ’em. Started looking a bit shaggy, some dead bits here and there, and one was starting to lean a bit too friendly-like towards the fence. Figured it was time to get out there and do some serious pruning before things got worse.
Getting Started: Timing is Everything, Folks
Now, with birches, you can’t just go hacking away whenever you feel like it. Timing is absolutely key. I learned this the hard way a long time ago – prune ’em when the sap’s running full tilt in spring, and they’ll just bleed all over the place. Looks awful, and it ain’t great for the tree. So, I always wait for late winter or very early spring. Basically, when the tree is still pretty much asleep, before it really wakes up for the growing season. That’s the sweet spot, in my book.
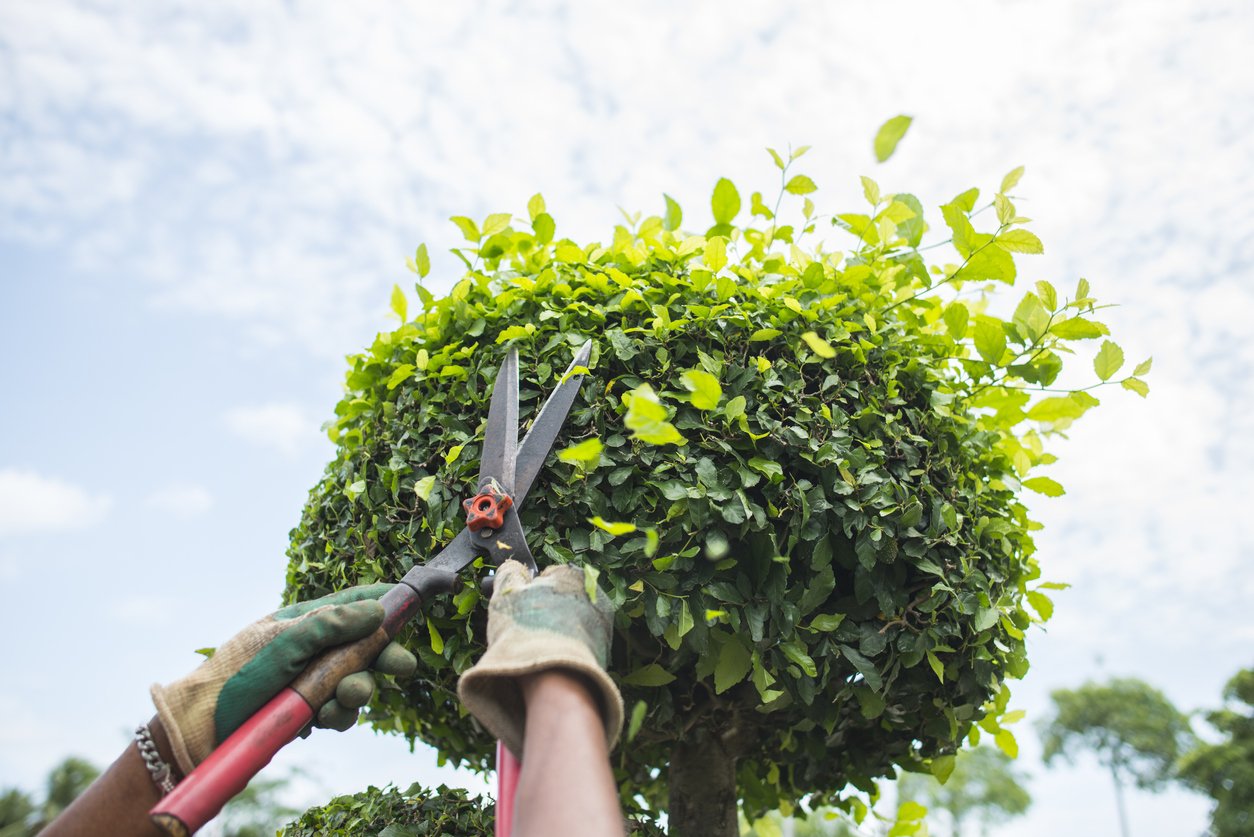
As for tools, nothing too complicated. My trusty loppers for the smaller branches, a good sharp pruning saw for anything thicker, and always, always my gloves and some safety glasses. You don’t want a bit of branch whipping back in your eye. I also give my tools a quick clean before I start; don’t want to be spreading any muck around.
The Pruning Process: Taking a Good Look and Making the Cuts
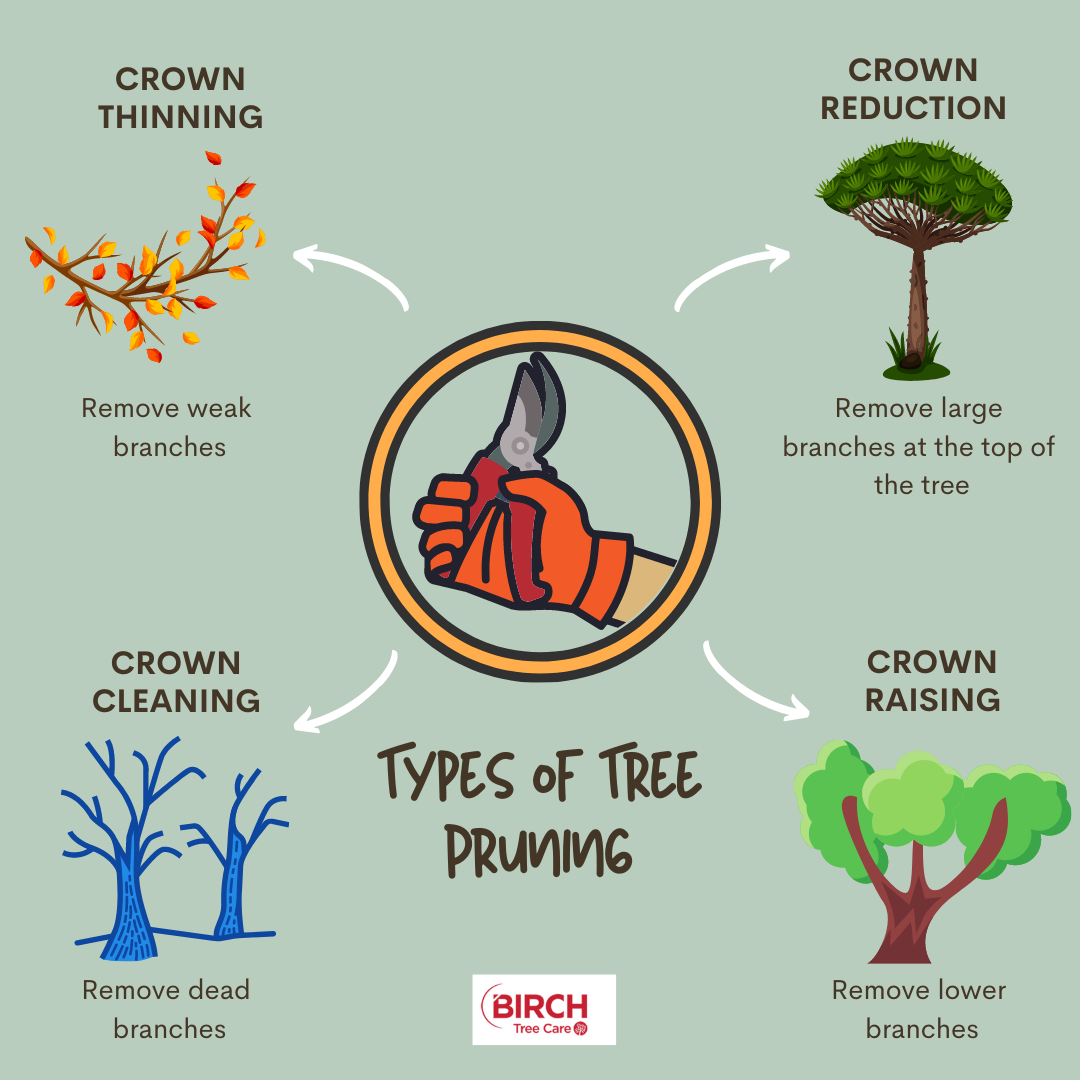
First thing I did was just stand back and take a good, long look at each tree. You gotta have a bit of a plan, or at least an idea of what you’re trying to achieve. I wasn’t looking to reshape them drastically, just a good tidy-up and getting rid of problem bits.
I always start with the DDDs – that’s Dead, Damaged, or Diseased wood. That stuff’s gotta go, no question. It’s ugly and can cause more problems down the line. Snip, snip, saw, saw – it’s satisfying to get that stuff out of there.
Then, I look for branches that are crossing over each other or rubbing. That rubbing creates wounds, and that’s an open invitation for pests and diseases. So, I pick one of the offending branches and take it out. Usually the weaker one, or the one that’s growing in an awkward direction.
With birches, they can get quite dense. So, I also thinned out the canopy a little, just to let more light and air circulate through the branches. You don’t want to go too crazy here. Never take off more than about a quarter of the live crown in one go. That’s a good rule of thumb. Trees get stressed, just like us.
When I’m cutting branches, especially the bigger ones, I always make sure to cut just outside the branch collar – that sort of swollen bit where the branch joins the trunk. Don’t cut flush with the trunk, and don’t leave a long stub. A good cut there helps the tree heal up nice and clean.
And oh, the suckers! Birches love to send up suckers from the base. Annoying things. I got down on my knees and snipped all of those off as close to the ground as I could. It’s a never-ending battle, that one, but you gotta do it.
After the Work: Clean-Up and Final Thoughts
Ended up with a decent pile of branches. Dragged them all to one spot. The smaller twigs will go in the compost or the green bin, and the thicker stuff I’ll chop up for kindling once it’s dried out. Always good to get the cleanup done straight away. Makes the whole yard feel tidier.
Stepped back again to look at my handiwork. Yeah, much better. The trees look lighter, healthier, and you can actually see their shape again. It’s one of those jobs, you know? You might put it off, but once it’s done, you feel a real sense of accomplishment. Now, just gotta wait for spring to see them really perk up. They usually thank you for it with some good, strong growth.


