
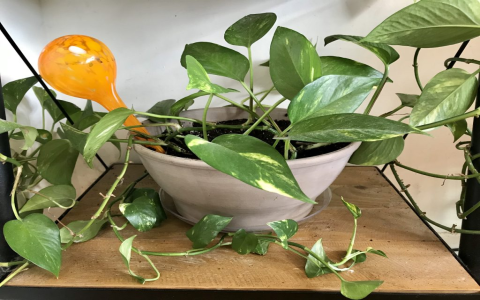
Alright, so let me tell you about this orange watering can I’ve been tinkering with. It’s not one of those fancy new ones, mind you. This one’s got some miles on it, seen a fair few summers in my garden. It’s just a plain, plastic orange watering can, but it’s been a trusty companion for my plants for ages.
The other day, I was out there, probably trying to do too many things at once, and I managed to drop it. Clumsy, I know. The spout just sort of… cracked. Not a huge break, but big enough that water was dribbling out the side more than the end. My little seedlings were looking parched, and this was not helping.
My first instinct, like anyone’s I guess, was “Oh well, just toss it and get a new one.” I even looked online. But honestly, the new ones? They either looked super flimsy or cost way more than I wanted to spend on a simple can. Plus, this old orange one, it just felt right. Had a good balance, you know? Seemed a shame to just bin it.
Getting Down to Business with the Fix
So, I decided I was going to try and fix it. Nothing too complicated, I figured. I had some of that all-purpose super glue in the shed. Thought that would do the trick easy peasy. I cleaned up the crack best I could, dried it off real good, and then squeezed a good line of that glue in there. Held it tight for a few minutes, just like the bottle said. Left it for an hour or so to be sure.
Went back out, filled it up with a bit of water to test… and glug, glug, glug, water started seeping right out of the crack again. Maybe even a bit worse than before! That super glue was absolutely useless for this kind of plastic, I guess. What a waste of time. I was a bit miffed, I tell ya.
But I wasn’t ready to give up on my orange friend just yet. I remembered I had a tube of that heavy-duty, waterproof sealant stuff, the kind you use for plumbing or outdoor bits. Figured that had to be tougher than plain old super glue.
- First, I had to clean off all that flaky, useless super glue. That was a bit of a job, scraping it away without making the crack bigger.
- Then, I made sure the area around the crack was super clean and dry. Roughed it up a tiny bit with some sandpaper, thinking it might help the sealant stick better.
- I carefully squeezed a nice, thick bead of the sealant right over the crack, making sure to push it in a little.
- Then I smoothed it down with a wet finger, trying to make it as neat as possible, though “neat” wasn’t my top priority, just “waterproof.”
- The tube said to let it cure for a good 24 hours. So, more waiting. Patience, right?
The next day, I went to inspect my handiwork. The sealant was dry and felt pretty solid. It wasn’t the prettiest repair job in the world, a bit of a lumpy scar on my orange can, but if it held water, I wouldn’t care.
The moment of truth. I took it over to the tap and slowly started filling it. Watched that crack like a hawk. No drips! Filled it up halfway. Still good. Filled it all the way to the brim. Success! Not a single drop leaked out. That old orange watering can was back in business, good as new, well, almost.
It’s been a few weeks now, and it’s still holding up perfectly. Sure, it’s got a visible repair, but it works. And honestly, there’s something satisfying about fixing something yourself, even if it’s just an old watering can. Kept it out of the landfill, saved me a few quid. Sometimes these little fixes are the most rewarding. It just works, and I made it work. That’s the main thing.


