

Okay, so, I finally got around to building that plant growing stand I’ve been meaning to do forever. Let me tell you, it was a journey!
First off, I started by sketching out a super rough design. I knew I wanted something tall enough to hold a few shelves, and wide enough to fit a decent number of plants. Nothing fancy, just functional. Grabbed a pencil and some paper, and scribbled a bunch of lines until it looked vaguely like what I had in my head.
Next up was the lumber. Headed to the local hardware store – you know, the one with the slightly grumpy guys behind the counter? – and picked up some pine boards. Decided on pine ’cause it’s cheap and easy to work with. Got a couple of 2x4s for the frame and some thinner boards for the shelves themselves. Had them cut the big pieces down to manageable sizes right there in the store, which saved me a ton of hassle.
Back home, the real fun began! I started by building the frame. Basically, I just measured and cut the 2x4s according to my sketch (which, let’s be honest, was more of a guideline than a precise blueprint). Used a handsaw for most of it ’cause I like the control, but broke out the power saw for a few of the longer cuts. Nailed the frame together. It wasn’t perfectly square, but hey, nobody’s perfect, right?
Then came the shelves. Measured and cut the thinner boards to fit inside the frame. This was the trickiest part, getting everything lined up and even. I used a level to make sure the shelves were straight –ish. Nailed those bad boys in too. The whole thing was starting to look like an actual plant stand!
Now, the wood was looking a bit rough, so I spent an afternoon sanding everything down. Started with a coarse grit sandpaper to get rid of the splinters and then moved to a finer grit for a smoother finish. My arms were killing me by the end of it, but it was worth it.
After sanding, I stained the whole thing with a dark walnut finish. Wanted something that would complement the green of the plants. Applied two coats, letting it dry completely between each coat. The stain really brought out the grain of the wood and made it look way more professional than it actually was.
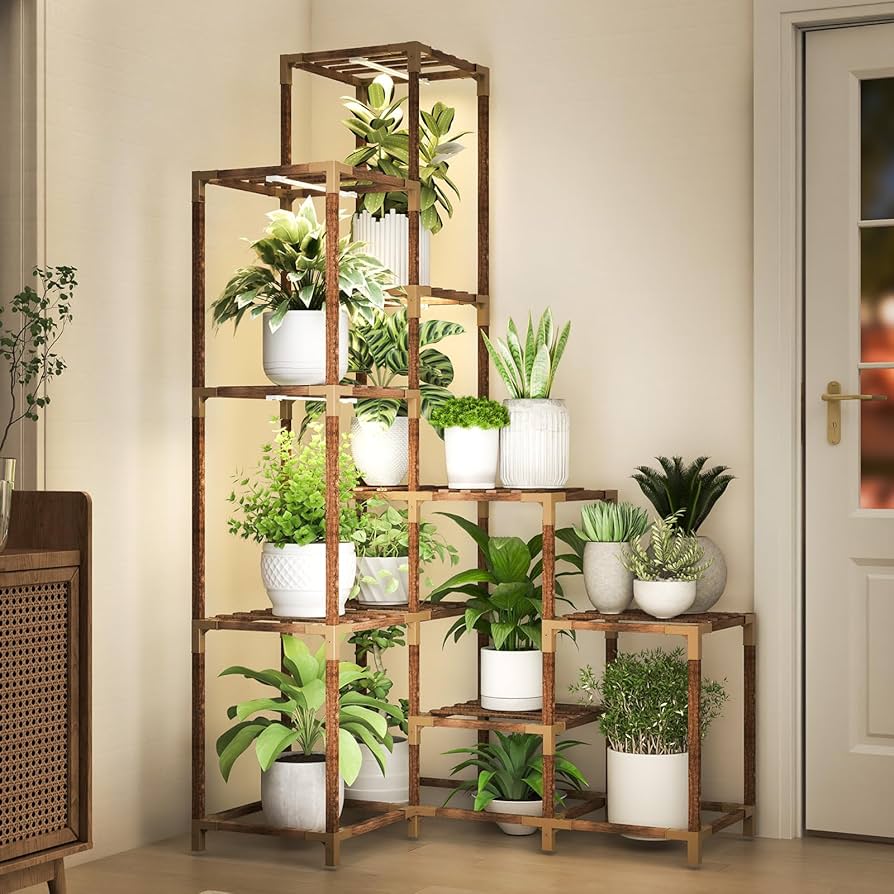
Finally, the best part: loading it up with plants! Arranged all my little green buddies on the shelves, making sure they had enough space and light. Stepped back to admire my handiwork. It wasn’t perfect, but it was mine, and it looked awesome!
Honestly, the whole project took longer than I expected, and there were definitely a few moments where I thought I’d messed it up beyond repair. But in the end, I’m super happy with how it turned out. Plus, now my plants have a nice, organized home. Maybe next time I’ll try something a bit more ambitious… but for now, I’m just going to enjoy the view.


