
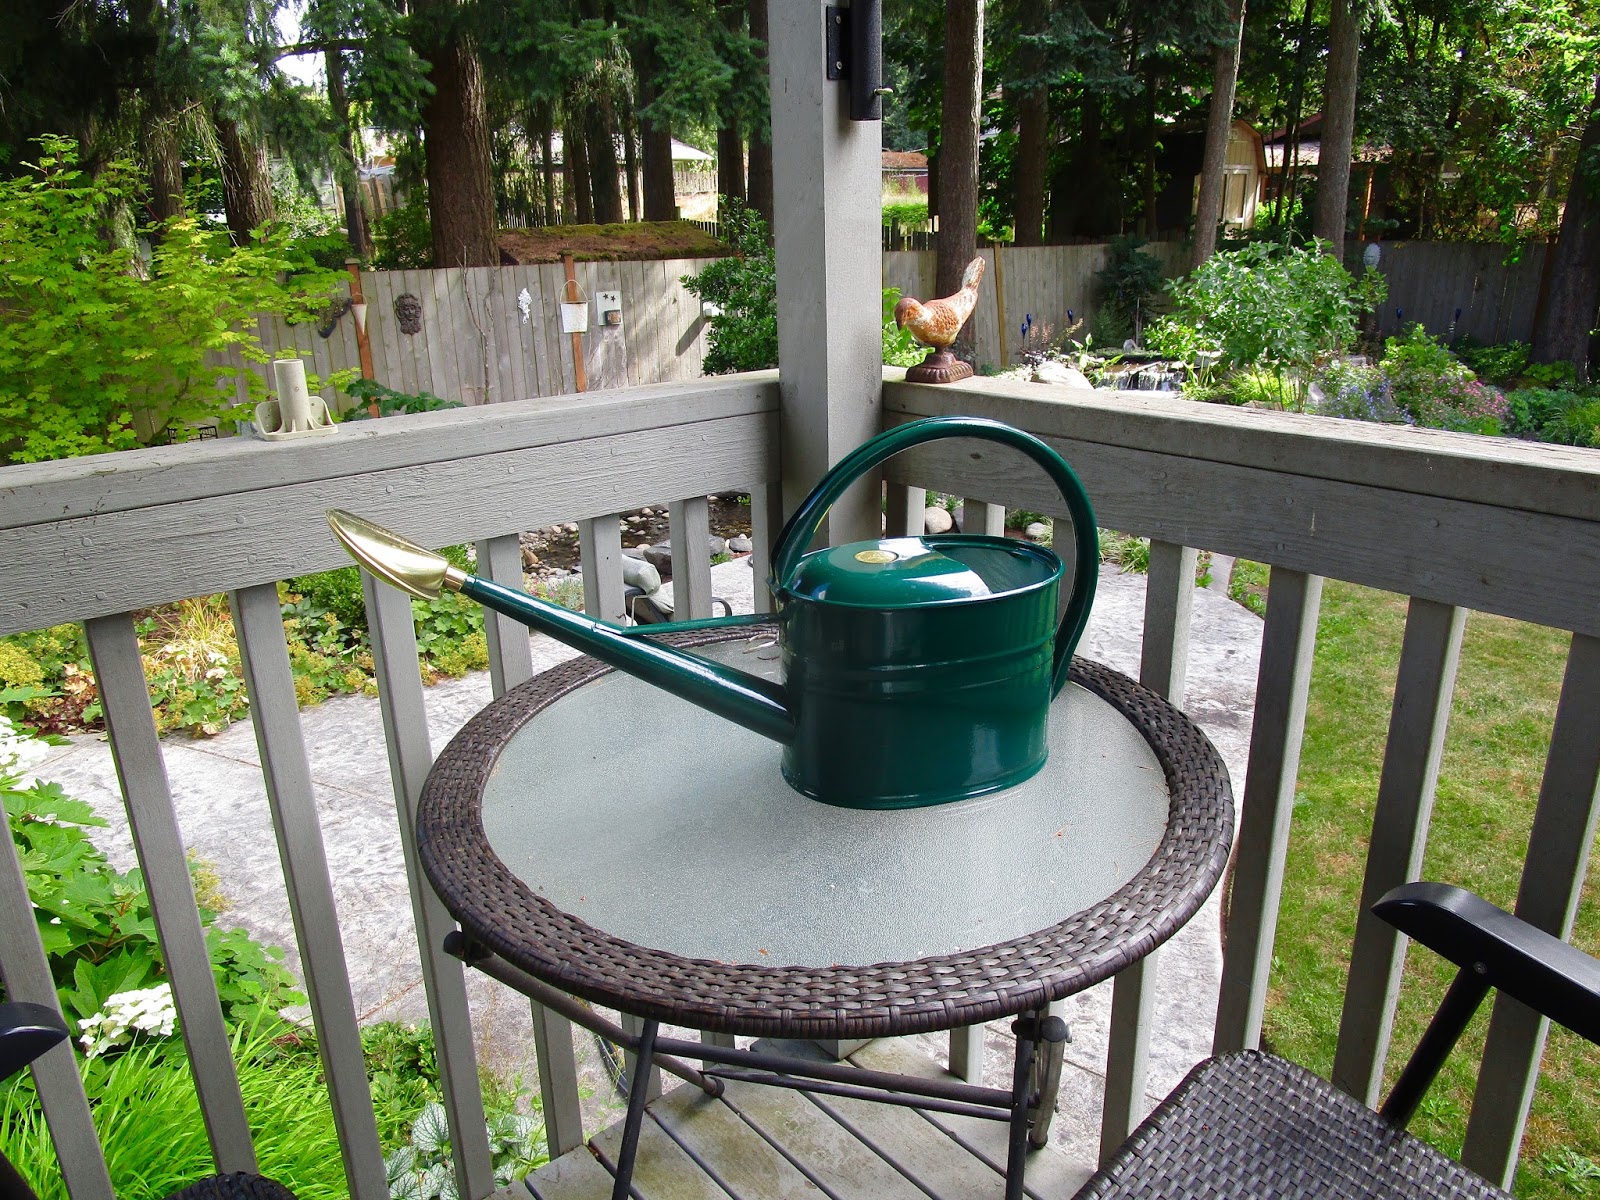
Alright, let me tell you about my little watering can project. Saw this cool “monty don watering can” thing online and thought, “Hey, I can do that!” Turns out, it wasn’t quite as simple as I imagined, but that’s half the fun, right?
First thing I did was scrounge around in the garage. I needed a can, obviously. Found this old metal one I was gonna toss, perfect size. Then, I gathered up some copper pipe scraps I had lying around from a plumbing job last year. Figured copper would look fancy.
Next up was the handle. This was tricky. I tried bending the pipe by hand at first, but no dice. Kinked it all up. So, I dug out my pipe bender – a little tool I hadn’t used in ages. That helped get a nice curve going. Spent a good hour or so just fiddling with the shape, trying to get it comfortable for my hand.
Now, attaching the handle. This is where the real “fun” began. I tried soldering it directly to the can. Burned a hole right through the metal! Oops. Learned my lesson. Grabbed some metal epoxy instead. Cleaned the surfaces, slathered on the epoxy, and clamped the handle in place. Let it cure overnight. That seemed to do the trick – nice and sturdy.
The spout was next. I cut a piece of copper pipe at an angle to get that classic watering can look. Filed down the edges to make them smooth. Then, same deal as the handle – epoxy to attach it to the can. Made sure it was angled downwards properly so the water would actually come out!
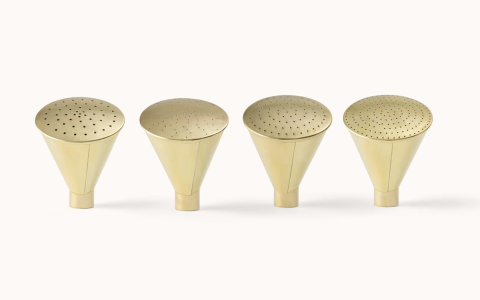
Finally, the rose (that sprinkler head thingy). I didn’t have a proper rose, so I improvised. Took a plastic bottle cap and drilled a bunch of tiny holes in it. Not the prettiest, but it works! Stuck it onto the end of the spout with – you guessed it – more epoxy.
Gave the whole thing a coat of sealant to prevent rust, especially on the can. And there you have it! My very own, slightly janky, “monty don watering can.” It’s not perfect, but it works, and it was a fun little project. Plus, it looks kinda cool sitting on the porch.
- Materials: Old metal can, copper pipe scraps, metal epoxy, plastic bottle cap
- Tools: Pipe bender, soldering iron (failed attempt), file, drill, clamps
- Time: About a weekend (mostly waiting for epoxy to dry)
Lessons Learned:
- Soldering thin metal is tricky – stick to epoxy!
- Measure twice, cut once (obviously).
- Don’t be afraid to improvise!


