
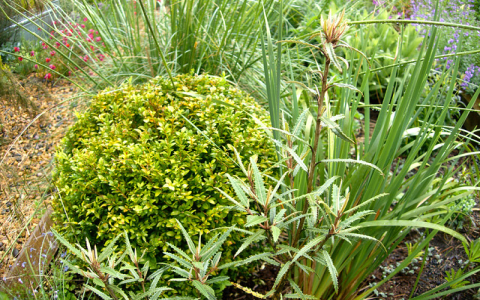
Okay, so yesterday I finally got around to tackling those overgrown bromeliads in my garden. They were starting to look a bit wild, taking over the space and, honestly, just not as vibrant as they used to be. Time for some pruning!
Getting Started
First, I gathered my tools. I’m no expert, so I kept it simple:
- Gardening gloves (those leaves can be sharp!)
- Sharp, clean pruning shears (important to make clean cuts)
- A small bucket for the cuttings
The Pruning Process
I started by inspecting each plant. I was mostly looking for brown or yellowing leaves, anything that looked dead or damaged. Those were the first to go. I made sure to cut them off as close to the base of the plant as possible, without damaging any healthy parts.
Next, I looked for any pups (baby bromeliads) that were big enough to be separated. These guys were crowding the mother plant, so I carefully removed some of them. I’ll pot those up separately later – free plants!
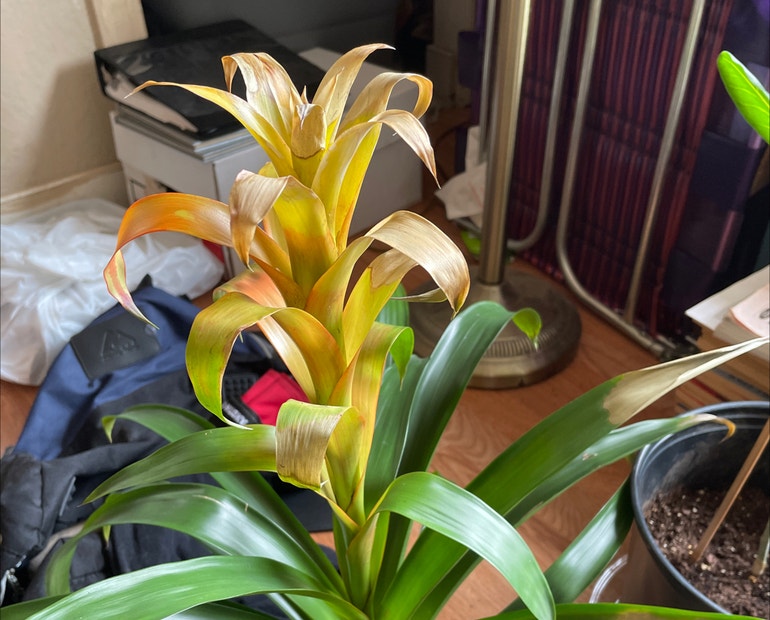
Some of the bromeliads had already flowered and the flower stalk was looking pretty sad. I snipped those off at the base too. It’s a bit of a bummer to cut off the flower, but it helps the plant focus its energy on new growth.
After flower stalk was gone, I use my shears to cut off every dead thing from my bromeliads, then, I inspect my bromeliads, checked out it carefully.
The Results
It took a little while, but the difference is amazing! The bromeliads look so much neater and healthier. They have more space to breathe and grow, and I think they look a lot more attractive in the garden now. Plus, I have a bunch of pups to propagate, which is always exciting!
Honestly, it wasn’t a difficult job at all. Just a bit of time and the right tools, and my bromeliads are looking great again. I’ll definitely be keeping a closer eye on them from now on, so they don’t get so overgrown again!


