
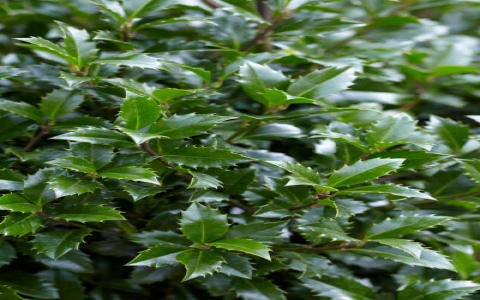
Okay, let’s talk about trimming that Ilex crenata I have. It was getting a bit wild, looking less like a nice shrub and more like it was having a bad hair day. So, time to sort it out.
Getting Started
First thing I did was grab my trusty hand shears. Gave them a quick wipe, made sure they were sharp enough. Nothing worse than ragged cuts, bad for the plant. Also pulled on some garden gloves, those holly leaves can be surprisingly prickly even on this crenata type.
Then I just stood back for a minute, really looked at the bush. You gotta see what shape you’re aiming for, you know? Mine’s supposed to be a sort of loose globe shape, but it had all these long shoots sticking out everywhere. Plus, some branches inside looked a bit crowded.
The Actual Snipping
Alright, shears in hand, I got stuck in. I always start with the easy stuff:
- Dead branches: Found a few little twiggy bits that were brown and dry. Snip, snip, gone. Easy.
- Damaged bits: Looked for anything broken or rubbing against another branch weirdly. Took those out too. Gotta keep it healthy.
- Weird growth: Any branches growing straight up too fast or heading back into the middle of the plant? Cut those back or took them right out at the base if they were cluttering things up.
Once the obvious junk was cleared, I started on the shaping. I stepped back again, squinted a bit, and pictured that rounded shape I wanted. Then I just started trimming the long, stray stems that were ruining the outline. I tried to cut just above a leaf node, pointing outwards where I could. Didn’t want to just shear it flat like a hedge, wanted it to look natural, just tidier.
I worked my way around the whole thing, taking off a bit here and there. It’s better to take off less first, you can always cut more, but you can’t stick it back on! I kept stepping back to check the overall shape from different angles. Made sure to thin out some of the dense spots inside too, just snipping out a few smaller branches deep inside so air and light could get in better.
Finishing Up
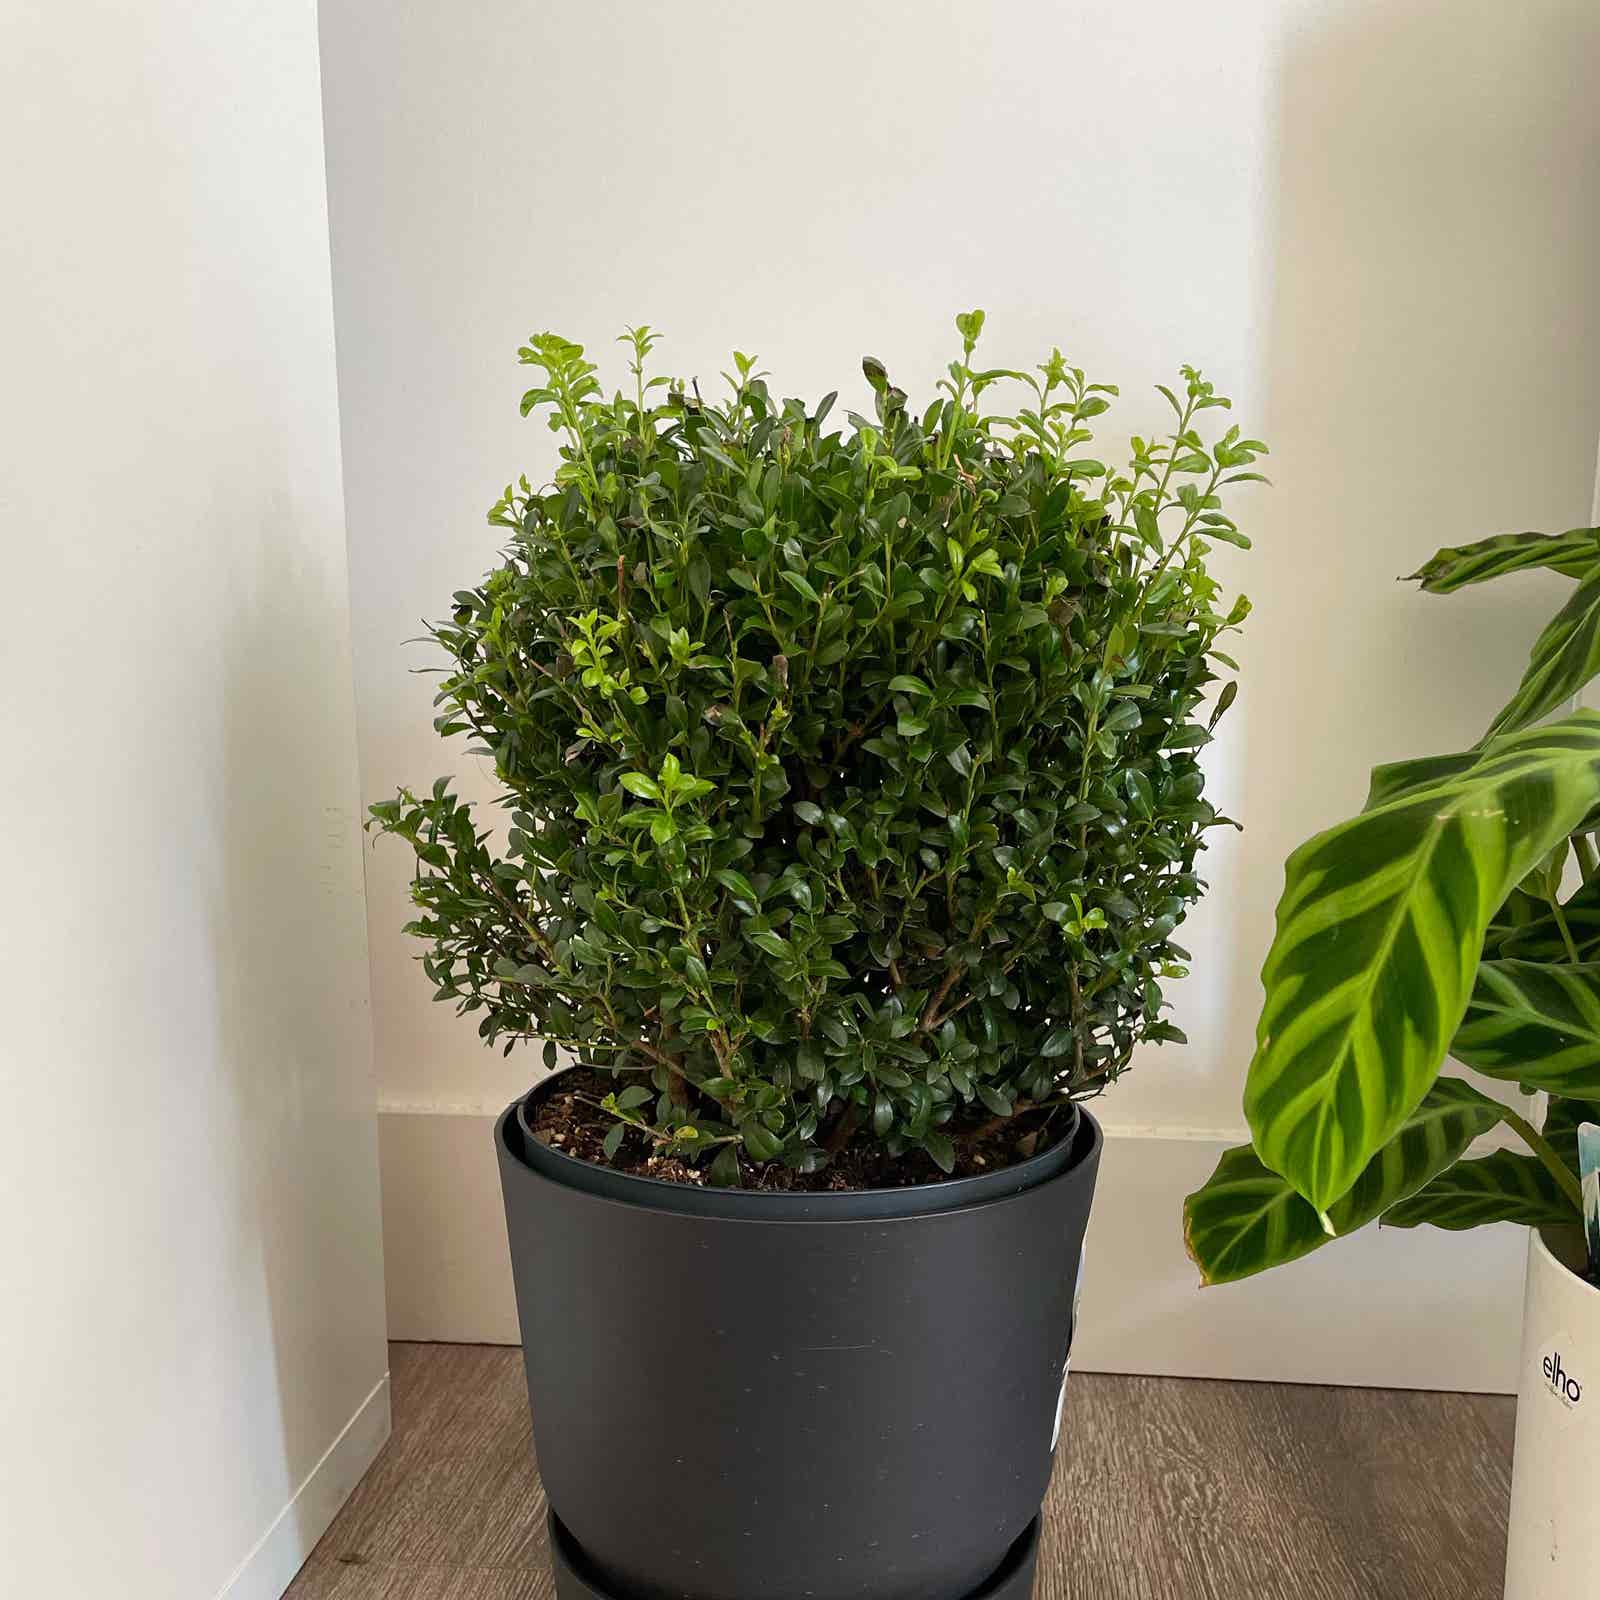
After maybe half an hour of snipping and checking, it looked much better. Not perfect, but definitely neater and back to a decent shape. The last step was just gathering up all the clippings I’d dropped on the ground. Raked them up into a pile and got rid of them.
Job done. Gave the plant a good look over one last time. Looks much happier now, and hopefully, it’ll fill out nicely over the next few weeks. Always feels good to get these little garden jobs ticked off the list.


