
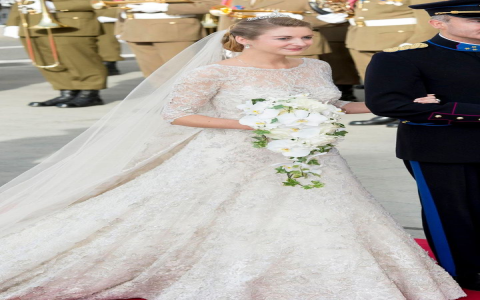
So, you know how sometimes you see something, and it just sort of sticks with you? That was me with royal wedding bouquets. I’d seen a few, especially the British ones, and I just got this idea in my head: “I wonder if I could make something that feels like that?” Not a perfect copy, mind you, but just capture that elegant, timeless kind of look.
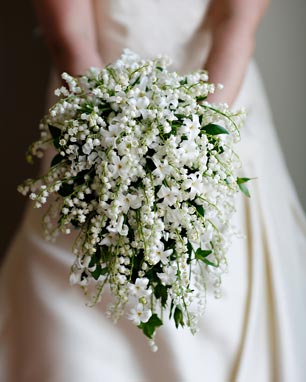
First off, I did a little looking around online. What kinds of flowers do they even use in those things? Turns out, there’s a lot of tradition involved. Myrtle is a big one, for luck and all that. And lots of delicate white flowers, like Lily of the Valley. Now, getting my hands on loads of Lily of the Valley wasn’t exactly practical for me, so I knew right away I’d have to improvise a bit but keep the spirit.
My basic plan was to stick to white and green. That just screams classic and elegant to me. So, I took a trip down to the local flower market. It’s always a bit of a lovely chaos there. I spent a good chunk of time just wandering, looking at what was fresh. I ended up grabbing some really nice white roses – you can’t really mess up with those. Then I found some smaller, spray roses, also white, and a few bunches of what they call ‘filler flowers’ – tiny white blooms that looked sort of dainty. For greenery, I picked out some soft ferns and a few other leafy bits that looked like they’d fit.
When I got home, I cleared off the kitchen table. That was my workspace for the day. I got out my sharpest pair of flower shears, a bucket filled with cool water, and some green floral tape I had tucked away. Prepping the flowers is key, honestly. I snipped the end of every stem at an angle, actually did it with the stems under water – heard that helps them suck up water better. Then, I pulled off all the leaves that would end up below where my hand would hold the bouquet. You don’t want leaves rotting in the middle of your arrangement, or in the water if you were putting them in a vase.
Then came the putting-it-all-together part. This is where it gets interesting, and a bit fiddly. I started by holding a few of the main roses in my hand, kind of as the center. Then I just started adding more flowers around them, turning the bunch in my hand as I went. I tried to keep it fairly rounded and not too wild. It’s a bit of a game, really, adding a stem here, maybe pulling one out if it doesn’t look right, stepping back to look at the shape. My fingers definitely got a workout!
- I really tried to get that gentle, domed shape they often have.
- I tucked bits of greenery in between the flowers and around the edges to give it some body.
- I even managed to find a tiny sprig of actual myrtle from a friend’s garden, so I put that in for a bit of authenticity!
Once I was pretty happy with how the flowers looked all together, I took that floral tape and wrapped it pretty tightly around all the stems, about where my hand would hold it. That really helps keep everything secure. For the final touch, I got out a roll of nice, wide, ivory-colored satin ribbon. I wrapped that around the taped stems, covering up the green tape, and tied a simple, elegant bow. That little detail really made it feel complete.
And that was that! My own little attempt at a royal-inspired bouquet. It wasn’t a copy of anything specific, but it had that white, green, classic feel I was aiming for. Plus, the whole room smelled amazing. It took a bit of patience, and my table was a mess of leaves and snipped stems afterwards, but looking at the finished thing, I felt a real sense of accomplishment. It’s actually a pretty relaxing thing to do, just focusing on the flowers and making something pretty with your hands.


