
Alright, let me walk you through my little adventure with getting this Verner Panton Flowerpot lamp set up.
Deciding and Getting It
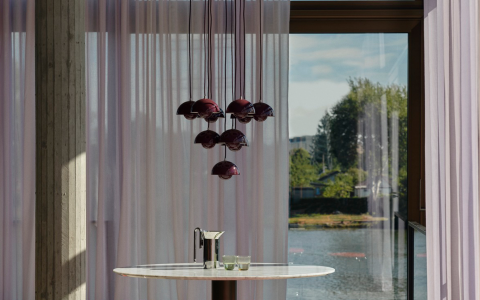
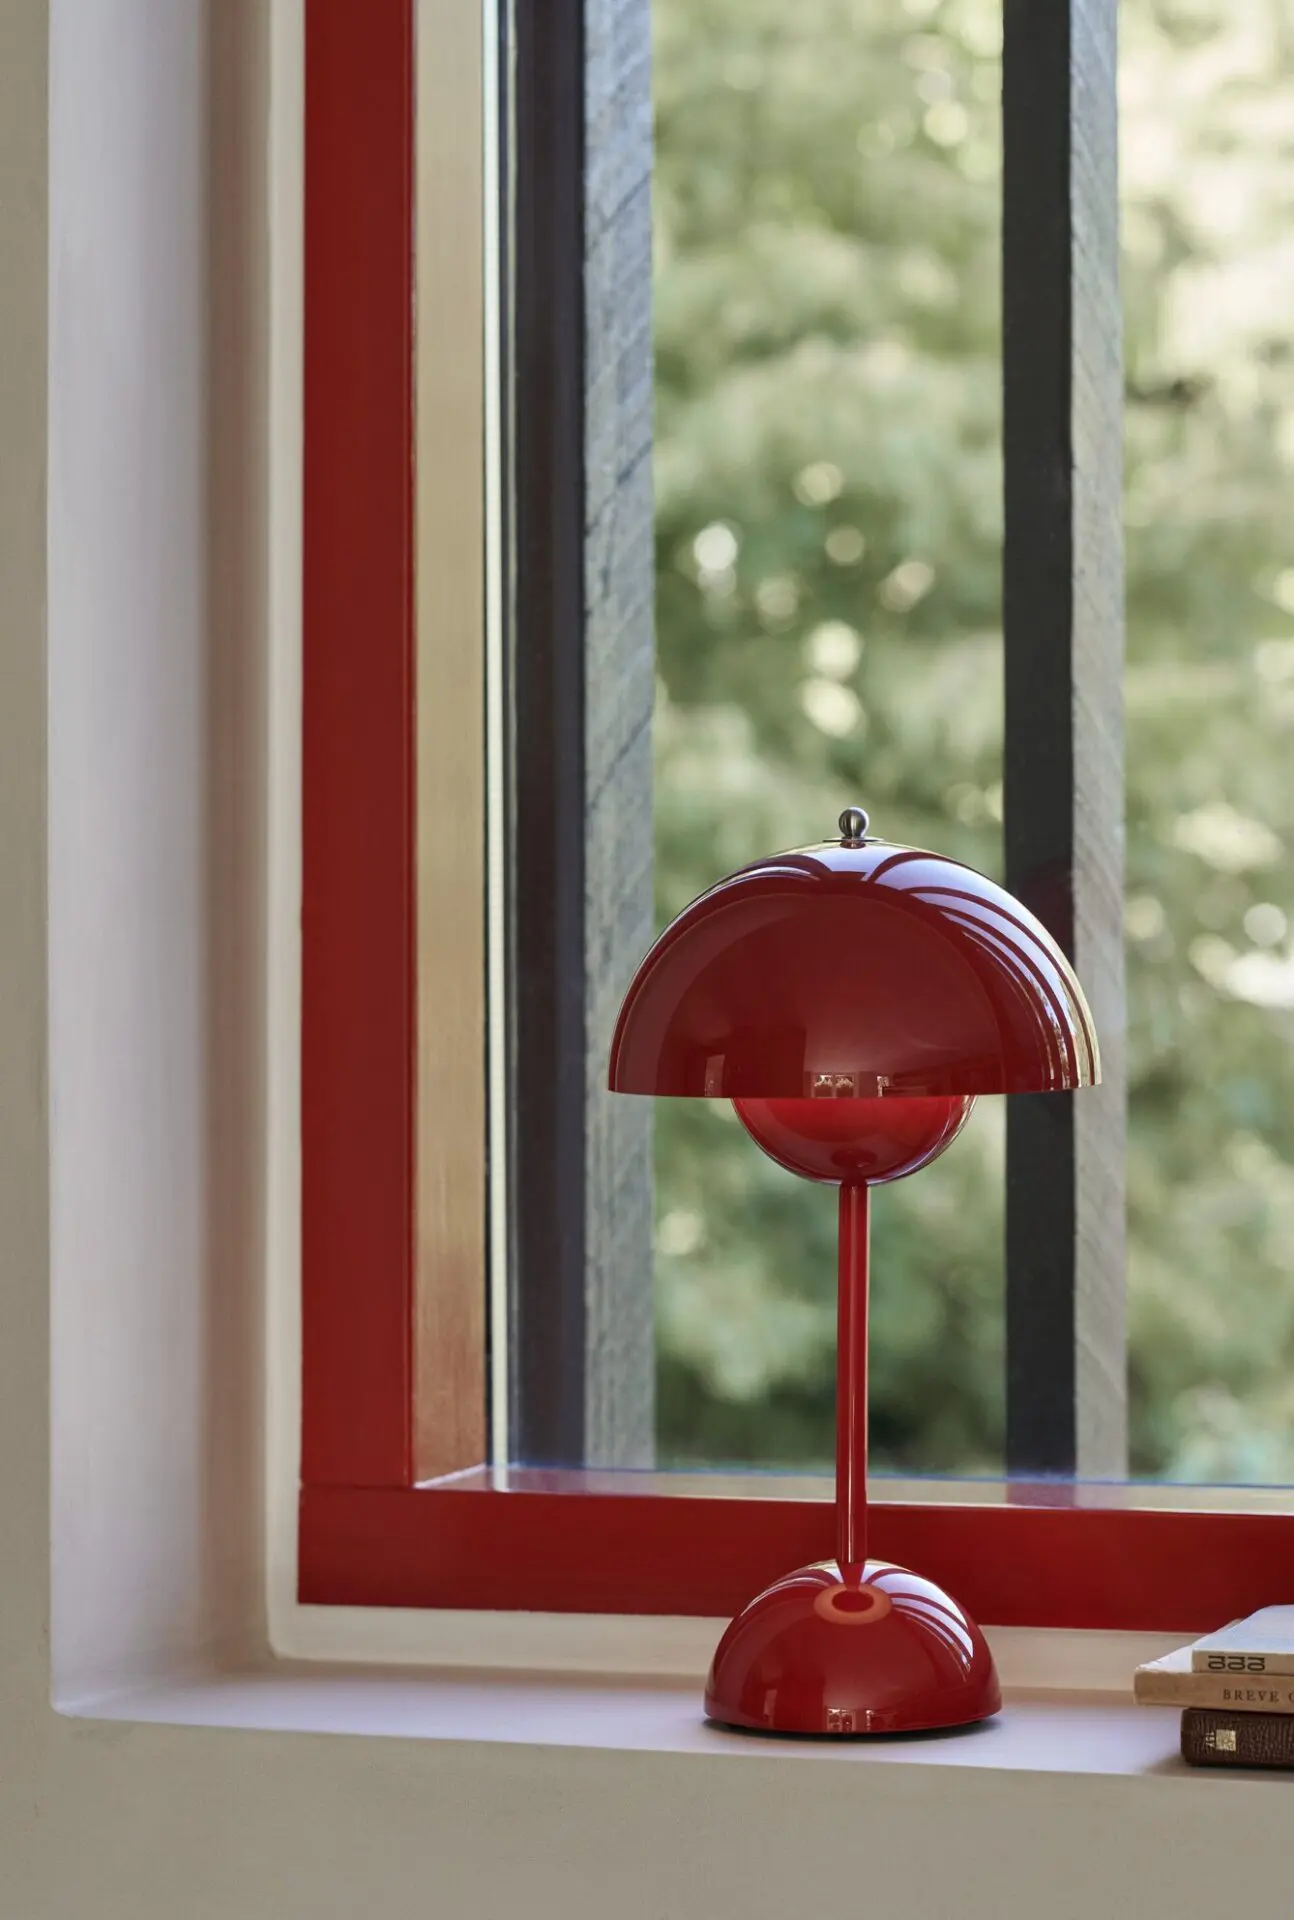
So, I’d been seeing this lamp around for a bit. You know how it is, you spot something in a picture online, maybe a magazine, and it just sticks in your head. I really liked the simple shape, those two dome things facing each other. Looked kind of retro but still modern. Anyway, I mulled it over for ages, wondering where I’d put it, which color to get – the usual back-and-forth.
Finally, I decided, “Okay, let’s do it.” I picked a color I thought would fit my space, kind of a neutral tone. Found a place online that seemed reliable and placed the order. Then came the waiting game, which I’m never very good at, but hey, anticipation is part of the fun, right?
Unboxing and First Look
The box eventually showed up at my door. Felt pretty solid. I got it inside and started the unboxing process. Lots of cardboard and protective stuff, which is good. Didn’t want it arriving dinged up.
Inside, there were basically the main parts:
- The big top shade.
- The smaller bottom shade that hides the bulb.
- The cord and ceiling canopy piece.
Everything felt nicely made. The metal had a good weight to it, paint finish looked smooth. No instructions needed, really, it seemed pretty obvious how it fit together. The smaller dome hangs inside the bigger one.
Putting It All Together
This part was less ‘building’ and more just… setting up. The main lamp structure was already assembled, meaning the two shades were connected, and the wire was running through them. That was a relief. My main job was getting it hung.
I had a spot picked out over a side table where I needed some better light. The old fixture there was boring anyway. First things first: turn off the power at the breaker! Can’t stress that enough. Safety first, always.

Took down the old light. Then I had to deal with the wiring. Just matched the wires from the lamp cord to the ones in the ceiling – usually color-coded, makes it easier. Used wire nuts to secure them tightly.
Next, I pushed the ceiling canopy up to cover the hole and the wiring mess. Screwed that into place on the ceiling bracket. Had to adjust the cord length a bit first, making sure it hung at the height I wanted. Most of these pendant lamps let you shorten the cord pretty easily by tucking the excess into the canopy.
The Final Result
Okay, wiring done, canopy secure, lamp hanging at the right height. Time for the bulb. I just grabbed a standard LED bulb with a warm white color. Screwed it in.
Moment of truth. Went back to the breaker, flipped the power on. Took a deep breath and hit the light switch.
And there it was. It looked great! The light it gives off is really nice and focused downwards because of that bottom shade. No harsh glare, just a pleasant pool of light on the table below. It totally changed the vibe of that little corner, made it feel more intentional, more designed.
Super happy with how it turned out. It wasn’t complicated, mostly just standard light fixture hanging stuff. The lamp itself is the star, though. Simple, classic design, but it makes a real difference. Definitely a successful little project.


