

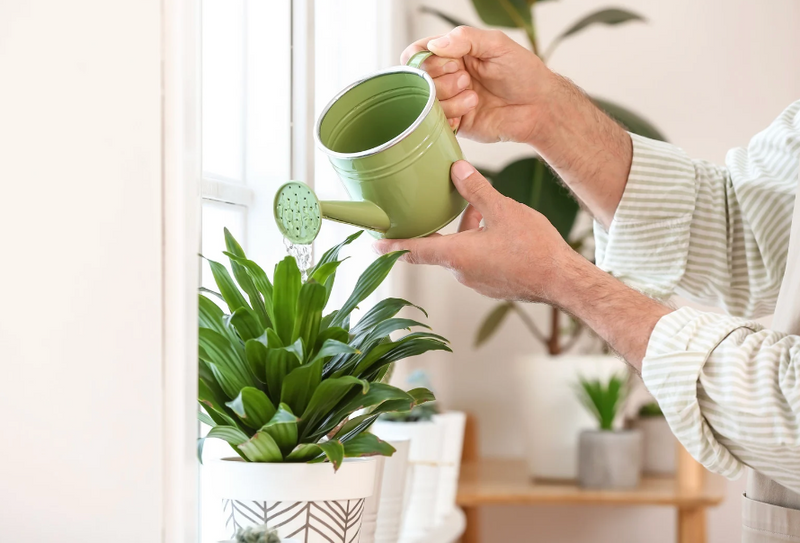
Alright, so I decided to tackle a new little project the other day – making a ‘designer’ watering can. You know the type, the ones that look all sleek and modern, but cost a fortune. I figured, how hard can it be? My old plastic one was cracked and leaking everywhere anyway, so it was a good excuse to get my hands dirty.
Getting Started and the ‘Plan’
First things first, I didn’t really have a proper plan. It was more of a, uh, vague idea in my head. I’d seen a few online, liked certain shapes, and thought I could wing it. I rummaged around in the garage and found some leftover sheet metal from that shelving project I did last year. Perfect, I thought. Less waste, right?
So, I grabbed my tin snips, a marker, and just started sketching out a basic shape onto the metal. I wanted something a bit more geometric, not your typical rounded can. This was probably where the first ‘oops’ moment happened. Cutting sheet metal by hand, especially when you’re trying for straight lines, is a bit of a laugh. My lines were… artistic, let’s say.
The Messy Middle Bit
Bending the metal into shape was the next challenge. I don’t have any fancy bending brakes, so it was a lot of clamping it to the edge of my workbench and using a block of wood and a mallet. It was noisy, and I’m pretty sure the neighbors thought I was starting a one-man band. There was a fair bit of hammering, unbending, and then re-hammering. My first attempt at the main body looked a bit like a squashed trapezoid. Not quite the designer look I was going for.
For the spout, I used a thinner piece of metal that I could roll into a tube. Getting the angle right so the water would actually pour out nicely, and not just gush or dribble, took a few tries. I made a couple of test spouts that were either too short, too long, or pointed in a weird direction. It was a lot of trial and error, mostly error if I’m being honest.
Then came attaching everything. I decided to go with rivets because my welding skills are, well, let’s just say ‘developing’. Drilling the holes and lining everything up was fiddly. I definitely dropped the spout piece at least three times. And getting the handle on straight while trying to hold the body and the rivet gun… yeah, that was fun. I needed an extra pair of hands, but it was just me in the garage, wrestling with this metal beast.
- Sheet metal (leftovers, thankfully!)
- Tin snips
- Marker
- Clamps
- Mallet and a block of wood
- Drill and drill bits
- Rivet gun and rivets
- Lots of patience (this ran out a few times)
The Finishing Touches and The Result
Once it was all riveted together, it actually started to look like a watering can, which was a relief! It was a bit rough around the edges, literally. So, I spent a good while filing down any sharp bits and smoothing things over. Safety first, even for plants, I guess. I thought about painting it, maybe a bright color, but then I kind of liked the raw metal look. It felt more… industrial chic, or something like that. Plus, I was a bit tired of the project by then and just wanted to see if it would hold water.
And guess what? It did! Mostly. There was a tiny, tiny drip from one of the spout seams if I filled it right to the brim, but for general use, it was pretty good. It’s definitely heavier than a plastic one, but it feels sturdy, like it’ll last. It’s got character, that’s for sure. Every dent and slightly misaligned rivet tells a story of my afternoon’s struggle.
So yeah, that’s my designer watering can. It’s not perfect, it’s not something you’d find in a fancy shop, but I made it. And it waters my plants with a certain homemade charm. Plus, it was a good way to spend a Saturday, even with all the head-scratching. Beats buying one, any day.


