

Okay, so I needed a new home for my big monstera plant. The plastic pot just sitting on the floor wasn’t cutting it, looked kinda sad, you know? I’ve always liked that midcentury modern look – simple, clean lines, wood. Figured I’d try making one of those plant stands myself.
Getting Started
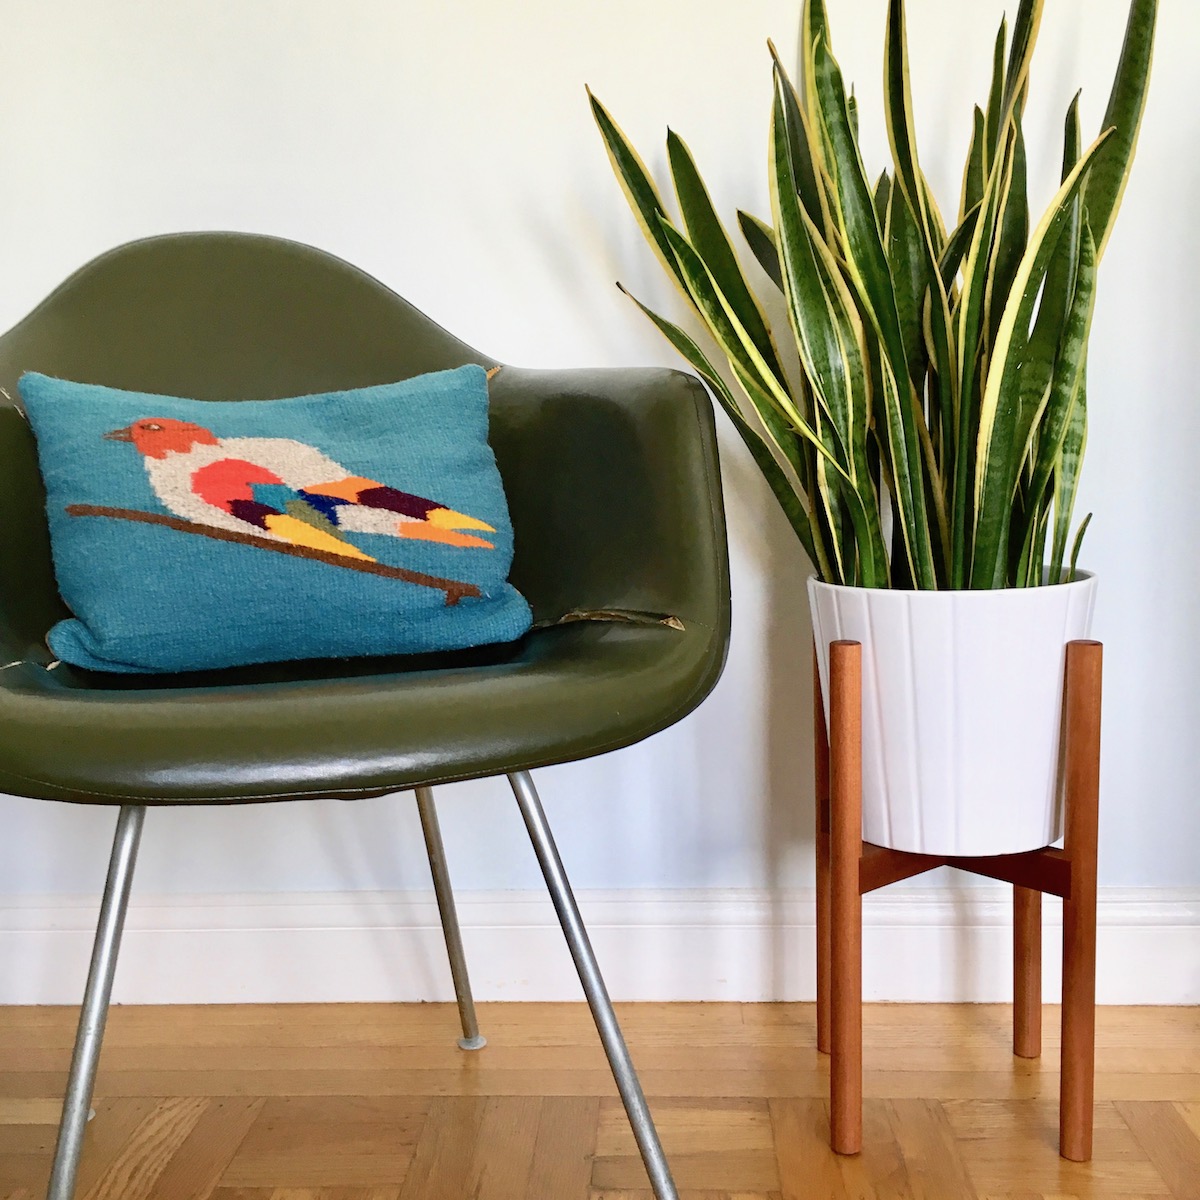
First thing, I had to figure out the size. Measured the pot diameter and decided how high off the ground I wanted it. Didn’t want anything too complicated. Just that classic cross-base design.

Went down to the hardware store. Looked at different wood types. Didn’t need anything fancy, just something sturdy. Grabbed some square poplar stock, I think it was maybe 1×1 inch stuff? Or close to it. Also picked up some wood glue and a few screws, just in case. Oh, and sandpaper – medium and fine grit.
Cutting the Pieces
Back home, I cleared some space in the garage. Got my measuring tape and pencil. Marked out four pieces for the legs, all the same length based on the height I wanted. Then, I needed two shorter pieces for the cross-base part where the pot actually sits. Measured those based on the pot’s diameter, making sure they’d overlap in the middle.
Used my basic handsaw to cut the pieces. Took my time to get the cuts reasonably straight. It doesn’t have to be machine perfect, right? Just good enough. Laid them all out to make sure they looked about right.
Putting it Together
Now for the tricky bit – the notch in the middle where the two base pieces cross. I measured the center of both short pieces and marked out a notch halfway through the thickness of the wood, and as wide as the wood stock itself. Carefully sawed down the sides of the notch and then used a chisel (gently!) to tap out the waste wood. Did this for both pieces so they’d slot together flush. Tested the fit – took a bit of sanding and minor shaving with the chisel, but got there eventually. It looked like a plus sign, flat on top.
Next, the legs. I decided to attach them to the ends of the cross-base pieces. Put some wood glue on the end of each leg and pressed it firmly against the underside of the cross-base ends. I used clamps to hold them tight while the glue dried. Some people use screws here, but I wanted a cleaner look, so I just relied on the glue and clamps. Had to let it sit for a good few hours, maybe even overnight, I can’t remember exactly.
Finishing Touches
Once the glue was totally dry, I took off the clamps. Gave the whole stand a good sanding. Started with the medium grit paper to smooth out any rough spots or saw marks, especially on the ends. Then went over everything again with the fine grit paper to make it nice and smooth to the touch.
Wiped off all the dust. I thought about staining it, but I kinda liked the natural look of the poplar. So, I just applied a couple of coats of clear sealant – used a wipe-on poly I had lying around. Let it dry completely between coats. This just helps protect the wood from water spills, which, let’s be honest, happen with plants.
The Result
And that was pretty much it. Placed the monstera on top. Stood back. Yeah, looked much better. Lifted the plant off the floor, gave it that nice, simple midcentury vibe I was going for. Solid enough for the plant, and it didn’t cost much to make. Pretty satisfying little project, really. Took an afternoon, maybe a bit more with the drying time. Way better than just having the pot on the floor.


