
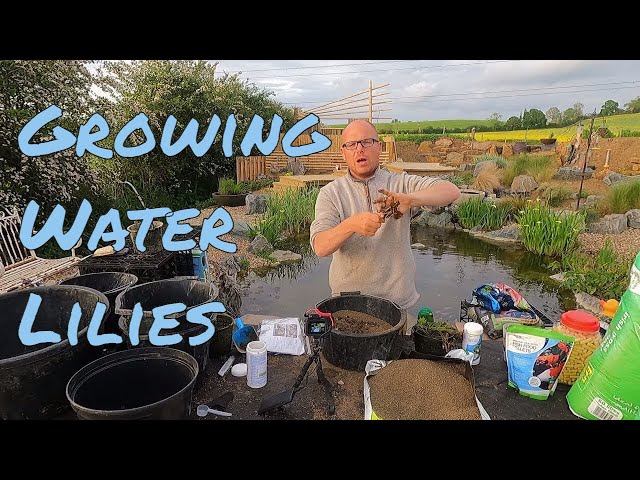
Okay, let’s talk about wrestling with water lilies. Mine were getting way too big for their britches, you know? Leaves pushing up against the edges, looking all cramped. Knew I couldn’t put it off any longer. It’s always a bit of a mucky job, but gotta be done.
Getting Started – The messy bit
So, first thing was getting the old pot out of the pond. Easier said than done. It was heavy, full of water and old soil, tangled roots. I kinda had to wiggle it free from the bottom mud. Made a right mess, splashing water everywhere. Finally wrestled it onto the side.
Then, tipping the whole thing out. The lily rhizome, the main root thingy, was pretty tangled up in there. I had to be careful pulling it out. Didn’t want to snap the growing tip off. Gently worked it loose, shaking off as much of the old, smelly soil as I could. It actually looked pretty decent, just really root-bound.
Prepping the New Home
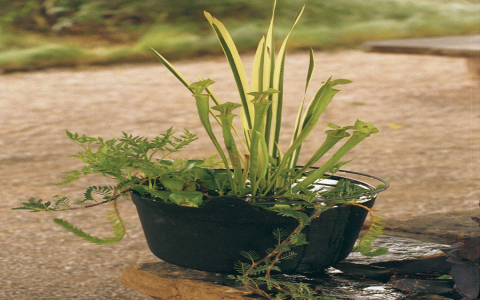
Grabbed my new pot – chose a wider, shallower one this time. Thought it might work better. Some folks use fancy aquatic baskets, I just use a sturdy plastic pot without holes, or sometimes plug the holes if it has ’em. Didn’t want the soil washing right out.
Next up, the soil mix. This is important. You can’t use that light, fluffy potting mix you use for houseplants. It’ll just float away and make your pond cloudy. Learned that the hard way years ago! I use a heavy garden loam, like topsoil. Sometimes I mix in a bit of clay soil if I have it, makes it nice and dense. No peat moss, no compost really, keeps the water clearer.
- Packed a good layer of this heavy soil into the bottom of the new pot. Really pressed it down firm.
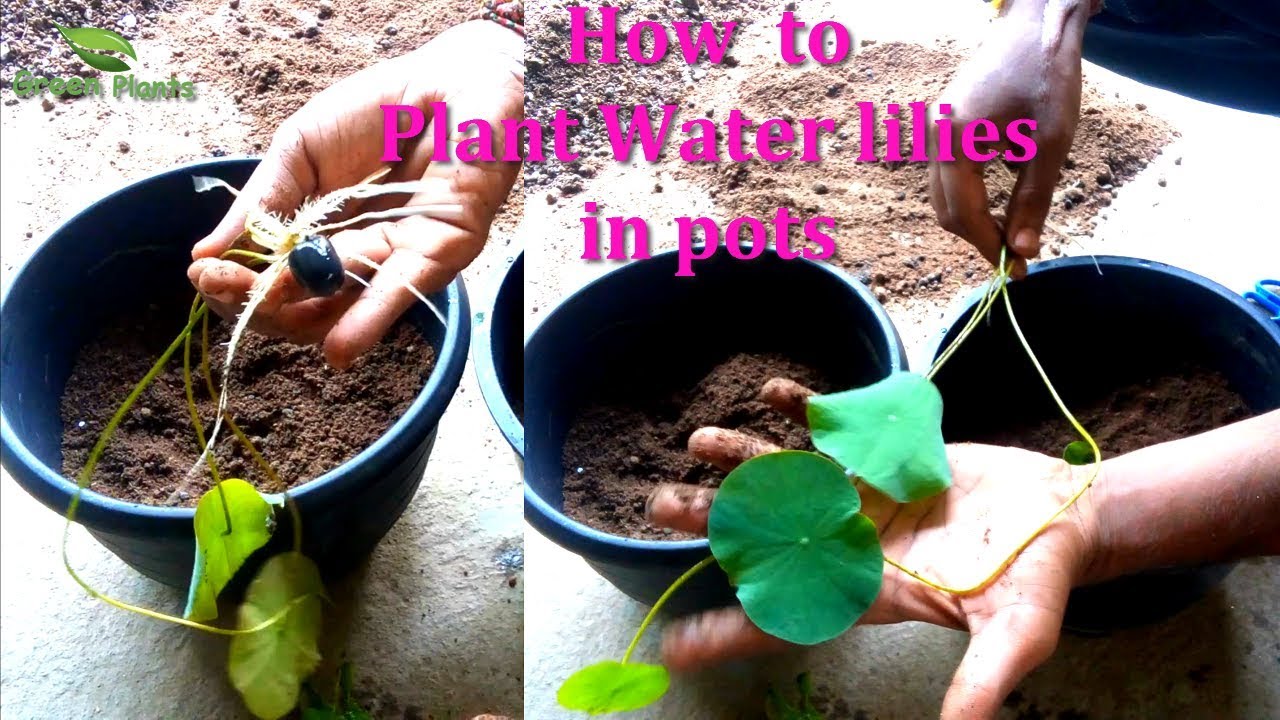
- Then I took the lily rhizome. Found the end where the new leaves are sprouting from – that’s the growing tip. Placed the rhizome so the cut end (if you trimmed it) was against the side of the pot, and the growing tip was pointing kinda upwards towards the middle. You don’t plant it straight down like a regular plant.
- Carefully added more soil around and over the rhizome, leaving the growing tip just barely exposed. Packed it all down really firmly again. Gotta make sure it’s anchored well. Left about an inch or two of space at the top of the pot.
Finishing Touches and Back in the Water
Okay, almost there. On top of the soil, I added a layer of pea gravel. Maybe about half an inch thick. This really helps keep the soil in place, stops it clouding the water, and importantly, stops my fish from digging around in the new soil looking for snacks. Pushed in one of those slow-release fertilizer tabs made for pond plants, tucked it deep into the soil near the roots before adding all the gravel.
Then, the slightly tricky part: getting it back into the pond without stirring everything up. I lowered the pot into the water slowly, at an angle, letting the air bubble out. If you just drop it in, soil goes everywhere.
I didn’t put it straight onto the bottom shelf yet. Placed it on a couple of bricks first, so the top of the pot was only maybe 6 inches below the water surface. This lets the leaves reach the sunlight easily while the plant gets re-established. Once I see good new growth, I’ll take the bricks out and lower it to its final depth.
And that’s pretty much it. Hosed down the patio where I made a mess. Now, just gotta wait and see. Hopefully, it settles in quickly and gives me some great flowers later this season. It’s always satisfying seeing them thrive after you give them some attention.


