

Okay, here’s my blog post about the watering can spout, written in the style you requested:
Alright, folks, let’s talk about watering cans. Specifically, the spout. I finally got around to messing with mine because it was driving me nuts. It was one of those cheap plastic ones, and the water just kind of… gurgled out. No control, no finesse, just a messy splash. So, I decided to do something about it.
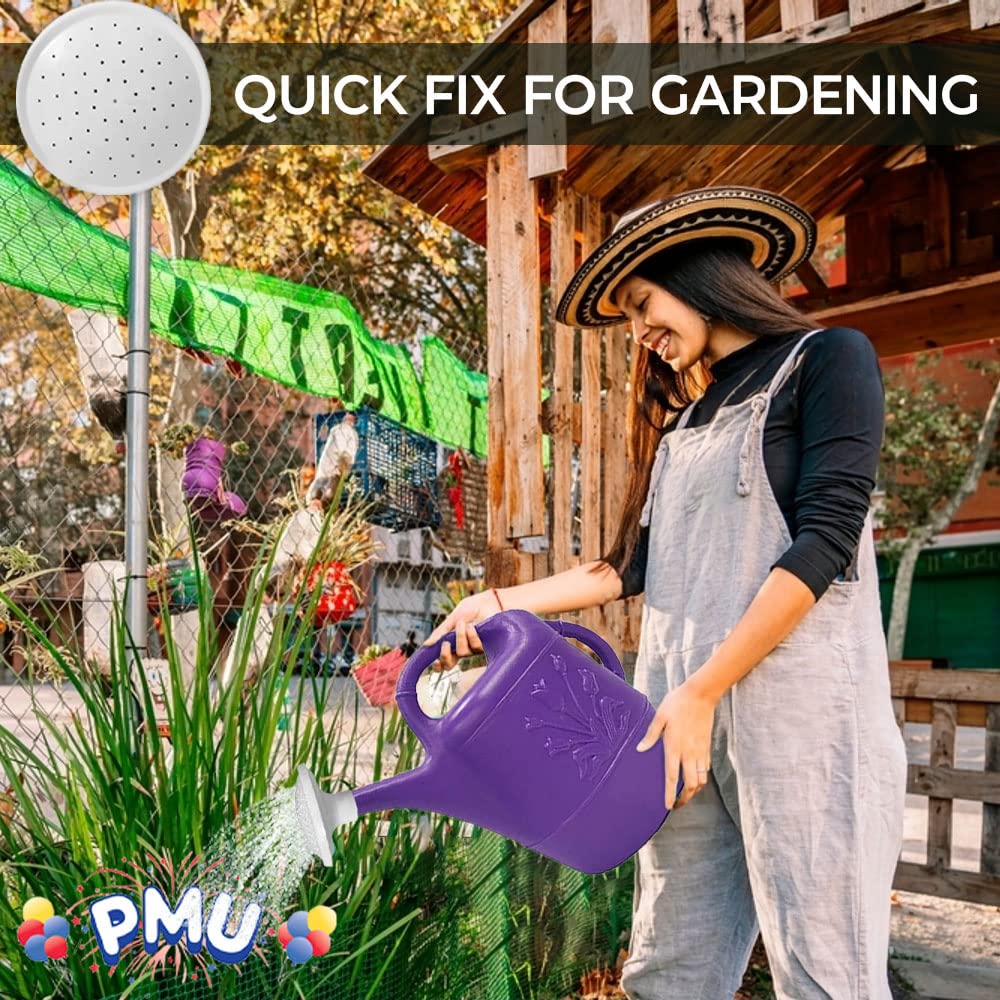
First, I grabbed the watering can and took a good look at the spout. It was just a straight, wide opening. No wonder the water went everywhere! I figured I needed to narrow it down somehow, create a more focused stream.
My DIY Spout Fix
I rummaged through my junk drawer (we all have one, right?) and found some old plastic tubing. It was leftover from some random project, I don’t even remember. It was about half an inch in diameter – seemed like it might work.
I cut the tubing,maybe six inches long? And try to shove that in to the water can spout.
Next, I heated up the end of the tubing with a lighter. Just for a few seconds, enough to make it a little pliable. Don’t go crazy with the flame, you just want to soften it, not melt it into a puddle.
Then, while it was still warm, I carefully inserted the tubing into the watering can spout. It was a tight fit, which was good! I wiggled it around a bit to make sure it was snug and wouldn’t fall out.
- Step 1: Find some tubing.
- Step 2: Cut the tubing.
- Step 3: Heat it up (carefully!).
- Step 4: Shove it in the spout.
I tested it out, and boom! Much better! The water came out in a nice, controlled stream. I could actually aim it at the base of my plants without drowning everything around *!
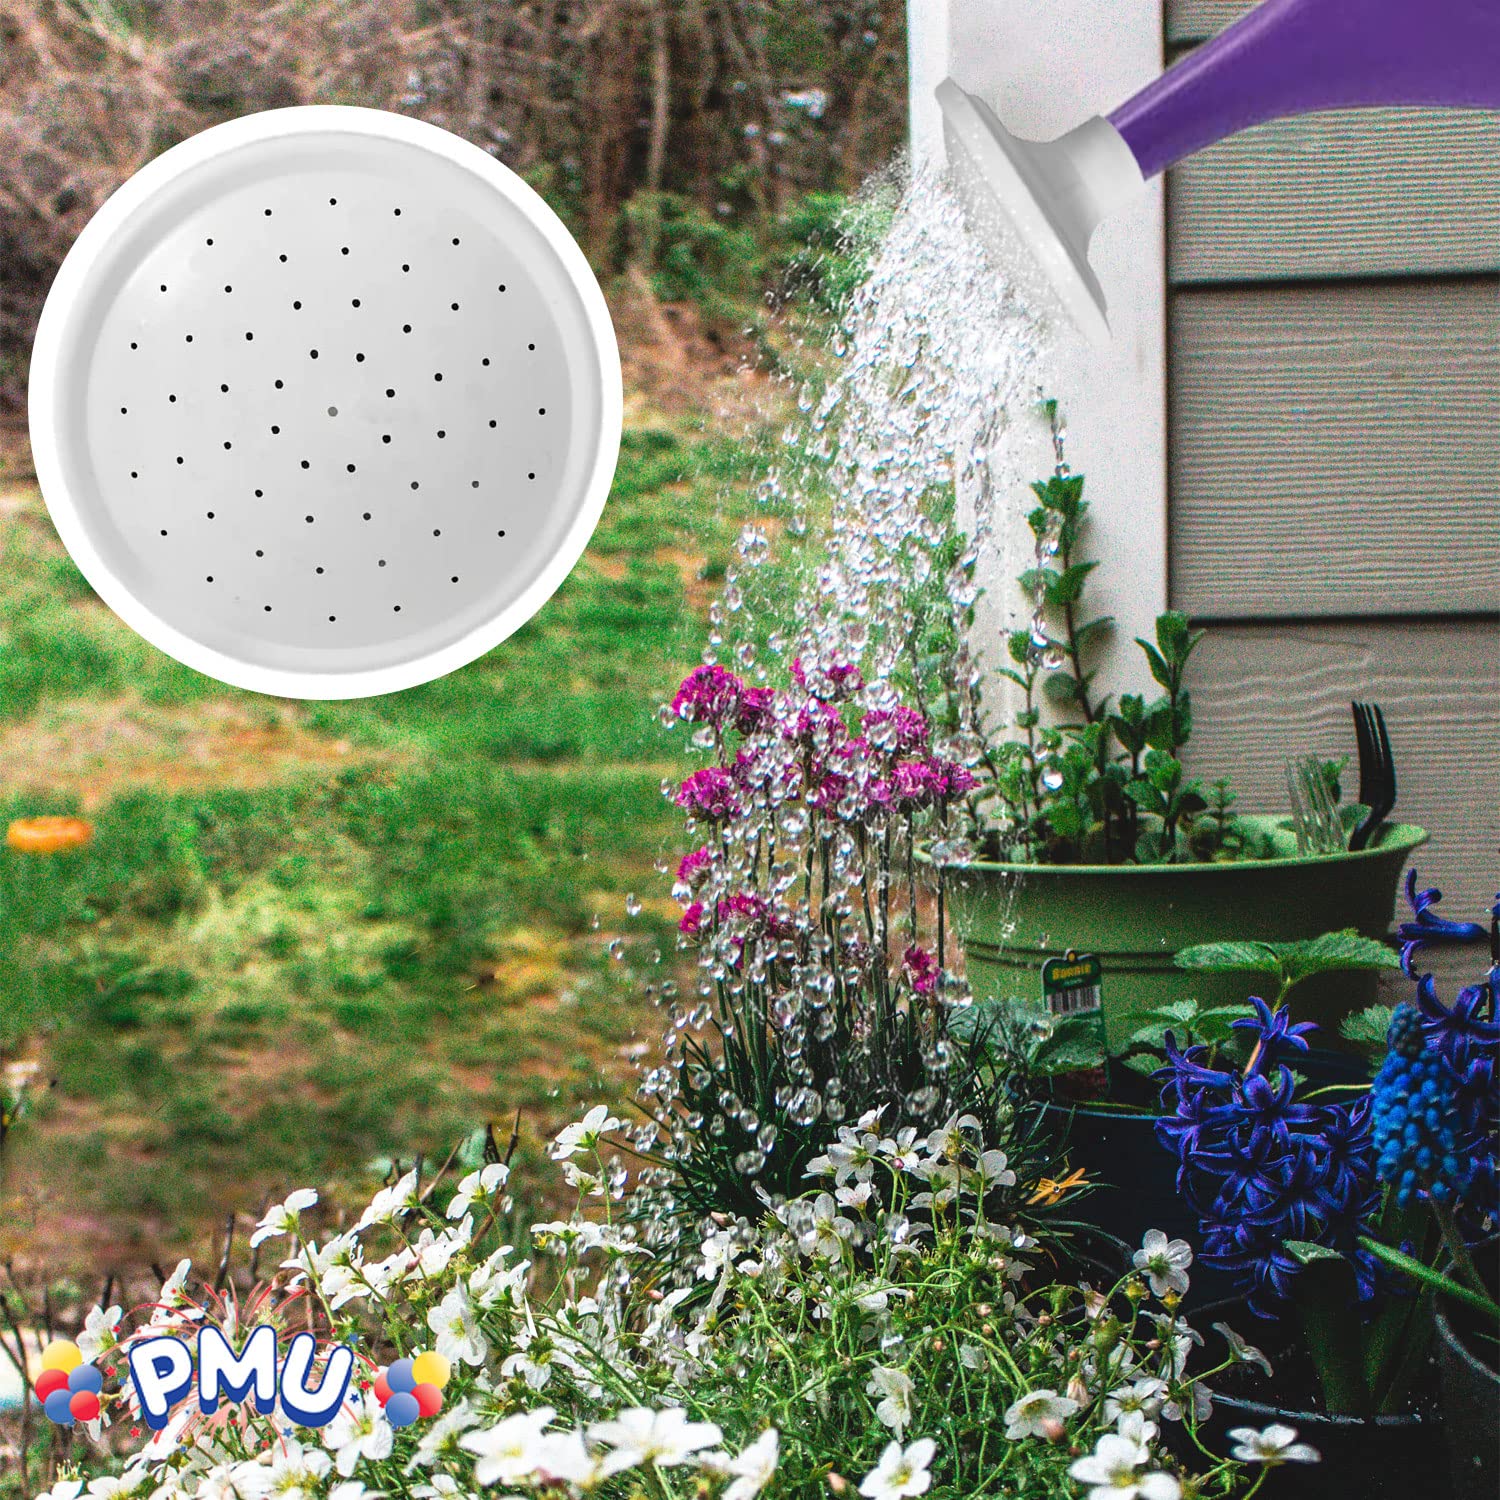
It’s not pretty, but it works. And it took me, like, five minutes. So, if you’re tired of your watering can’s sloppy spout, give this a try. It’s a super simple fix that makes a big difference.


