
Alright guys, buckle up, because today I’m diving into a little DIY project I tackled last weekend: a plant bench stand. Sounds fancy, right? Well, trust me, the “fancy” part is more in the result than the process. Let’s get started!
The Idea Sparked
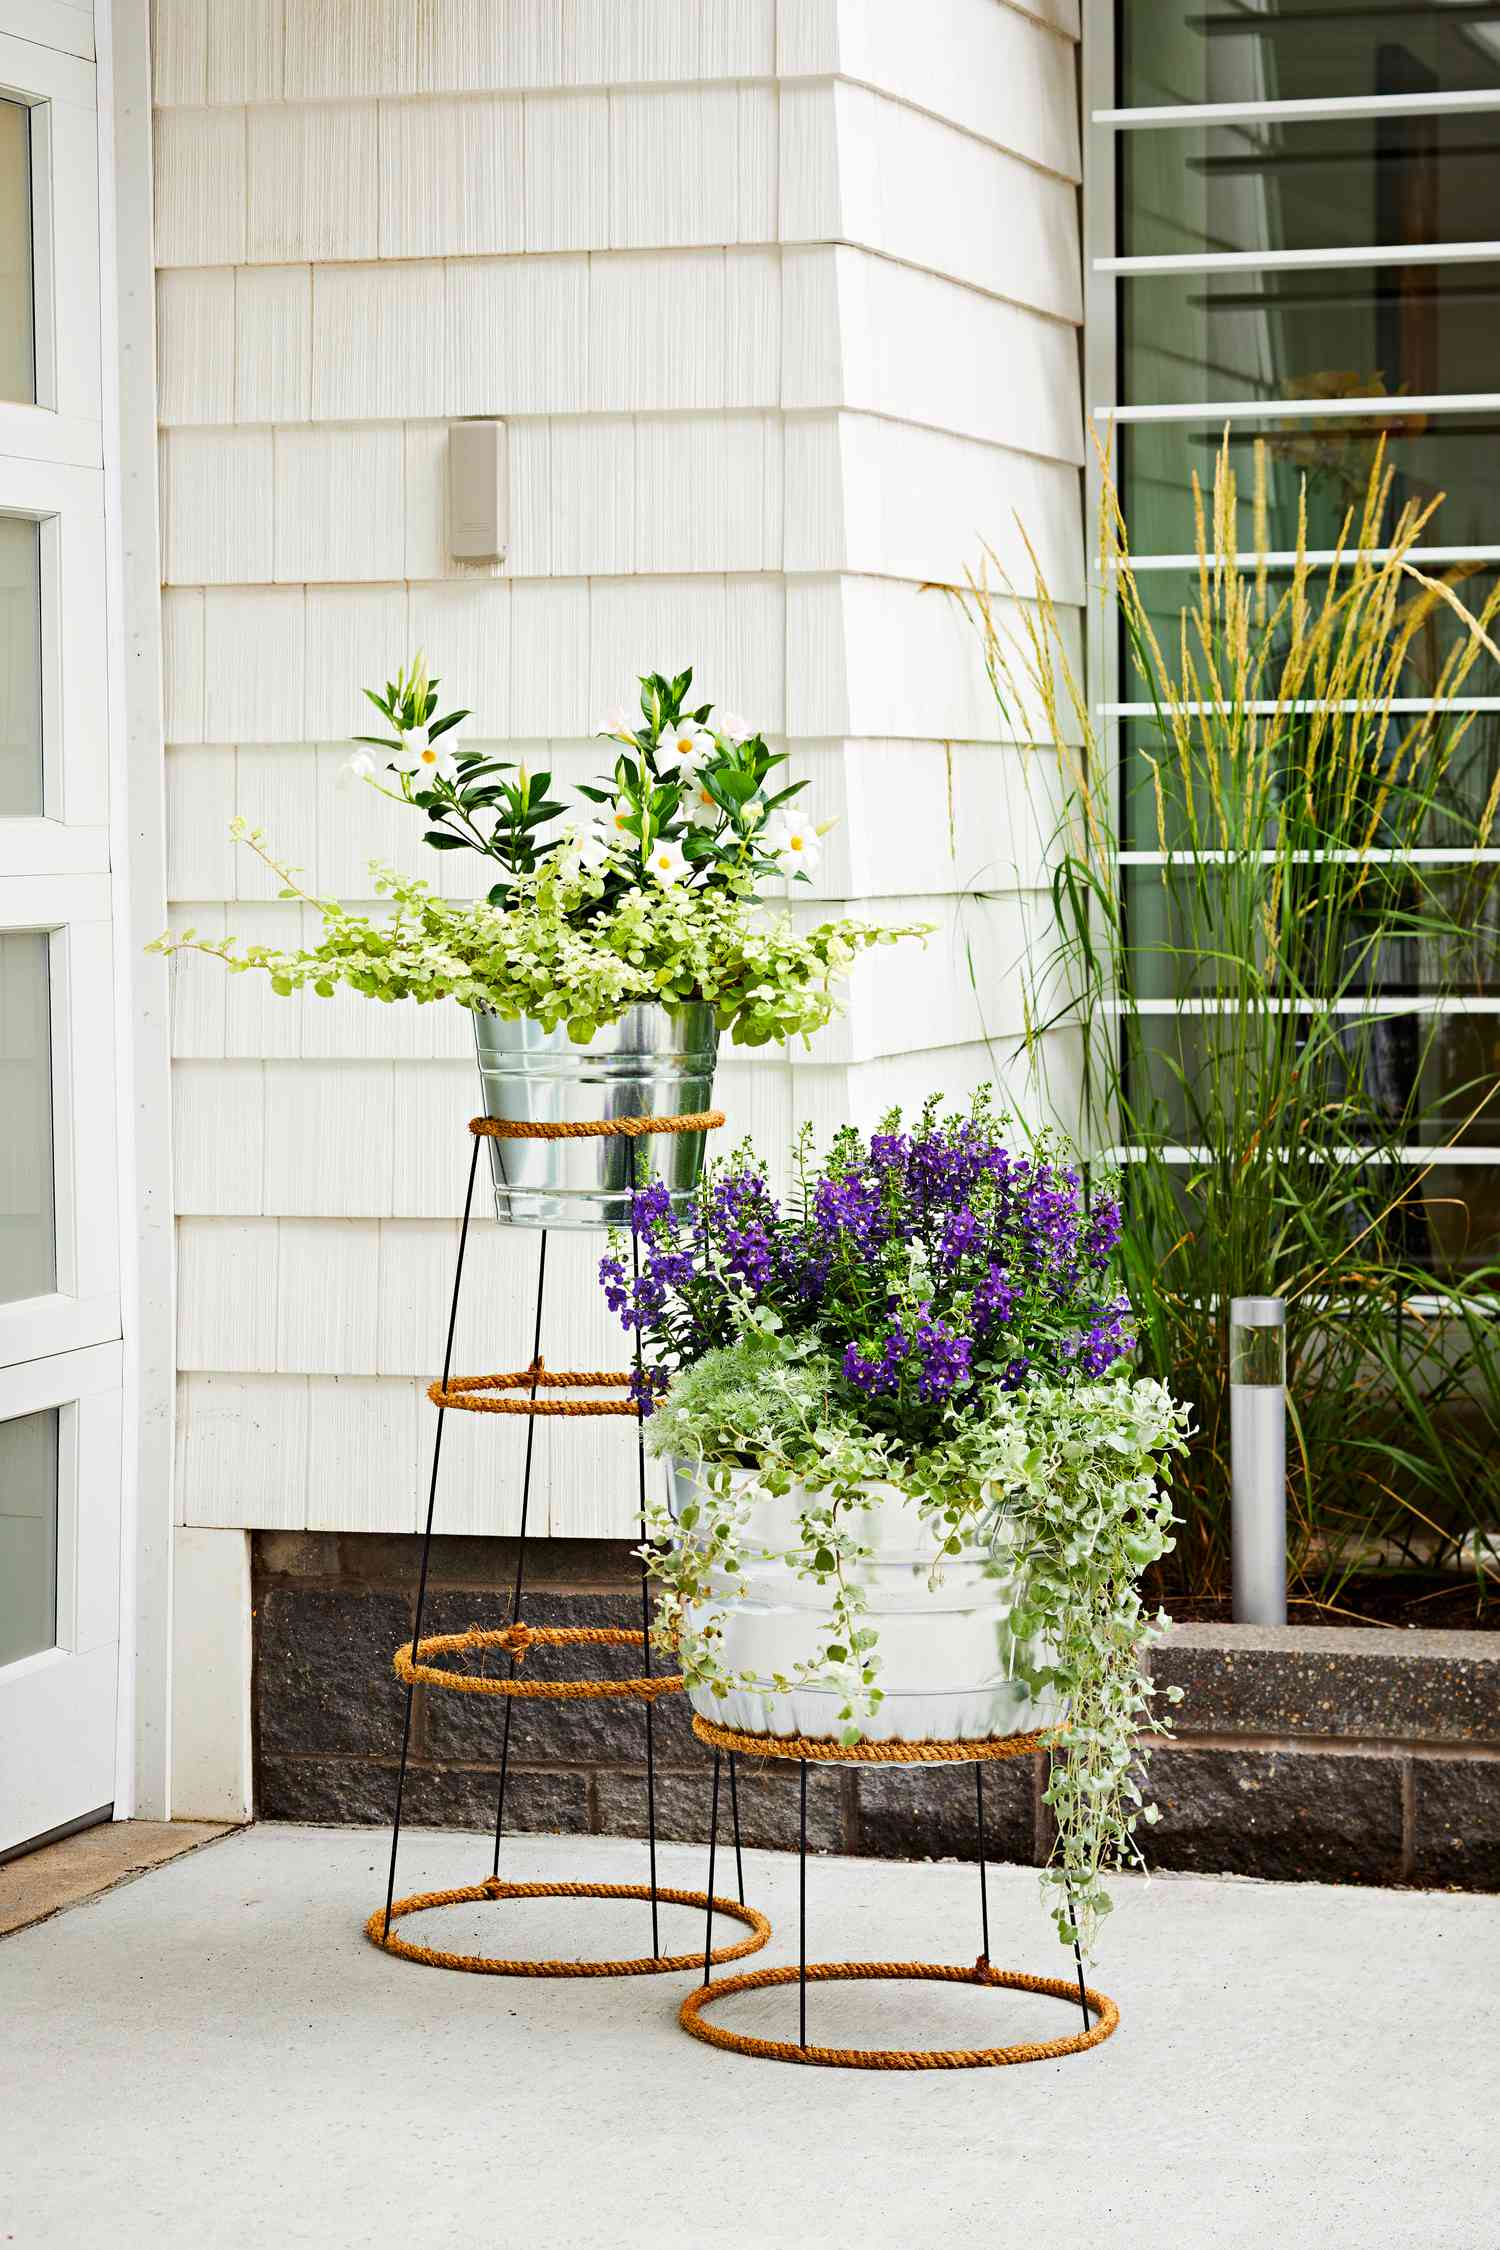
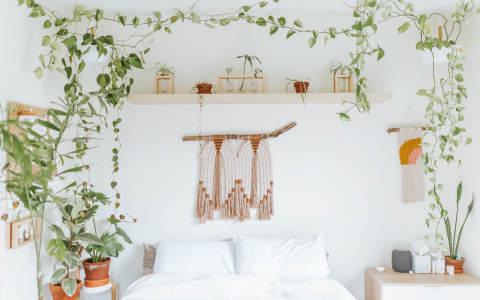
So, I’ve been wanting to get more plants into my apartment, but my window sills are already overflowing, and I’m not about to start hanging them from the ceiling (yet!). That’s when I saw a picture online of a cute little plant bench stand. Inspiration struck! I thought, “I can totally build that!”Famous last words, I know.
Gathering the Goods
- Wood: Pine from the local hardware store. Nothing too special, just something sturdy and affordable. I grabbed a couple of 2x4s and a wider plank for the top.
- Screws: Gotta hold it all together, right? I went with some exterior screws, just in case I decide to put this thing on my balcony later.
- Wood glue: For extra strength, because I don’t trust my screwing skills completely.
- Stain: I picked a dark walnut stain to match my existing furniture.
- Sealer: To protect the wood from water and dirt.
- Tools: Saw, drill, sandpaper, measuring tape, pencil, and a few clamps.
Let’s Build It!
First, I measured and cut the wood pieces according to my plan. I roughly sketched out a design beforehand, but honestly, it was mostly in my head. I cut four legs, two side supports, and two end supports. Then, I cut the top plank to size.
Next up was assembly. I started by attaching the side and end supports to the legs, using wood glue and screws. I clamped everything together to make sure it was nice and square while the glue dried. This part was a bit tricky, and I definitely had to re-drill a couple of screws because I messed up the angles. Whoops!
Once the frame was solid, I attached the top plank. More glue, more screws. At this point, it was starting to look like an actual bench stand! I was pretty proud of myself.
Sanding & Staining
Okay, so the construction was done, but it looked pretty rough. Time for sanding! I sanded down all the edges and surfaces to smooth them out and get rid of any splinters. This step is crucial, don’t skip it!
After sanding, I wiped everything down with a damp cloth to remove the dust. Then, it was staining time. I applied two coats of the dark walnut stain, letting each coat dry completely before applying the next. The stain really brought out the grain of the wood, and it looked amazing.
Finally, I applied a couple of coats of sealer to protect the wood from moisture. I let the sealer dry for a full 24 hours before putting anything on the bench stand.
The Grand Reveal
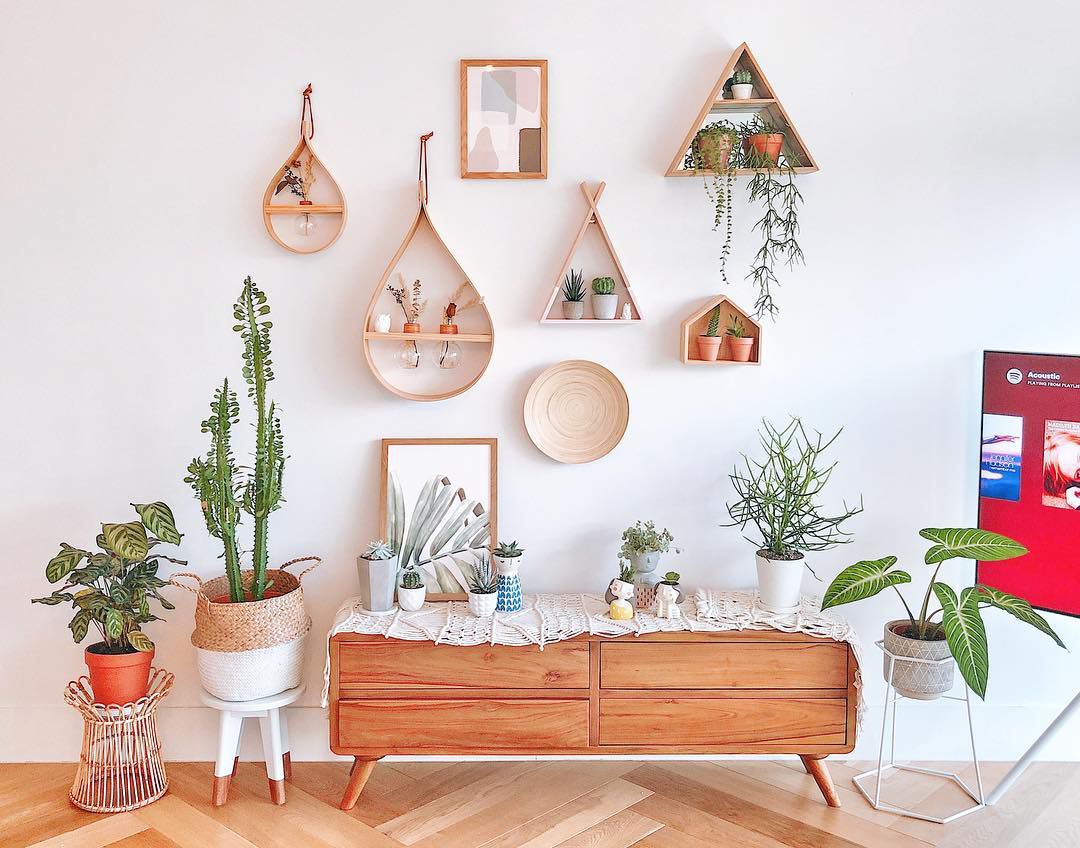
And that’s it! My plant bench stand was complete. It’s not perfect – there are definitely some wobbly spots and uneven edges – but it’s mine, and I built it myself. I loaded it up with my favorite plants, and it looks fantastic in my living room.
Lessons Learned
- Measure twice, cut once (I still messed this up, but it’s a good rule to follow).
- Don’t be afraid to make mistakes. It’s all part of the learning process.
- Clamps are your best friend.
- DIY projects are way more rewarding than buying something from a store.
So, if you’re looking for a fun and easy DIY project, I highly recommend building a plant bench stand. It’s a great way to add some greenery to your space and show off your crafting skills. Happy building!


