

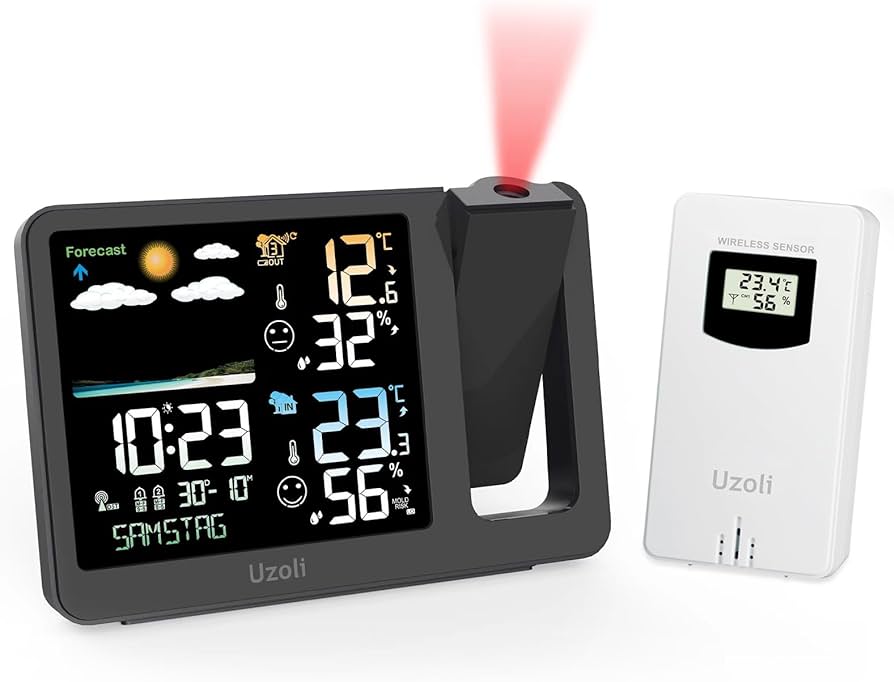
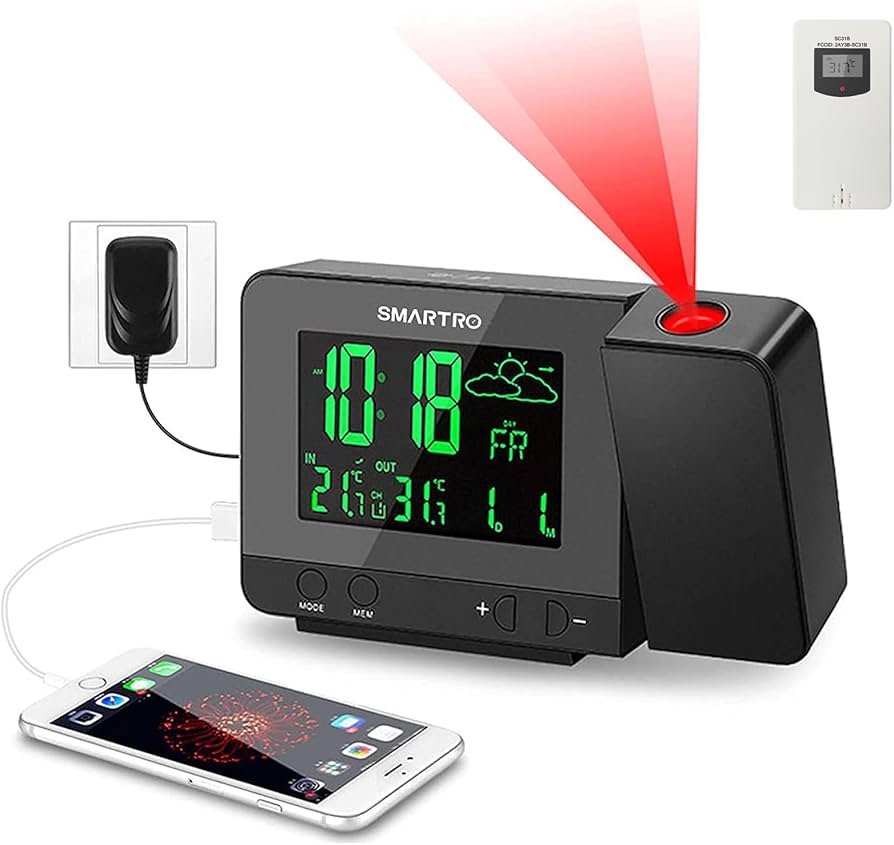
Alright, let’s talk about this here projection clock with outside temperature. You know, the kind that shines the time on the wall? Yeah, that one. My old eyes ain’t what they used to be, so seeing them big numbers up there is a real blessing, I tell ya.
First off, getting this thing set up ain’t too hard, even for an old woman like me. You gotta find that little sensor thingy, looks like a little box, ya know? Stick it outside, somewhere in the shade, not in the sun, understand? That sun will mess it up, make it give you the wrong temperature. Nobody wants that, right? Then you gotta hold down this “SET” button, it’s usually on the back or the side, you’ll find it. Hold it down good and long, then you get into this here menu thing. It’s like a list of things you can change.
Now, to change stuff, you gotta use the “PLUS” button. It’s usually got a little plus sign on it, looks like a little cross. You press that to make the numbers go up. You know, like when you’re counting. Press it till you get the right time, the right date, whatever you’re settin’. Then you press that “SET” button again, to say “okay” and move on to the next thing. Just keep pressin’ and settin’ till you got it all how you want it.
- Setting the time: Hold “SET”, press “PLUS” to adjust hours, press “SET” again, then press “PLUS” to adjust minutes. Press “SET” one last time to confirm.
- Setting the date: Same as the time, but you’re setting the month and day instead.
- Setting the outdoor temperature: This should set itself once the sensor is outside and connected, but sometimes you might need to fiddle with it a bit.
Now, sometimes, the numbers on the wall are backwards or upside down. Don’t you worry, it ain’t broken. You just gotta rotate or reverse the projection. How you do that depends on the clock, see? Some of them got a button just for that, says somethin’ like “rotate” or maybe it’s got a little picture of a clock with an arrow. You press that, and it flips the numbers around. Other ones, you gotta go into that menu thing again, the one you used to set the time, and find the setting for the projection. It might say “flip” or “reverse” or somethin’ like that. Just poke around, you’ll figure it out.
And let me tell you, having the temperature outside right there on the wall, that’s mighty convenient. No more guessin’ if I need a coat or not. I just look up, and there it is! Now, sometimes, the temperature ain’t quite right. Maybe the sensor is in the sun, or maybe it’s too close to the house. You gotta move it around a bit, find a good spot where it can get a good readin’. It’s like finding the right spot for your tomatoes in the garden, you know? Gotta have the right amount of sun and shade.
These projection alarm clocks are real handy, I tell ya. They shine the time up there, big and bright, easy to see even without my glasses. And some of them even show you other things, like the day of the week, or if the alarm is set. Fancy, ain’t it? But you know, fancy ain’t always better. The main thing is it tells the time and the temperature, and it does it good. That’s all I need. Keeps me from being late for my bingo games, and that’s important!
So, if you’re lookin’ for a clock that’s easy to read, easy to set up, and tells you the time and temperature, this here projection clock is a good bet. Just follow the instructions, don’t lose that little sensor, and you’ll be all set. And if you get stuck, ask your grandkids, they know all about these newfangled gadgets.
And one last thing, don’t be afraid to unplug it and plug it back in if it’s acting funny. Sometimes that’s all it needs, just a little jolt to get it goin’ again. Just like me in the mornin’ with a cup of coffee!
Tags: [projection clock, outside temperature, alarm clock, set up, rotate, reverse, digital clock, home gadget, easy to read, seniors]


