
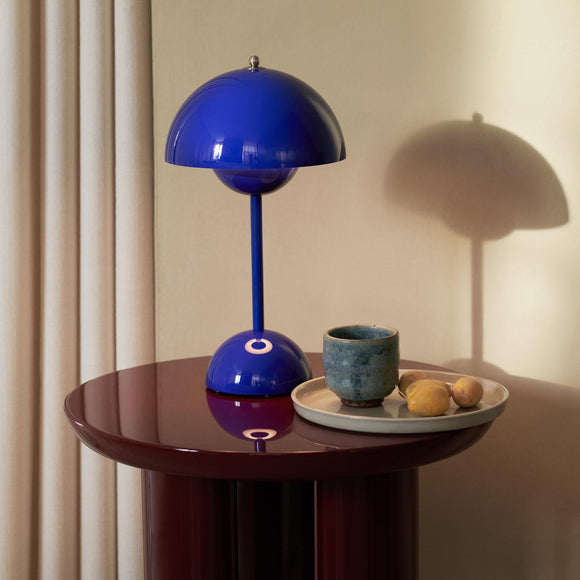
Okay, so I saw this VP9 Flowerpot Lamp online the other day and I thought, “I gotta try making one of those!” It looked pretty neat, and I figured it would be a fun little project to do over the weekend.
First, I started by gathering all the stuff I needed. I already had some basic tools at home, like a screwdriver and some pliers. I also found some leftover wire and a spare lamp socket from an old project. I went to the local hardware store to pick up a flowerpot that looked like it would fit the design I had in mind. I chose a ceramic one, because I liked the way it looked, and it felt pretty sturdy. Also, I got an LED light bulb because it’s super energy-efficient, and I like being eco-friendly.
Then, I got to work. I drilled a hole in the bottom of the flowerpot, just big enough for the wire to pass through. It wasn’t as easy as it looked! The ceramic was a bit tough, but I managed to get it done without cracking the pot. Whew! After that, I threaded the wire through the hole and connected it to the lamp socket. I made sure everything was nice and tight, so there wouldn’t be any loose connections.
- First, gather all the materials you need.
- Drill a hole in the bottom of the flowerpot.
- Thread the wire through the hole.
- Connect the wire to the lamp socket.
- Secure the socket inside the flowerpot.
- Add the light bulb.
Next, I secured the socket inside the flowerpot. I used some strong glue to make sure it wouldn’t budge. It took a bit of fiddling to get it positioned just right, but I finally got it. Then, I popped in the LED light bulb. At this point, I was getting pretty excited to see the finished product!
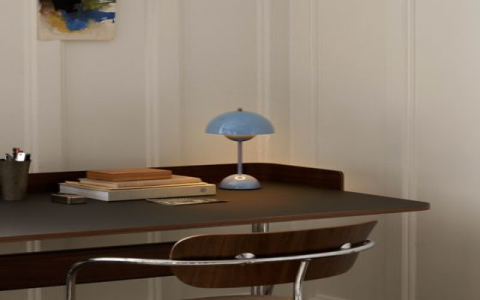
Finally, I plugged it in and… it worked! I was so stoked! It looked even better than I had imagined. The light was soft and warm, and the flowerpot gave it such a unique look. I put it on my desk, and it instantly made the whole room feel cozier. It wasn’t easy, but it was fun.
Final Thoughts
This was a fun little project, and I’m really happy with how it turned out. It’s amazing what you can create with just a few simple materials and a little bit of elbow grease. I’m definitely going to try making more stuff like this in the future!


