
Okay, so today I wanted to do something a bit different in my garden, and I thought, why not try using a plant repotting mat? I’ve seen these things around, and they always seemed pretty handy. So, I got myself one and decided to give it a go.
First off, I gathered all my plants that needed repotting. You know, the usual suspects that have been looking a bit cramped in their current pots. Then, I laid out the repotting mat on my work table. It’s basically this waterproof sheet, and the one I got has these snaps on the corners. I snapped those together, and it formed this neat little contained area.

Start Repotting My Plants
- I started with my monstera. I mean, if you want to start, start with the most difficult plant, right? I gently took it out of its old pot, trying not to disturb the roots too much.
- With the plant out, I took this chance to check out the roots. I trimmed off some that looked a bit mushy and were rotting, and checked the compost for vine weevil larvae. Didn’t find any, thank goodness.
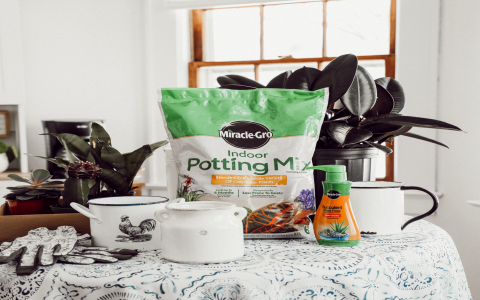
- Next, I filled the new pot with some fresh potting mix and then placed my monstera in there. It is much bigger than the last one, so the roots have more room to grow.
- After that, I just added more soil around it, pressing down gently to make sure it was snug and secure.
I repeated this process with a few other plants – a snake plant, a couple of succulents, and my favorite little fern. Honestly, the mat was a real help. All the soil and mess were contained within it, which made the whole process so much cleaner. Plus, it’s super easy to clean. Just unsnapped the corners, dumped the excess soil, and wiped it down.
In the end, I was pretty happy with how everything turned out. My plants are now in their new homes, and my workspace is surprisingly clean. I think I might actually enjoy repotting now, thanks to this mat. It’s one of those simple things that make a big difference. I was quite satisfied, so I shared this with you guys.


