
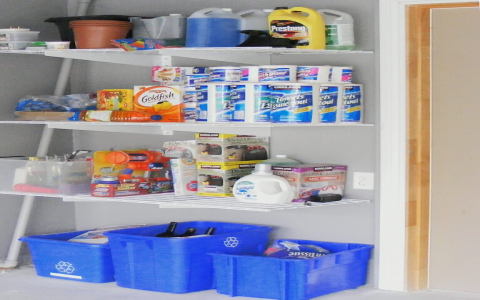
Alright, let me tell you about this pesticide cabinet I finally got around to building. For ages, my garage was a disaster zone. You know how it is – tools everywhere, half-finished projects, and then there was the corner with all the garden chemicals. Sprays, powders, fertilizers… just kind of shoved onto a wobbly shelf. It was a mess, and honestly, a bit of a worry.
I kept telling myself I’d sort it out, but something else always came up. Then, the other week, my dog, Buster, nearly knocked over a bottle of something pretty nasty. He just bumped the shelf, and the whole thing wobbled. That was my wake-up call. I thought, nope, can’t have this. Especially with the grandkids visiting sometimes. Just wasn’t safe.
Getting Started on the Cabinet
So, that weekend, I decided that was my project. No more putting it off. First thing I did was sketch out a really rough idea. Didn’t need anything fancy, just a solid box with a door and a latch. Something to keep everything contained and out of sight, and most importantly, secure.
I had some leftover plywood from when I put up those shelves in the laundry room. Perfect. Saved me a trip to the hardware store, at least for the main structure. I also found an old hinge and a simple hasp lock in my odds-and-sods box. Always pays to keep that stuff!
Here’s basically what I did:
- Measured out the space I had available. Didn’t want it to be too massive, but big enough for all the bottles and bags.
- Cut the plywood pieces for the sides, top, bottom, and back. My old circular saw did the job, though it wasn’t the prettiest cutting.
- Started assembling the main box. Lots of wood glue and screws. I wanted this thing to be sturdy. No more wobbly shelves for these chemicals.
- Then I tackled the door. Made that from another piece of plywood. Getting it to hang straight on the hinge was a bit fiddly, took a couple of tries. You know how it is with doors.
The Little Details
Once the basic box and door were together, I thought about shelves. I decided on one shelf inside, just to make it easier to organize things. Cut that, put in some supports, and slid it in. Easy enough.
Then came the latch. I fixed the hasp and staple so I could put a small padlock on it. That was crucial for me – peace of mind, knowing little hands (or paws) couldn’t get in there.
I even drilled a few small holes in the back, near the top, for a bit of ventilation. Not sure if it’s strictly necessary, but I figured it couldn’t hurt, right? Let any fumes escape instead of building up inside.
I didn’t bother painting it. It’s in the garage, after all. Function over form, that’s my motto for stuff like this. As long as it does the job.
All Done and Dusted
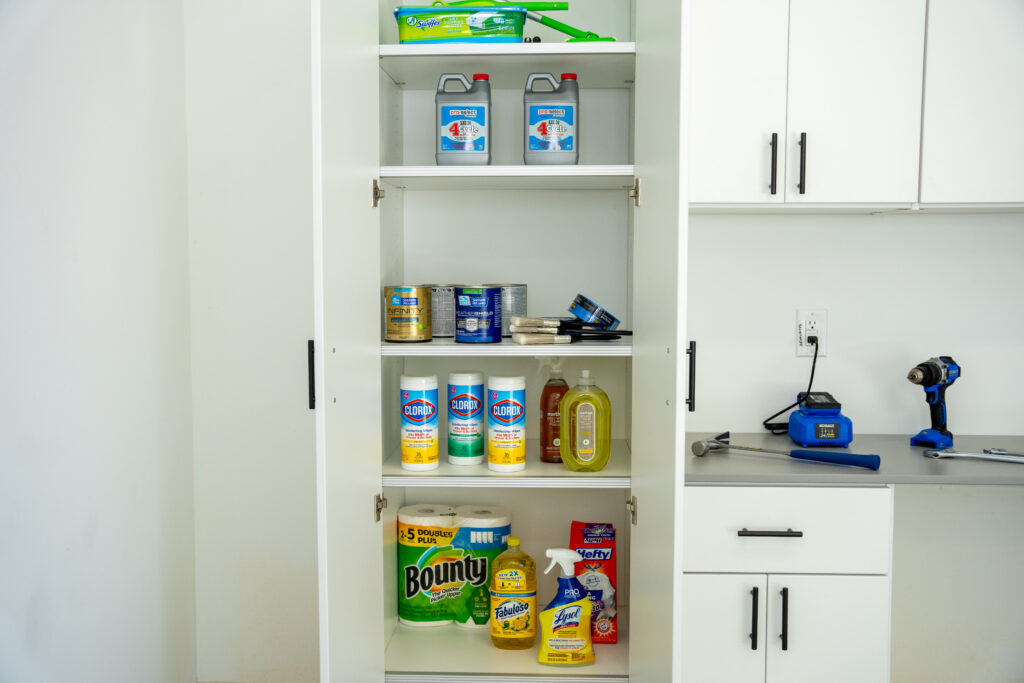
So now, all those bottles and bags are neatly tucked away inside this cabinet. It’s locked up tight. The garage looks a tiny bit tidier, and I feel a whole lot better knowing those chemicals are stored safely. It wasn’t a complicated build, took me most of an afternoon, but it’s one of those little projects that makes a big difference. Definitely worth the effort to get it done properly.


