
Okay, here’s a blog post about building a stylish plant stand, written from a personal perspective and using simple language:
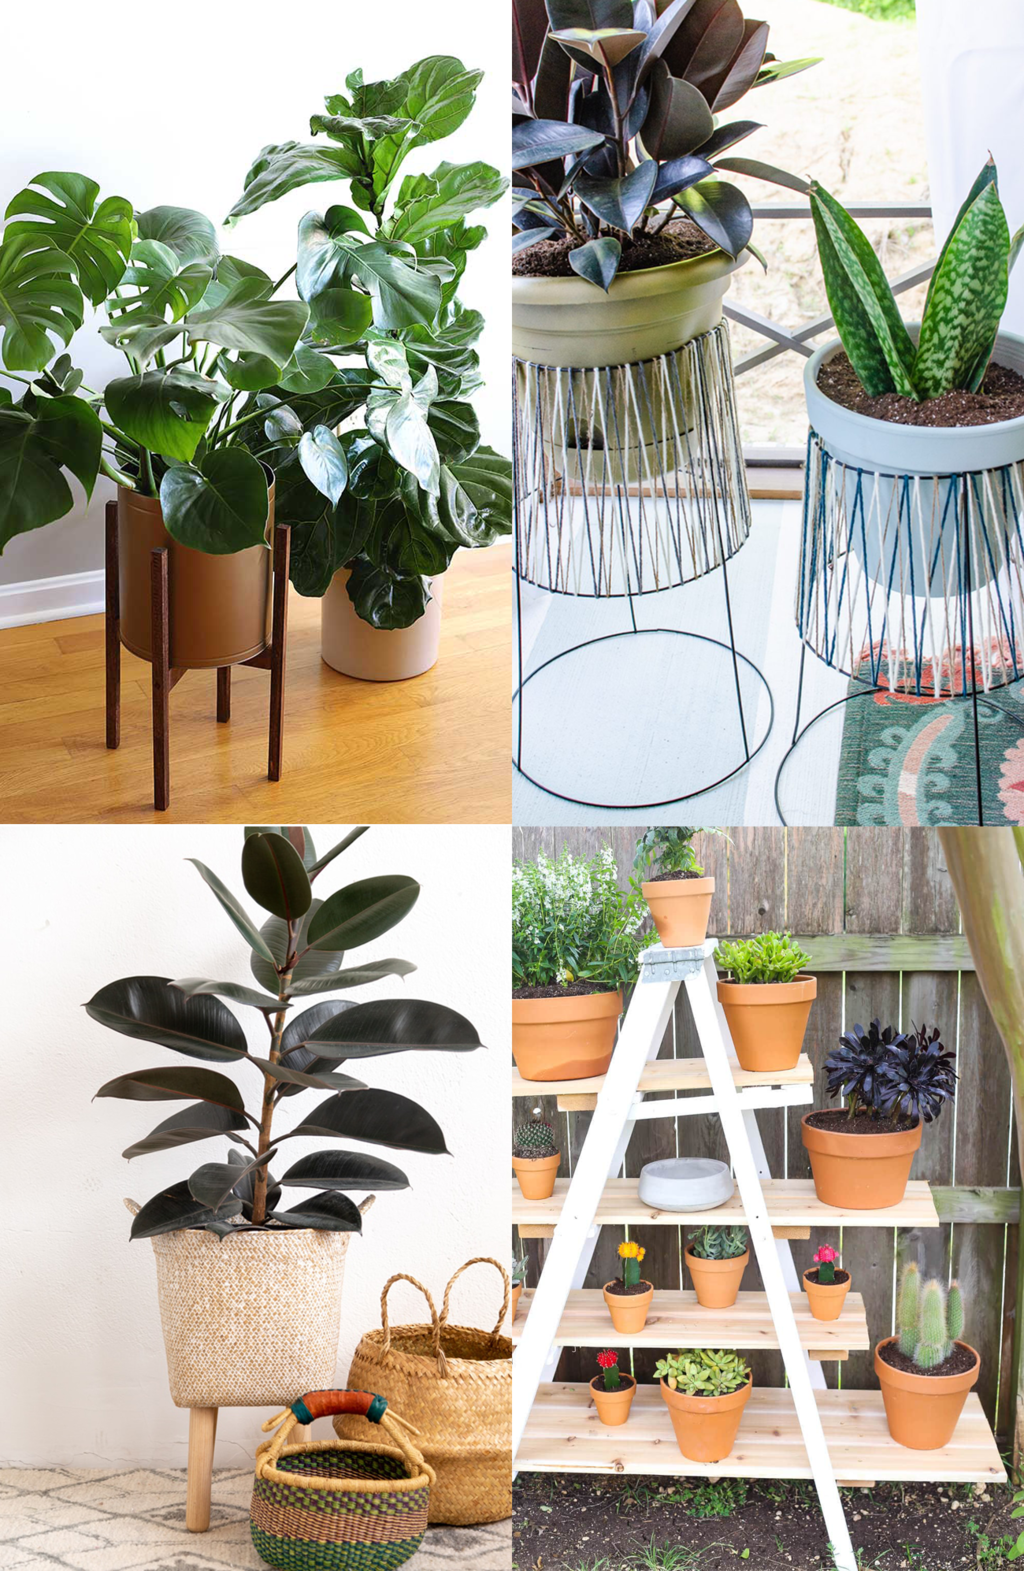
So, I’ve been wanting to add some more greenery to my living room, but I didn’t just want to plop the pots on the floor. I wanted something with a bit of height, a bit of style, you know? I looked around online, but everything was either way too expensive or just not my taste. So I thought, “Why not just make one myself?”
First, I gathered some wood I had lying around from an old project. I think it was pine, but honestly, I’m not too great with wood types. I also grabbed some basic tools – a saw, a drill, some screws, sandpaper, and wood glue. Nothing fancy, just the usual stuff you’d find in a garage.
Getting Started
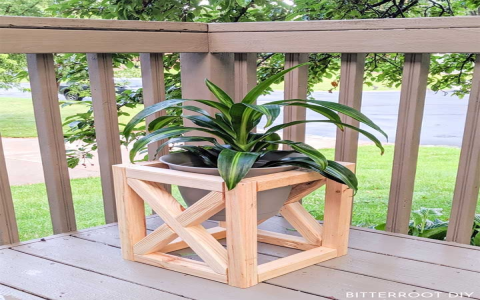
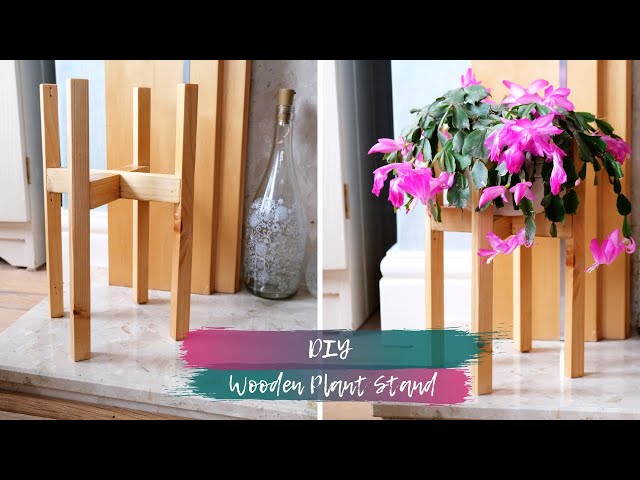
I started by sketching out a really rough design. I’m no artist, so it was basically just some stick figures of a plant stand. I knew I wanted something simple, with three legs and a circular top. Once I had a general idea, I started cutting the wood. I cut three long pieces for the legs, and then two smaller circles for the top and a support piece underneath.
After cutting, everything was pretty rough, so I spent a good chunk of time sanding. This was probably the most tedious part, but it’s important if you don’t want splinters! I sanded all the edges and surfaces until they were nice and smooth. After that, I drilled a hole to hold the support piece.
Putting It Together
Next came the assembly. I used wood glue to attach the support piece to the underside of the circular top, then clamped them together and let it dry. While that was drying, I started working on the legs. I wanted them to be angled outwards, so I drilled angled holes in the support piece, which was a bit tricky, but I managed.
Once the glue was dry, I screwed the legs into the holes I’d drilled. This took some adjusting to make sure the stand was level and not wobbly. Then, screwed the support piece to the legs with the help of the holes I drilled at the very beginning. After that, I filled in any gaps with wood filler and let that dry, too.
The Final Touches
After everything was dry and solid, I did another round of sanding to smooth out the wood filler. Then came the fun part – painting! I chose a dark green color that I thought would complement my plants. I applied two coats of paint, letting it dry completely between coats.
And that’s it! My very own, handmade plant stand. It’s not perfect, but I’m pretty proud of it. It’s sturdy, it looks nice in my living room, and it was way cheaper than buying one. Plus, it’s got that personal touch that you just can’t get from a store-bought item.
If you’re thinking about making your own plant stand, I say go for it! It’s a fun project, and you don’t need to be a master craftsman to do it. Just take your time, be patient, and enjoy the process. You might surprise yourself with what you can create!


