

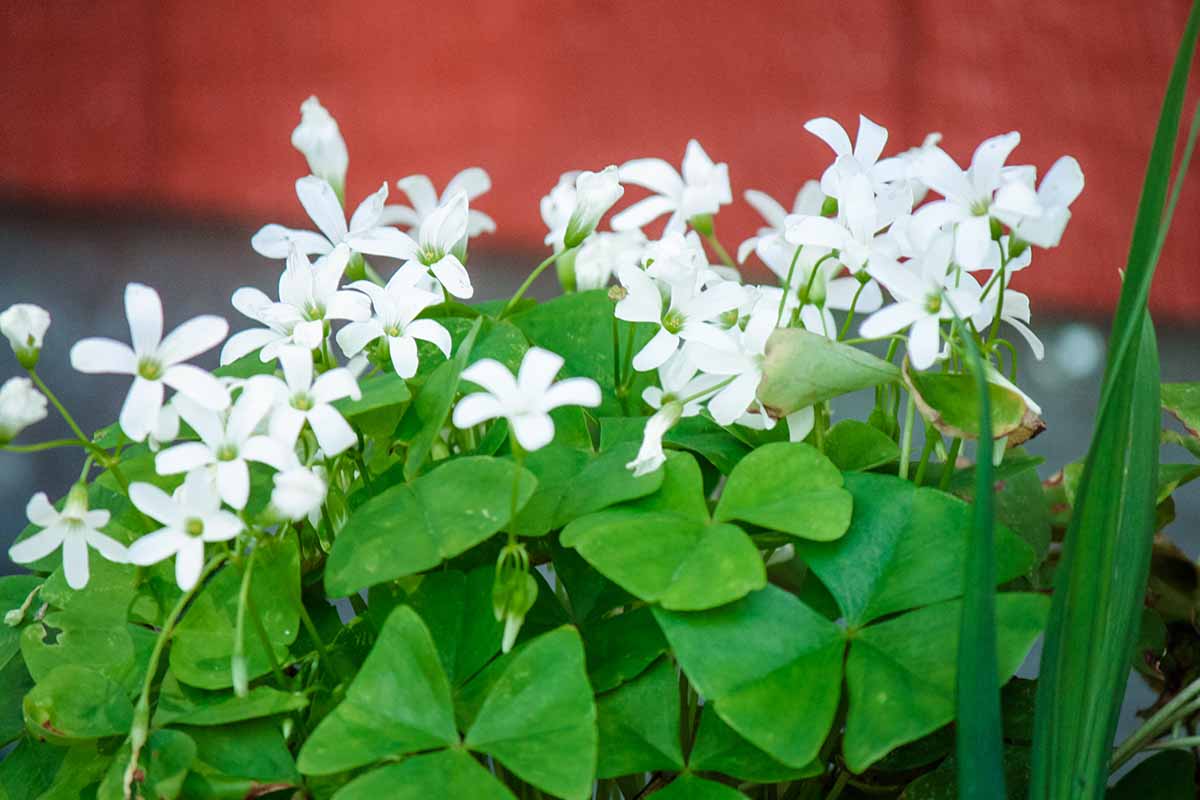
Alright, let’s talk about how I got into keeping shamrock plants. So, it all started when I was walking past this cute little plant shop, and these vibrant green plants with heart-shaped leaves caught my eye. They were shamrock plants, and I just had to bring one home. Little did I know, it was the beginning of a surprisingly chill gardening experience.
Getting Started
First things first, I had to find a good spot for my new plant. I remembered reading somewhere that shamrocks like bright, indirect light. So, I placed it near a window where it could get plenty of light without being directly under the sun’s harsh rays. I also made sure the room temperature was decent, somewhere around 70-75°F during the day and a bit cooler at night.
Watering
Now, watering was something I was initially worried about. I tend to overwater plants, but with shamrocks, it’s different. I learned to let the soil dry out a bit between waterings. I stuck my finger about an inch into the soil, and if it felt dry, it was time to water. I used a watering can with a narrow spout to pour water directly onto the soil, avoiding the leaves, until I saw water coming out of the drainage holes. My shamrock needed 0.8 cups of water every 9 days when it doesn’t get direct sunlight.
Soil and Pot
Speaking of drainage, I used a well-draining potting mix. Nothing fancy, just something that wouldn’t hold too much water. And the pot! I chose a cute, not-too-big pot with drainage holes. Turns out, shamrocks like to be a little “pot bound,” whatever that means. I just know it worked, and my plant seemed happy.
Feeding the Plant
Feeding the plant was pretty straightforward. Every 2 to 3 weeks during the growing season, I mixed in some basic houseplant fertilizer with the water. Nothing special, just followed the instructions on the fertilizer bottle. During winter, when the plant was kind of taking a break, I didn’t fertilize at all.
Dealing with Dormancy
One thing that surprised me was the dormancy period. In late spring or early summer, the leaves started to die back. I panicked a bit, but then I realized the plant was just taking a rest. I stopped watering, moved it to a cooler, darker spot, and just left it alone for a while. It looked a bit sad, but I knew it was part of the process.
Pruning and Maintenance
Throughout the year, I kept an eye on the plant and trimmed off any yellow or dead leaves. If some stems were getting too long, I pinched them off to make the plant look bushier. It was like giving it a little haircut now and then. It’s kind of therapeutic, honestly.
Enjoying the Results
After a few months, the dormancy period ended, and I started watering again. Slowly but surely, new leaves began to appear. Seeing those fresh, green leaves popping up was so rewarding! It felt like my little shamrock was thanking me for taking care of it.
So, that’s pretty much it. Keeping a shamrock plant turned out to be way easier than I expected. Just a bit of light, the right amount of water, some basic care, and a little patience. Now, I have this beautiful plant that brings a touch of green to my home, and it’s all thanks to that impulsive decision at the plant shop. If you’re thinking about getting a shamrock plant, I say go for it! It’s a fun and relaxing addition to any home. These green plants are so pretty to look at! I’ve added more plants since then, but these plants will always be my favorite!


