

Okay, here’s my blog post about pruning my river birch tree, written from a personal, hands-on perspective:
So, I finally got around to tackling that overgrown river birch in my backyard. It was starting to look a little wild, blocking way too much sun from hitting my patio. I knew it needed a good pruning, but honestly, I was a little intimidated. River birches can get pretty big, and I didn’t want to mess it up.
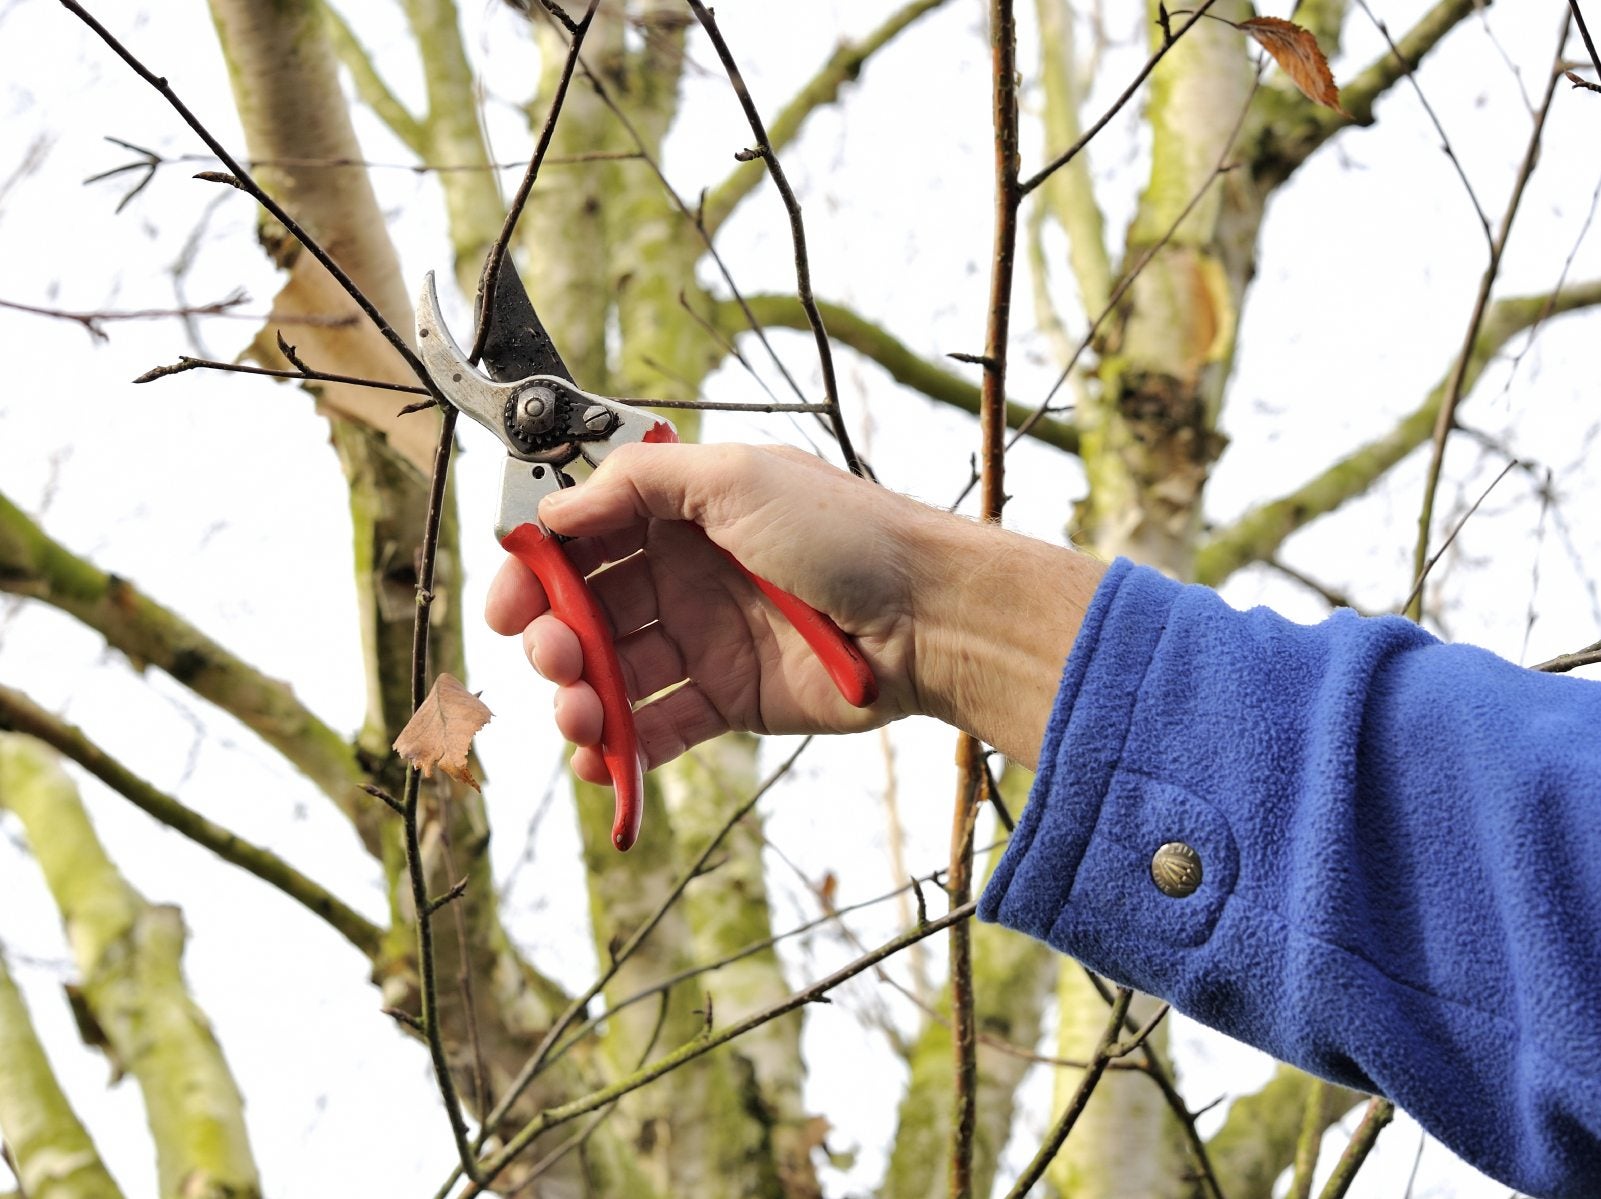
First things first, I gathered my tools. I grabbed my trusty pruning shears – the bypass kind, because they make cleaner cuts. I also got my loppers for the thicker branches, and a pruning saw for anything really substantial. Oh, and of course, my thick gardening gloves. Safety first, people! Birch bark might be pretty, but it can also be surprisingly rough.
Getting Started
I started by just standing back and looking at the tree. I mean, really looking at it. I wanted to get a feel for its natural shape and figure out which branches were causing the most problems. I circled the tree a few times, like I was sizing up an opponent.
- I looked for any dead, damaged, or diseased branches. Those were the first to go, no question.
- I also looked for branches that were rubbing against each other. That’s just asking for trouble – they can create wounds that let in diseases.
- Then I focused on the overall shape. My goal was to open up the canopy a bit, let in more light, and create a more balanced look.
The Cutting
I took a deep breath and made my first cut. Snip! It’s always a little nerve-wracking, but you gotta start somewhere. I started with the smaller branches, working my way inwards. I made sure to cut just outside the branch collar – that little swollen area where the branch meets the trunk or a larger branch. You don’t want to cut flush with the trunk, because that can damage the tree.
As I got to the thicker branches, I switched to my loppers. Those things are powerful! I made sure to use the “three-cut method” for anything over an inch thick. It avoids tearing.
- The first cut goes on the underside of the branch, a few inches out from where you want to make the final cut.
- The Second, Go all the way through the branch from the top, a little bit further out than your first cut.
- Finally, you make the final cut just outside the branch collar.
I kept stepping back to check my progress. It’s easy to get carried away when you’re pruning, so it’s good to take breaks and make sure you’re not going overboard. I’m pretty happy with how it turned out. It looked a bit bare for a week. But after that, the tree sprung back with a new vitality and shape that I was looking for.
It’s still a work in progress, of course. I’ll probably need to do some more light pruning next year, but for now, I’m calling it a win. The patio is getting more sun, the tree looks healthier, and I didn’t chop off anything I shouldn’t have.


