
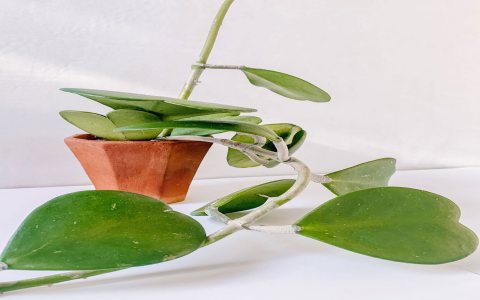
Okay, so, today I’m going to talk about repotting my hoya plant. I’ve had this guy for a while now, and it was definitely time for a new home. They say these plants like to be root-bound, but mine was starting to look a little sad, so I figured it was time.
First, I gathered my supplies. I got a new pot that was just a little bit bigger than the old one, some fresh potting mix, and my trusty watering can. I also laid down some newspaper because I knew this was gonna get messy. No one likes cleaning up dirt, right?
Next, I took my hoya out of its old pot. This was a bit of a struggle, but I managed to ease it out without damaging the roots too much. I gently loosened the root ball with my fingers, trying to get rid of some of the old soil. It was pretty packed in there!
- Prepare the new pot. I put a layer of fresh potting mix at the bottom.
- Place the plant in the new pot. I carefully placed the hoya in the new pot, making sure it was centered.
- Fill with soil. Then I filled in the rest of the pot with the new potting mix, making sure to pack it down gently around the roots.
- Water thoroughly. I gave it a good watering until the water drained out the bottom.
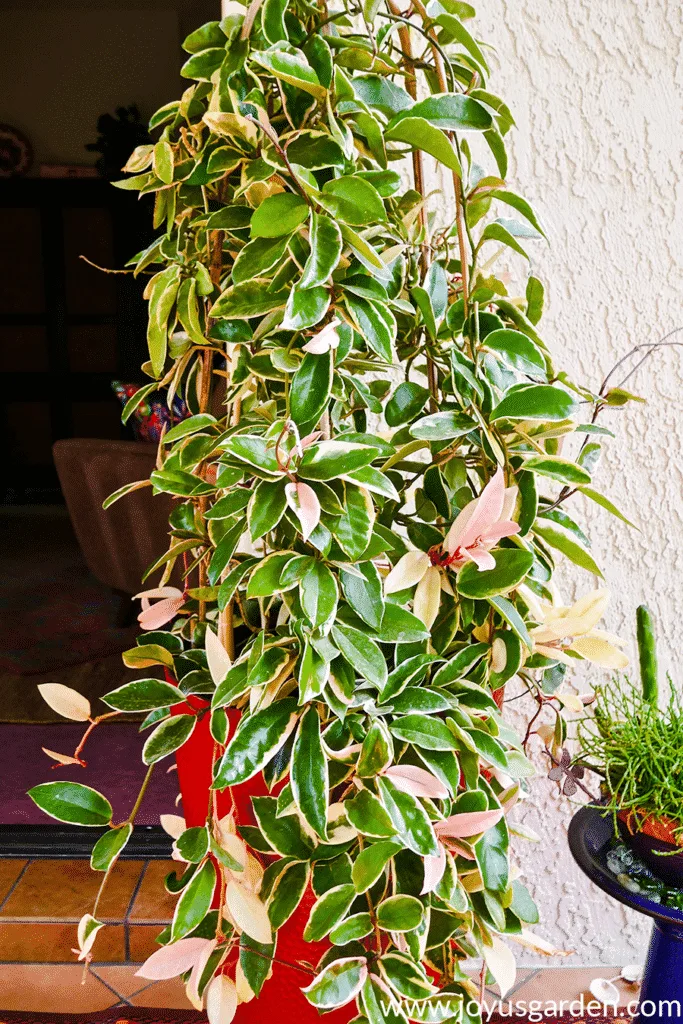
And that’s it! My hoya is now happily repotted. I moved it to a bright spot, but not in direct sunlight, and I’ll keep an eye on it over the next few weeks to make sure it’s adjusting well. It already looks happier, so I’m pretty pleased with how it turned out.
Hopefully, this will encourage it to grow even more, and maybe even bloom this year,fingers crossed! Repotting can seem a bit daunting, but if I can do it, you can too. Just be gentle, take your time, and your plants will thank you for it.


