

Okay, so yesterday I finally got around to repotting some of my plants. It was a whole thing, let me tell you. I’ve been putting it off for, like, ever, but the roots were starting to peek out of the drainage holes. Time for an upgrade!
Getting Started
First, I gathered all my supplies. I had my new pots, which I’d picked up from the local garden center. I also made sure I had plenty of potting mix – I always underestimate how much I need! And of course, my trusty watering can was ready to go.
The Repotting Process
I started by gently taking each plant out of its old pot. Some of them were really root-bound, so I had to carefully loosen the roots a bit. It’s like giving them a little massage, you know? Then, I put a layer of fresh potting mix in the new pot, placed the plant in, and filled in the sides with more soil. I made sure not to pack it down too tight – the roots need some room to breathe.
Watering Time!
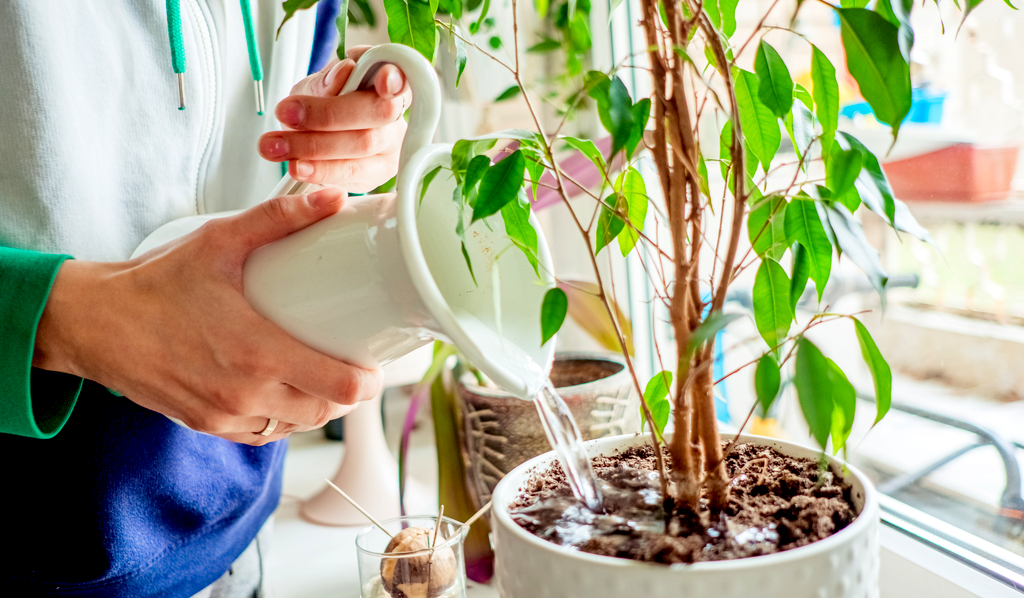
Now, this is the key part: watering after repotting. After finished repotting I always water plants.
I like to give them a really good soak. I keep watering until I see water coming out of the drainage holes.
That way, I know the soil is evenly moist.
- Giving them a good, deep watering helps settle the soil.
- It also helps the plant recover from the stress of being moved.
- The last thing I made sure that all plants had enough water.
I watched the water drain out, and then I put the plants back in their usual spots. Now, it’s just a matter of keeping an eye on them and making sure they don’t dry out too much in the next few days. They might be a little droopy for a bit, but they should perk up soon enough.
So yeah, that’s my repotting and watering adventure. It’s not rocket science, but it feels good to give my plants a little extra TLC. Hopefully, they’ll reward me with some nice new growth!


