

Okay, so, today I decided it was time to repot my Norfolk pine. This big guy has been in the same pot for a while now, and honestly, it was starting to look a little cramped. I’ve been putting it off, ’cause, you know, it’s a big tree and a big job, but it had to be done.
First, I gathered all my materials. You’ll need a new pot, of course, one that’s a couple of inches bigger in diameter than the old one. Then, I grabbed some fresh potting mix. I’ve heard that these Norfolk pines like soil that’s a bit acidic, so I used a commercial mix that’s made for succulents. You can also make your own mix, like equal parts of sterilized potting soil, peat moss, and sand. I also made sure I had some heavy stuff, like potting sand, to put in the mix. These trees can get tall, and you want to make sure the pot is heavy enough so it doesn’t tip over.
Next, I prepared the new pot. I put a layer of the heavy stuff at the bottom for stability, and then added some of the potting mix on top of that. I wanted to make sure there was enough room for the tree’s roots, but not too much that it would be sitting too low in the pot.
Now for the fun part – getting the tree out of its old pot. I gave the soil a good watering a few hours before, just to make it easier to work with. Then, I carefully tipped the pot on its side and gently tugged at the base of the tree. It took a bit of wiggling and pulling, but eventually, the whole root ball slid out. It was pretty root-bound, which confirmed that I was doing the right thing by repotting.
Inspect the Roots
- Examine the roots: Once the tree was out, I took a good look at the roots.
- Trim the roots: I trimmed off any that were circling around the root ball or looked damaged.
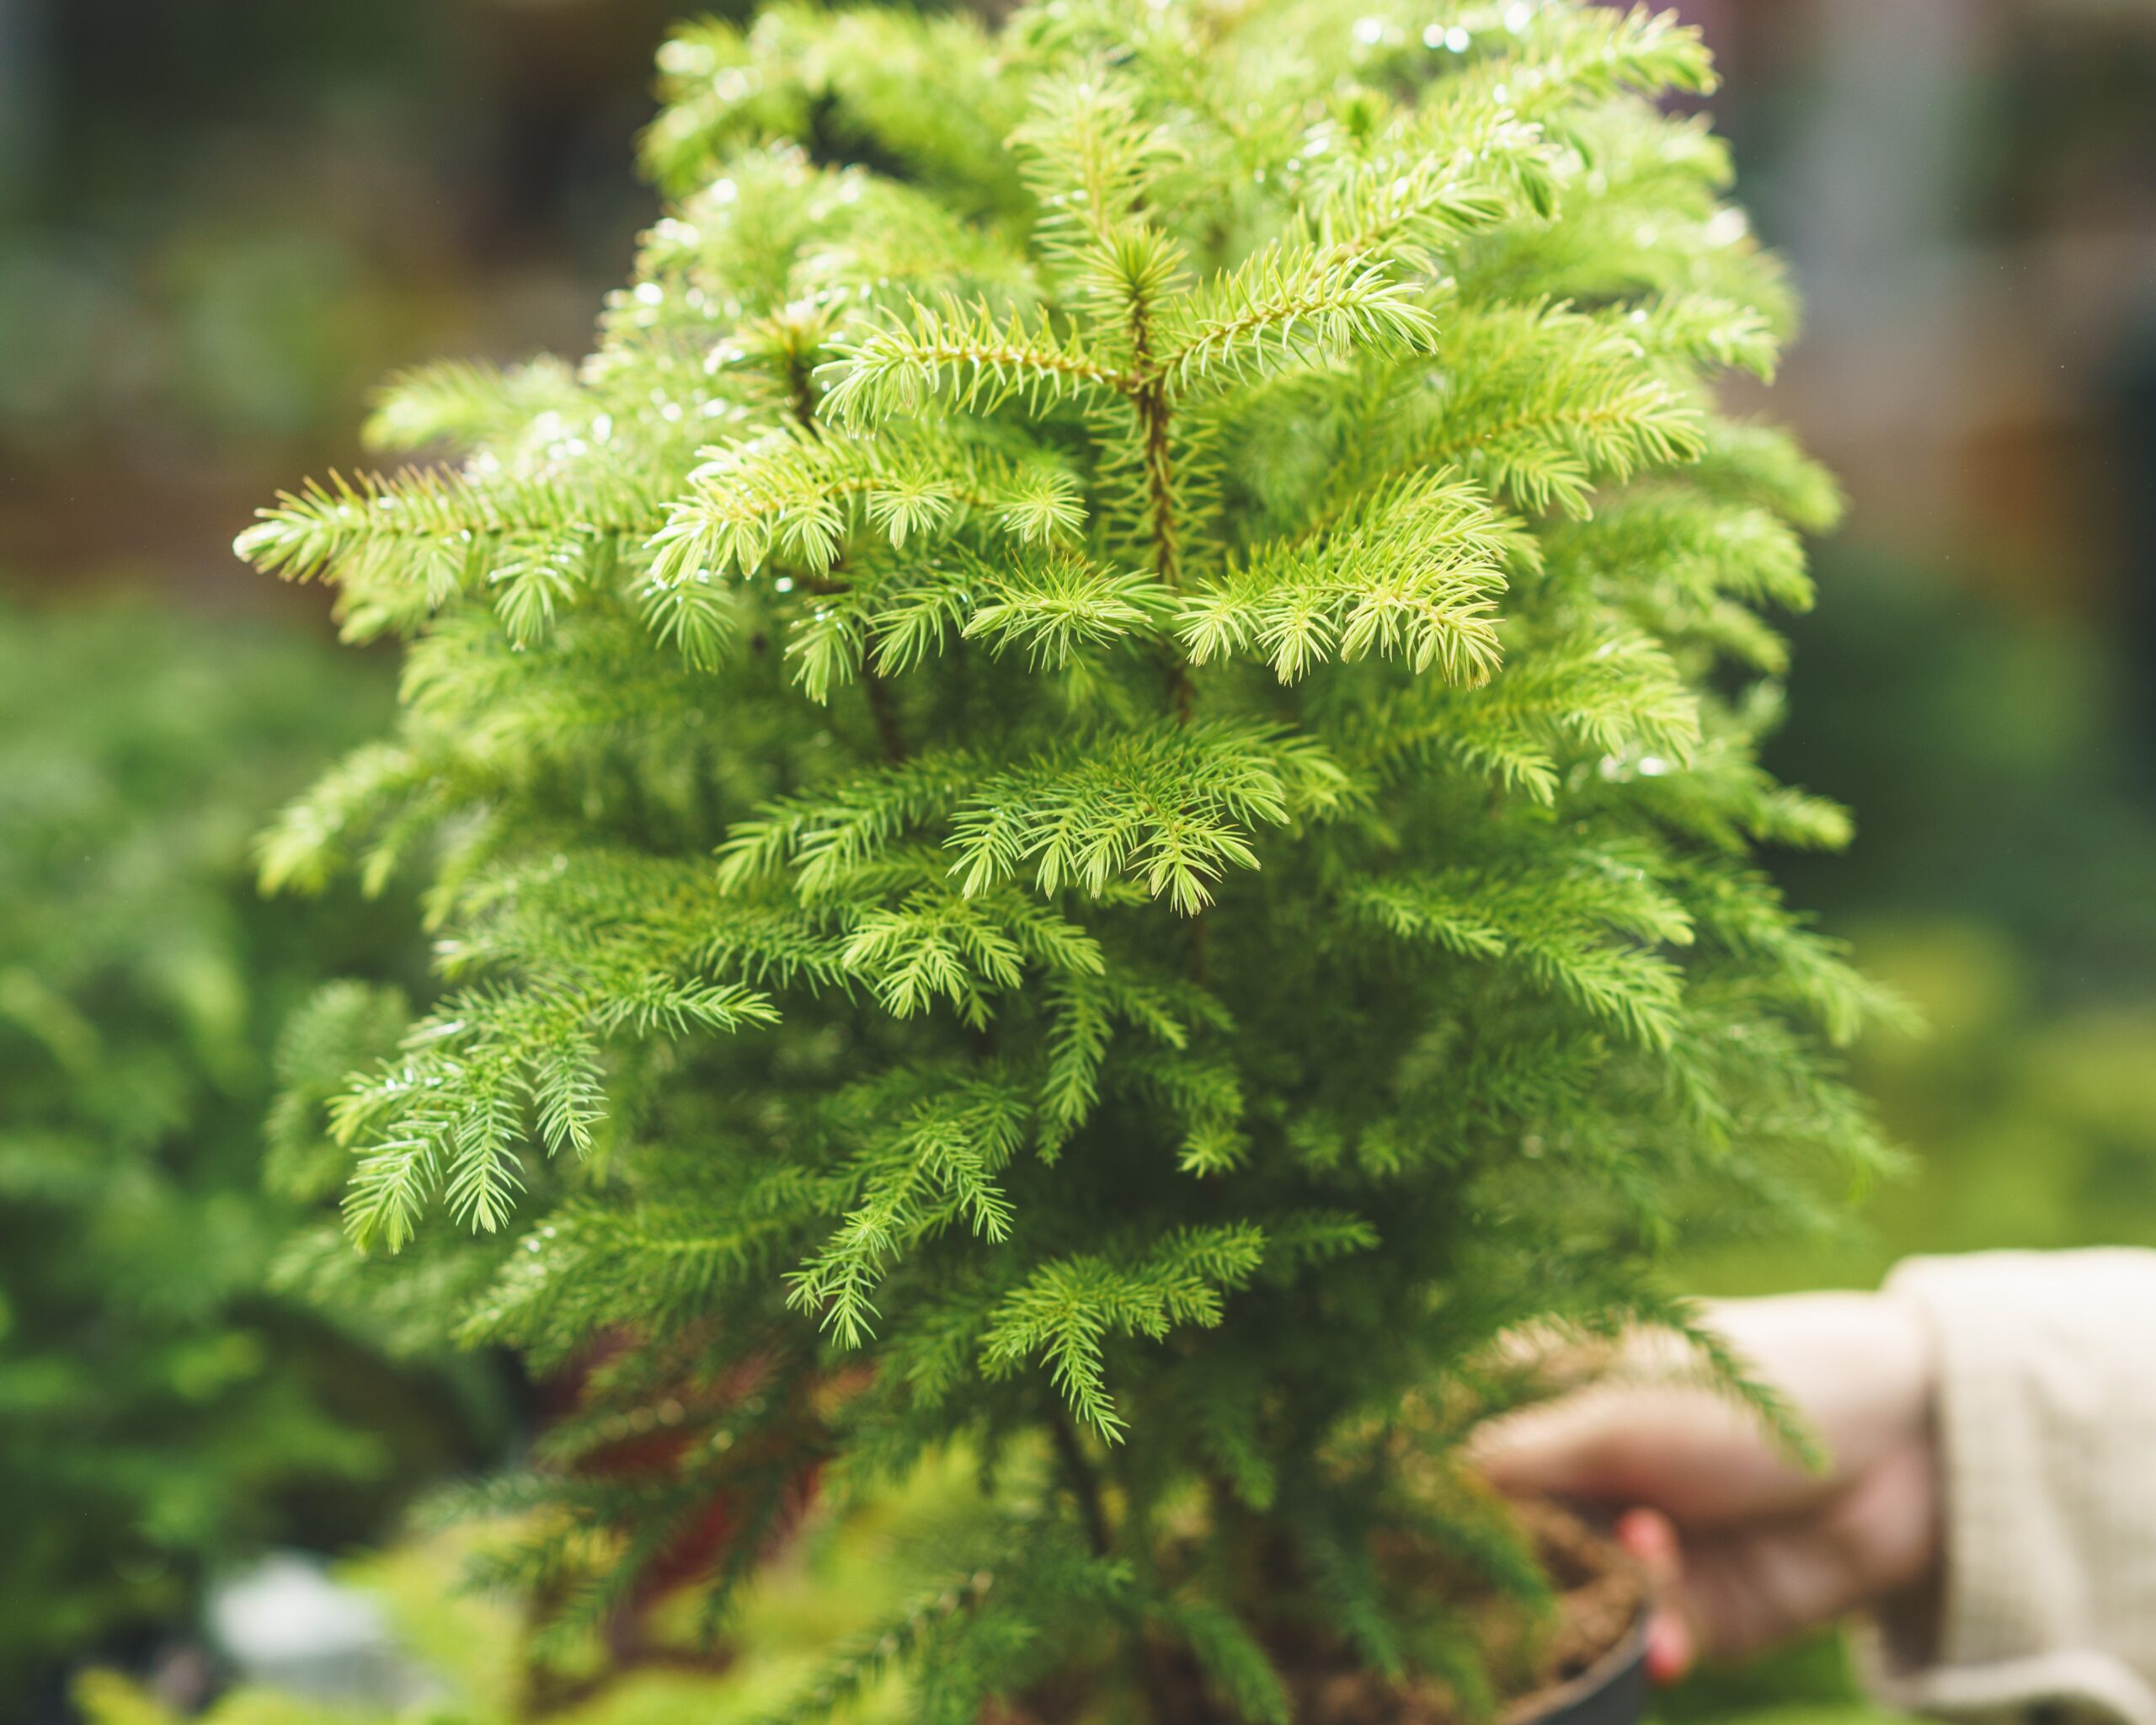
Then, I placed the tree into the new pot, making sure it was centered and upright. I filled in around the root ball with more of the potting mix, gently pressing it down to remove any air pockets. I made sure not to bury the trunk any deeper than it was in the old pot. I left some space at the top of the pot for watering. Then I gave the whole thing a good soak, letting the water drain out the bottom.
And that’s it! The Norfolk pine is now happily settled in its new home. It looks so much better, and I know it’ll have more room to grow now. I’ll keep an eye on it over the next few weeks, making sure it’s adjusting well to its new pot. I’ll also be sure to give it plenty of light, as these trees love a bright spot. I’m no expert, but I think it went pretty well. It wasn’t as hard as I thought it would be, and the tree seems happy enough. Hopefully, this will keep it going strong for a long time!


