
Okay, so I’ve been meaning to repot my Phalaenopsis orchids for, like, forever. They were still in those little plastic pots from the store, and the roots were starting to look a little… crowded. Time for some fresh potting soil, specifically designed for these beauties!
Getting Started
First, I gathered my supplies. I needed:
- New pots (slightly bigger than the old ones)
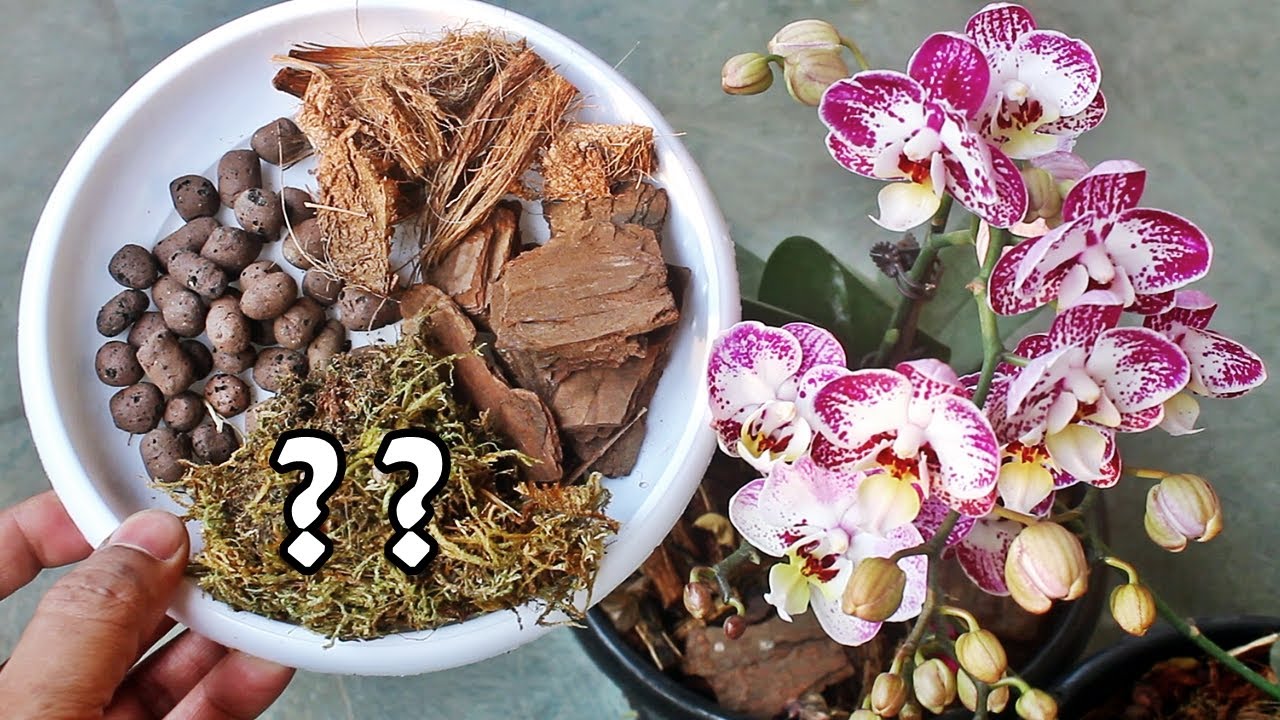
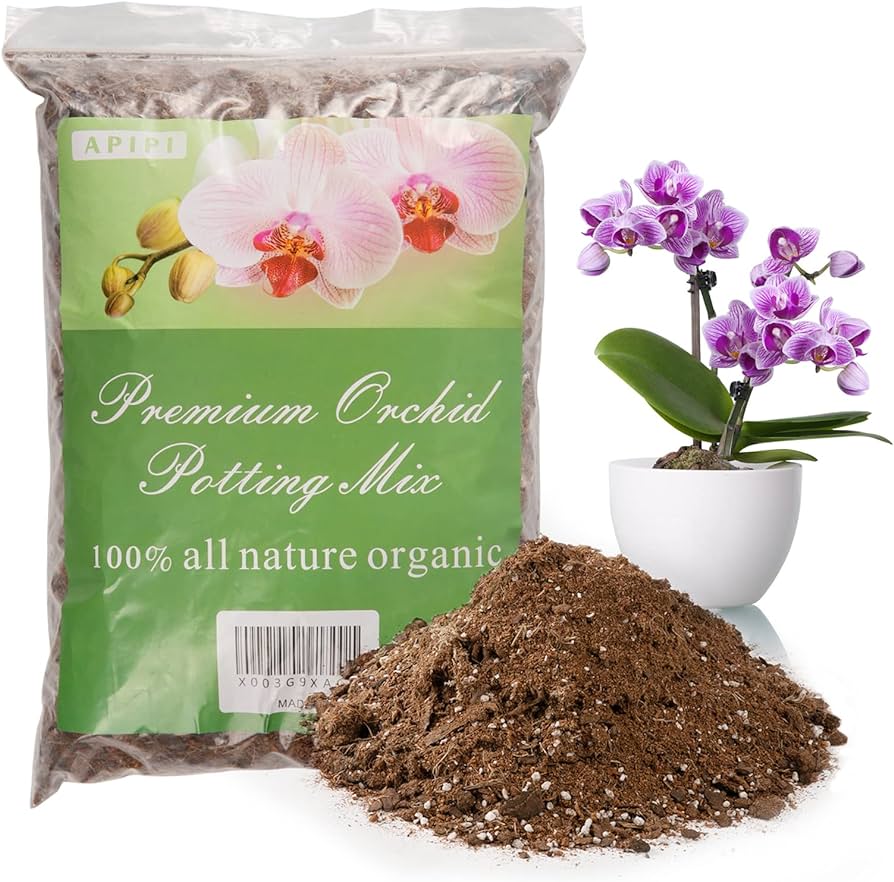
- A good orchid potting mix – I chose one specifically labeled for Phalaenopsis.
- Scissors (sterilized, of course – gotta keep things clean!)
- Some lukewarm water
The Repotting Process
I started by gently taking the orchids out of their old pots. This was a little tricky because some of the roots were stuck to the sides. I worked slowly, being careful not to break any healthy roots. Once they were out, I carefully removed as much of the old potting mix as I could. I shook them a bit, and used my fingers to gently tease apart the roots.
Next, I inspected the roots. Any that were mushy, brown, or just plain dead-looking, I snipped off with my sterilized scissors. Healthy roots are firm and green or silvery-white, so I left those alone.
Then, I put a small layer of the new potting mix in the bottom of the new pot. I placed the orchid in the pot, making sure the base of the plant was at roughly the same level it was before. Then, I carefully added more potting mix around the roots, tapping the pot gently to settle the mix.
I didn’t pack it down too tightly, though. Orchids like good air circulation around their roots, so you want the mix to be airy, not compacted.
The Finishing Touches
After I was done potting, I gave the orchids a good soak with lukewarm water, letting the excess water drain out completely. I avoided getting water in the crown of the plant (where the leaves meet) because that can lead to rot.
Finally, I put the orchids back in their usual spot – a bright window with indirect light. And that was it! They seem much happier now, and I’m hoping they’ll reward me with some beautiful blooms soon.
It was super easy, honestly. Just a little bit of time and effort, and my orchids are all set for another year or two!


