

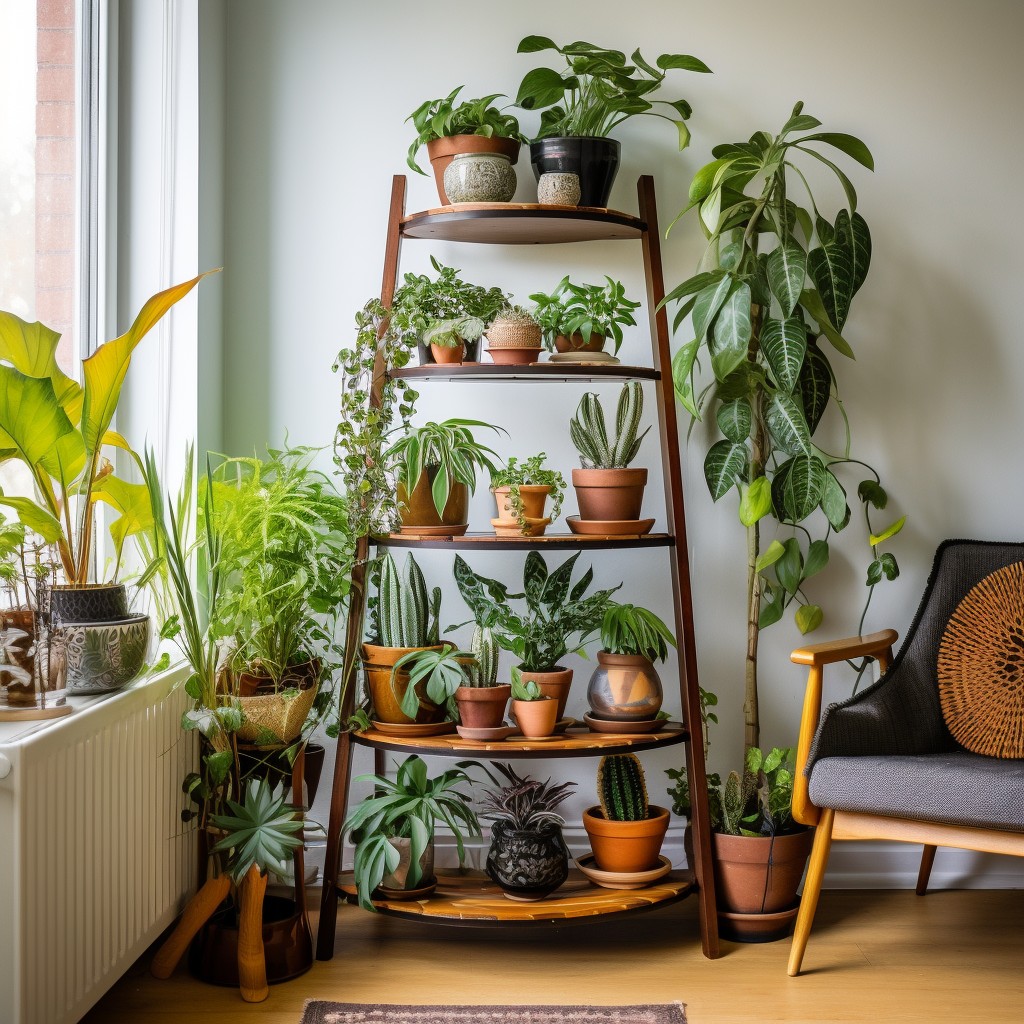
Okay so here’s the thing – I’ve got like a million houseplants crammed on my windowsill, right? Total jungle situation. Couldn’t even see out the window anymore. So last Tuesday I went, “Enough! Need proper stands!” But store-bought ones look so boring. Figured I’d try making ceramic ones myself since I’ve got that pottery wheel collecting dust in the garage.
Scrabbling for inspiration
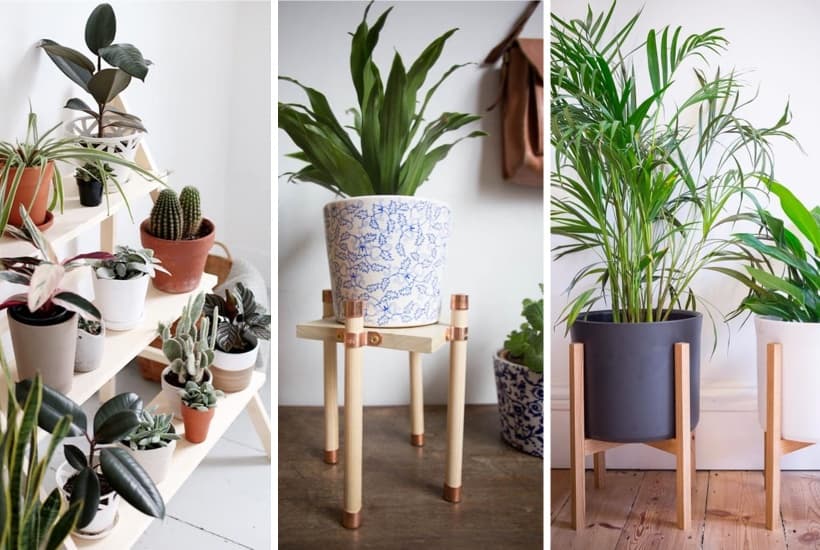
First I started scrolling everywhere for cool plant stand ideas. Saw some geometric ones but they looked too fragile. Then spotted these organic wave-shaped stands that made plants look like they’re floating. Ding ding ding! That’s the vibe I wanted. Grabbed my sketchbook and doodled these curvy tripod stands that’d cradle pots without hiding them.
Clay wrestling time
Pulled out my gray stoneware clay – 25 pounds of it. Wedged that lump like it owed me money for 20 minutes. Threw three big cylinders on the wheel first. That part went smooth – I’ve done tons of mugs. But then came the tricky bit: hand-building those swoopy supports.
Rolled out slabs about half-inch thick and cut wavy strips using my pizza cutter (don’t judge – it works!). These kept sagging like sad noodles when I tried to attach them to the base. Had to:
- Prop them up with foam blocks
- Use vinegar slip for extra stick
- Score like crazy crosshatch patterns
Took five ugly tries before I figured out the angle where gravity didn’t ruin everything.
Disaster strikes!
Left them drying too close to the heater. Came back to cracks everywhere! Almost cried. Slapped clay slurry all over like it was emergency room bandages. Then slowed the drying big time – plastic sheeting over them with just tiny air gaps. Took four days instead of one.
Glazing panic attack
Wanted that earthy look so I mixed three glazes:
Test tiles saved my butt here – poured test mixes on those first. Original plan was mossy green but it came out puke-colored on test tile. Changed course to dark brown drip over oatmeal base. Gave them two coats with an old makeup brush for texture.
The big reveal
Opened the kiln next morning ready for heartbreak. BUT! They came out gorgeous – oatmeal base with chocolatey drips pooling where the curves dip. Put my snake plant on one and boom – looks like modern art! Best part? Each stand was totally unique since the clay warped slightly in firing. That “flaw” actually made them better. Got three beauties out of that mess and zero casualties after repairs!
So yeah, moral of the story: when your clay cracks or glaze looks wrong? Roll with it. Happy accidents make the coolest plant stands.


