
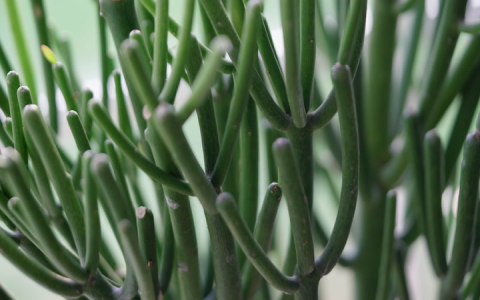
Alright, folks, let’s talk about my little adventure with my pencil cactus. I’ve had this thing for a while, and it was getting seriously out of hand. It looked less like a cool, architectural plant and more like a green, spiky explosion. So, I knew it was time for some serious pencil cactus pruning.
Getting Ready
First things first, I needed to gather my supplies. This wasn’t gonna be a walk in the park. Pencil cactus sap is nasty stuff – it can irritate your skin and eyes like nobody’s business. So, safety first!
- Gloves: Thick gardening gloves, the kind that thorns can’t easily poke through.
- Eye Protection: Goggles, because I really didn’t want that sap anywhere near my eyes.
- Long Sleeves: An old long-sleeved shirt to protect my arms.
- Pruning Shears: Sharp and clean. I wiped them down with some rubbing alcohol to make sure they were sterilized.
- A Drop Cloth or Newspaper: To catch any falling pieces and make cleanup easier.
The Pruning Process
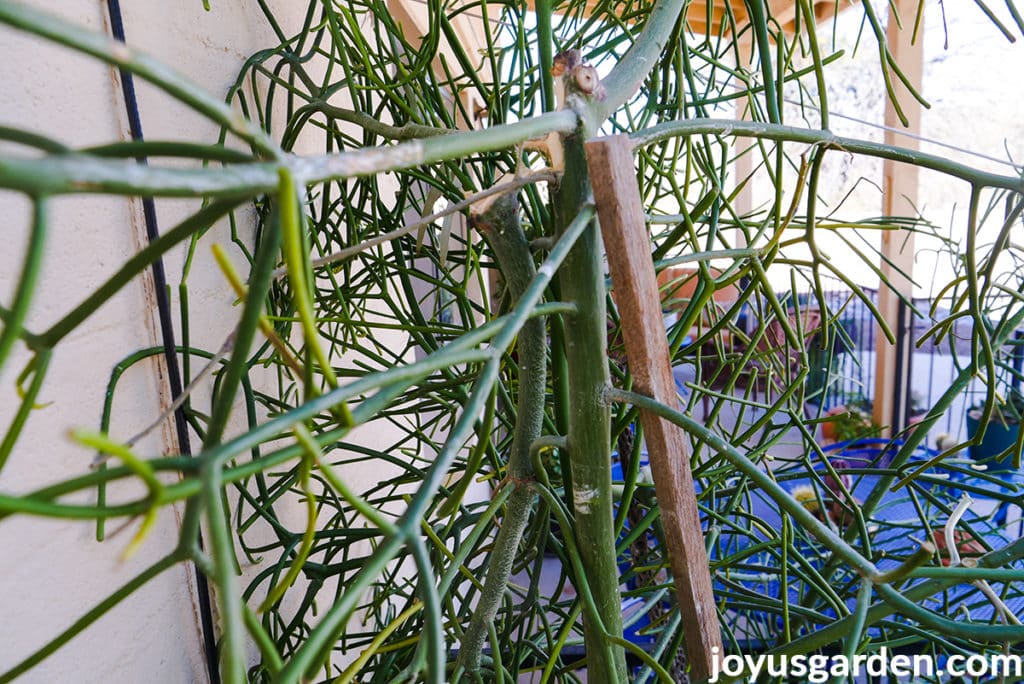
Okay, so, with all my gear on, I felt like I was ready to wrestle an alligator. I started by inspecting the plant, trying to figure out which branches were overgrown, crossing each other, or just plain ugly. The goal was to open up the plant a bit, let in more light, and give it a more pleasing shape.
I took a deep breath and made my first cut. I chose a branch that was sticking out awkwardly and snipped it off close to the main stem. I made sure to make a clean cut, not a jagged one. Jagged cuts are like open wounds for plants, making them more susceptible to diseases.
Then, I step back to access the shape.
I continued this process, taking my time and carefully selecting which branches to remove. I focused on:
- Removing any dead or damaged branches: These were easy to spot – they were usually brown or shriveled.
- Cutting back branches that were rubbing against each other: This prevents wounds and helps with airflow.
- Thinning out the center of the plant: This allows more light to reach the inner branches.
I kept stepping back every few cuts to assess the overall shape. It’s like getting a haircut – you don’t want to go too crazy and end up with something you * took a little patience to find the best spot to prune.I made sure to cut right above a node (the little bump where a new branch can grow).
Cleaning Up
Once I was happy with the shape, it was time to clean up. I carefully gathered all the cuttings, being mindful of that nasty sap. I wrapped them in newspaper and tossed them in the trash. I also wiped down my pruning shears again with rubbing alcohol to make sure they were clean and ready for next time.
The Aftermath
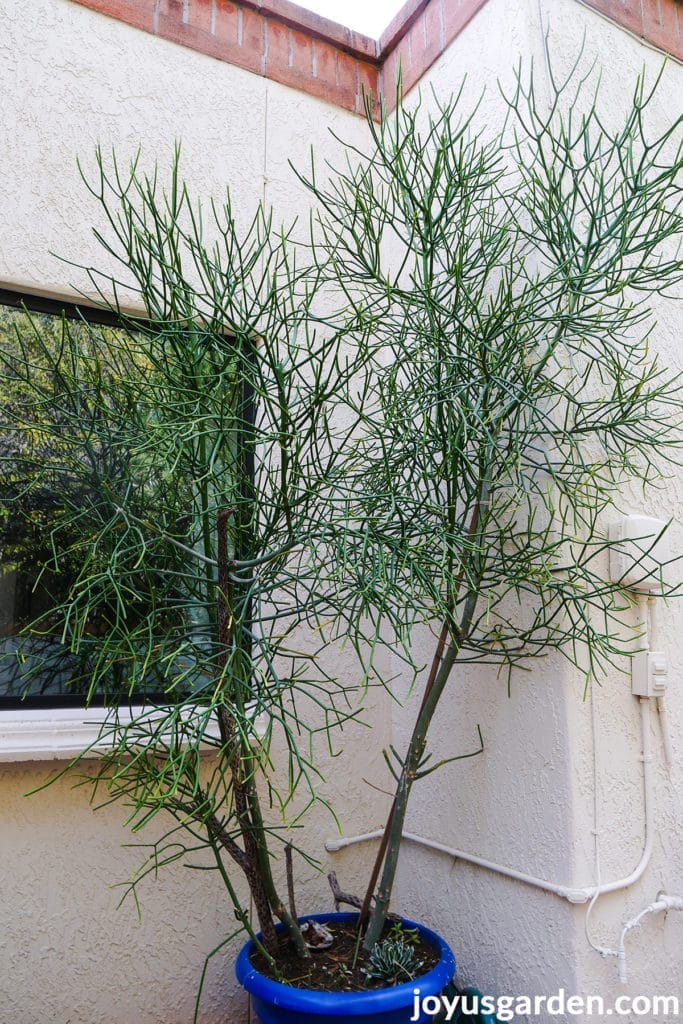
My pencil cactus looked so much better! It was more open, airy, and had a much more defined shape. It was like a whole new plant. I gave it a good watering, and now, a few weeks later, it’s thriving. It’s even putting out some new growth, which is a good sign that it’s happy with its haircut.
Honestly, the whole process was a bit nerve-wracking at first, but it was totally worth * your pencil cactus is doing its wild thing,just go for it.


