
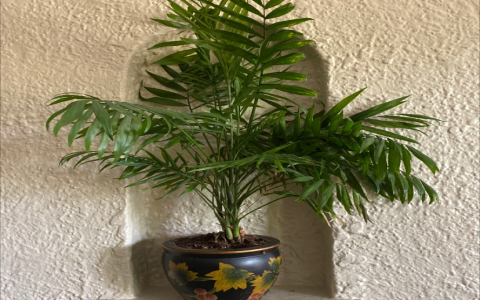
Okay, so my parlour palm was looking REALLY cramped in its pot. You know, the roots were starting to peek out of the drainage holes, and it just wasn’t thriving like it used to. Time for a repotting adventure!
Gathering My Supplies
First things first, I needed to get everything together. Here’s what I rounded up:
- A new pot: I chose one that was just a couple of inches bigger in diameter than the old one. Parlour palms don’t like being over-potted.
- Potting mix:I got some potting mix.
- Gloves: Because I don’t like dirt under my fingernails.
- A trowel: For scooping soil.
- Some water: For after the transplant.
Getting the Palm Out
This part was a little tricky. My palm was REALLY stuck in its old pot. I gently squeezed the sides of the pot to loosen things up. Then, I carefully tipped the pot on its side, supporting the base of the plant with one hand, and tried to wiggle it out. It took some patience, but I finally managed to coax it out without damaging too many roots.
Prepping the New Pot
I put a thin layer of the new potting mix at the bottom of the new pot. This gives the roots something to settle into.
The Big Move
I carefully placed the parlour palm into the new pot, making sure it was centered. Then, I started filling in around the roots with more potting mix, gently pressing down to eliminate any big air pockets. I made sure not to bury the plant any deeper than it was in the old pot.
Watering and Aftercare
Once the plant was settled, I gave it a good watering, letting the water drain out of the bottom. I made sure not to overwater – parlour palms don’t like soggy feet! I put my palm back, not in direct sunlight, but good indirect light.
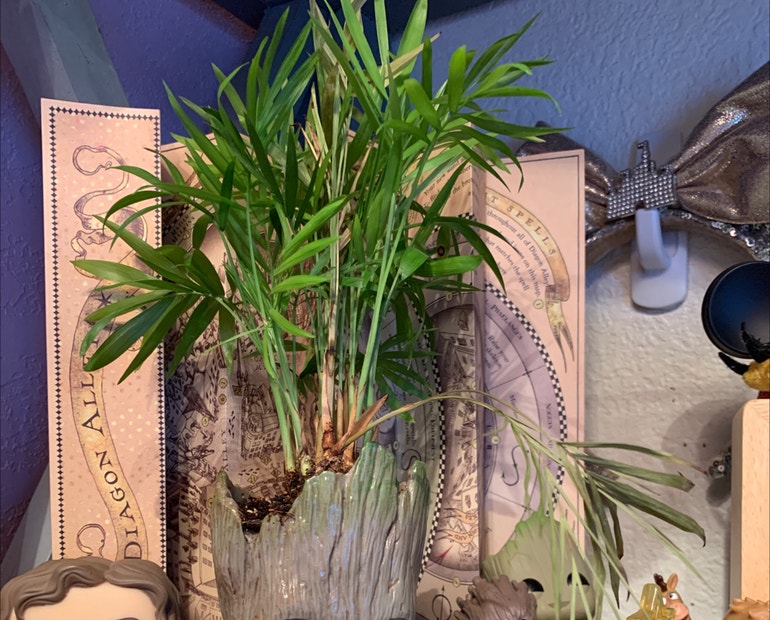
And that’s it! My parlour palm is now happily settled in its new, roomier home. I’m hoping to see some new growth soon. It’s a pretty straightforward process, really, and it makes a big difference to the health of the plant.


