
Well, howdy there, y’all! Let’s talk about re-pottin’ that there Norfolk Pine. I ain’t no fancy expert, but I’ve messed around with these plants enough to know a thing or two. So, listen up, and I’ll tell you what’s what.
Why You Gotta Repot Your Norfolk Pine Sometimes
Now, these here Norfolk Pines, they’re kinda like young’uns—they grow! And when they grow, their roots need more room to stretch out. Think of it like your feet growin’ outta your shoes. It gets cramped and uncomfortable, and the plant can’t thrive if its roots ain’t happy. So, we gotta give ’em a bigger pot ever’ now and then.
Re-pottin’ also gives the plant some fresh dirt. You know, that old dirt can get all tired out and lose its goodies. The new dirt is full of vitamins and whatnot, helps your plant stay strong and healthy. It’s just like feedin’ a hungry belly!
When’s the Best Time to Repot?
You don’t want to go messin’ with your Norfolk Pine just any old time. Springtime is the best, when things are startin’ to grow again after the winter. The plant is just waking up and is full of energy. That’s when it can handle the shock of movin’ to a new pot best.
- Don’t do it in the dead of winter: The plant’s sleepin’ then, and you’ll just stress it out.
- Don’t do it when it’s hotter than heck outside either: Too much heat can make it hard for the plant to adjust.
What You’ll Need
Alright, gather ’round and let’s get our supplies. You’ll need:
- A new pot: Don’t go too crazy big. Just a bit bigger than the old one, maybe a couple inches wider. Make sure it’s got holes in the bottom so the water can drain out. Norfolk Pines don’t like havin’ their feet wet.
- Potting mix: Now, don’t just dig up dirt from the yard. You want that fancy stuff from the store, the kind that drains good. Look for somethin’ that says it’s for acid-lovin’ plants, or you can mix in some peat moss and sand yourself. That’s what I do. It makes the dirt a little sour, just the way these pines like it. I use about three scoops of that peat stuff to one scoop of sand. Seems to work just fine.
- A trowel or a big spoon: Somethin’ to scoop the dirt with.
- Watering can: You’ll need to give your plant a good drink after you re-pot it.
How to Repot Your Norfolk Pine, Step-by-Step
Okay, here’s the part you’ve been waitin’ for. Pay attention now!
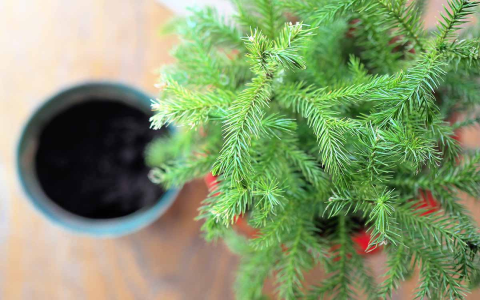
1. Gettin’ the Plant Out of the Old Pot:
First, you gotta gently get that plant outta its old home. Water the dirt a little bit so it ain’t too dry and crumbly. Then, kinda turn the pot on its side and tap the bottom. You might have to wiggle it a little bit. If it’s really stuck, you can run a knife around the inside edge of the pot to loosen it up. Just be careful not to hurt the roots.
2. Checkin’ Out the Roots:
Once you got the plant out, take a peek at the roots. If they’re all tangled up and circling around the bottom, that means it was definitely time for a new pot. You can gently loosen them up a bit, but don’t go tearin’ at ‘em. And if you see any roots that are dead or mushy, you can trim those off.
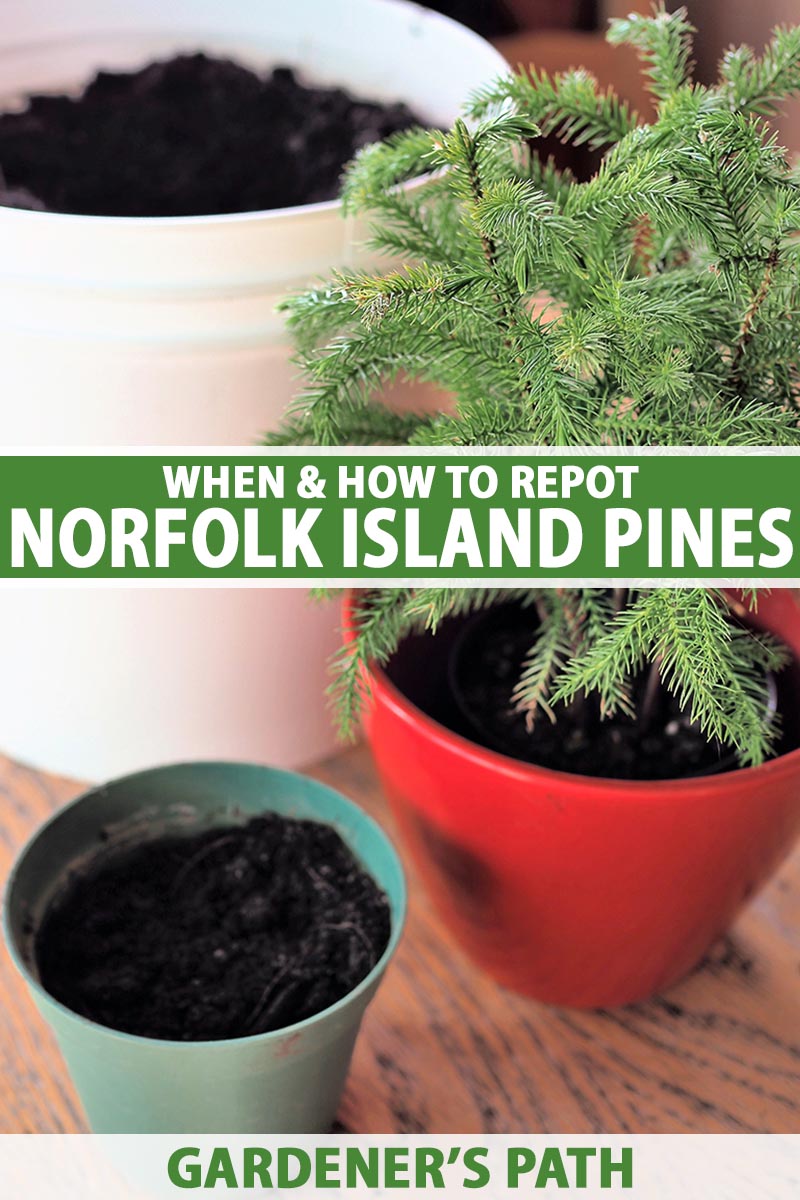
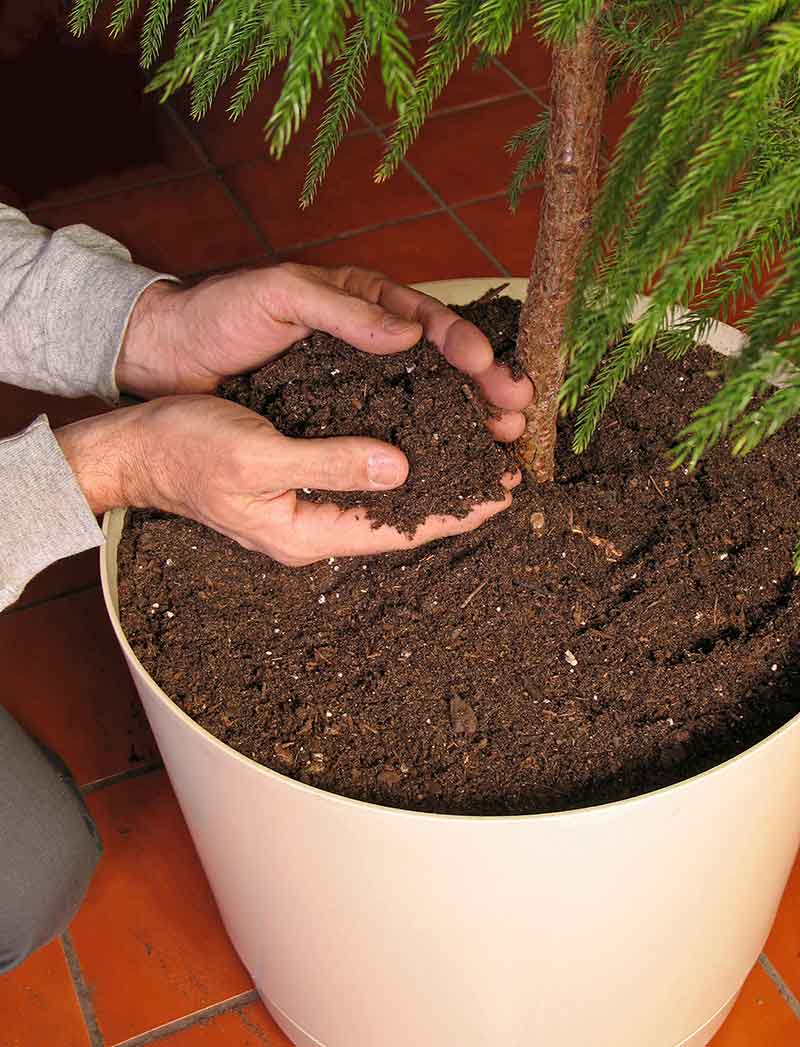
3. Putting it in the New Pot:
Now, put a little bit of that new potting mix in the bottom of the new pot. Not too much, just enough to raise the plant up to the right level. Then, set the Norfolk Pine in the center of the pot and start fillin’ in around the sides with more potting mix. Pat it down gently, but don’t pack it too tight. You want the roots to be able to breathe.
4. Givin’ it a Good Drink:
Once you’ve got the plant all potted up, give it a good drink of water. Water it until you see water comin’ out of the drainage holes in the bottom of the pot. That means the dirt is all nice and moist.
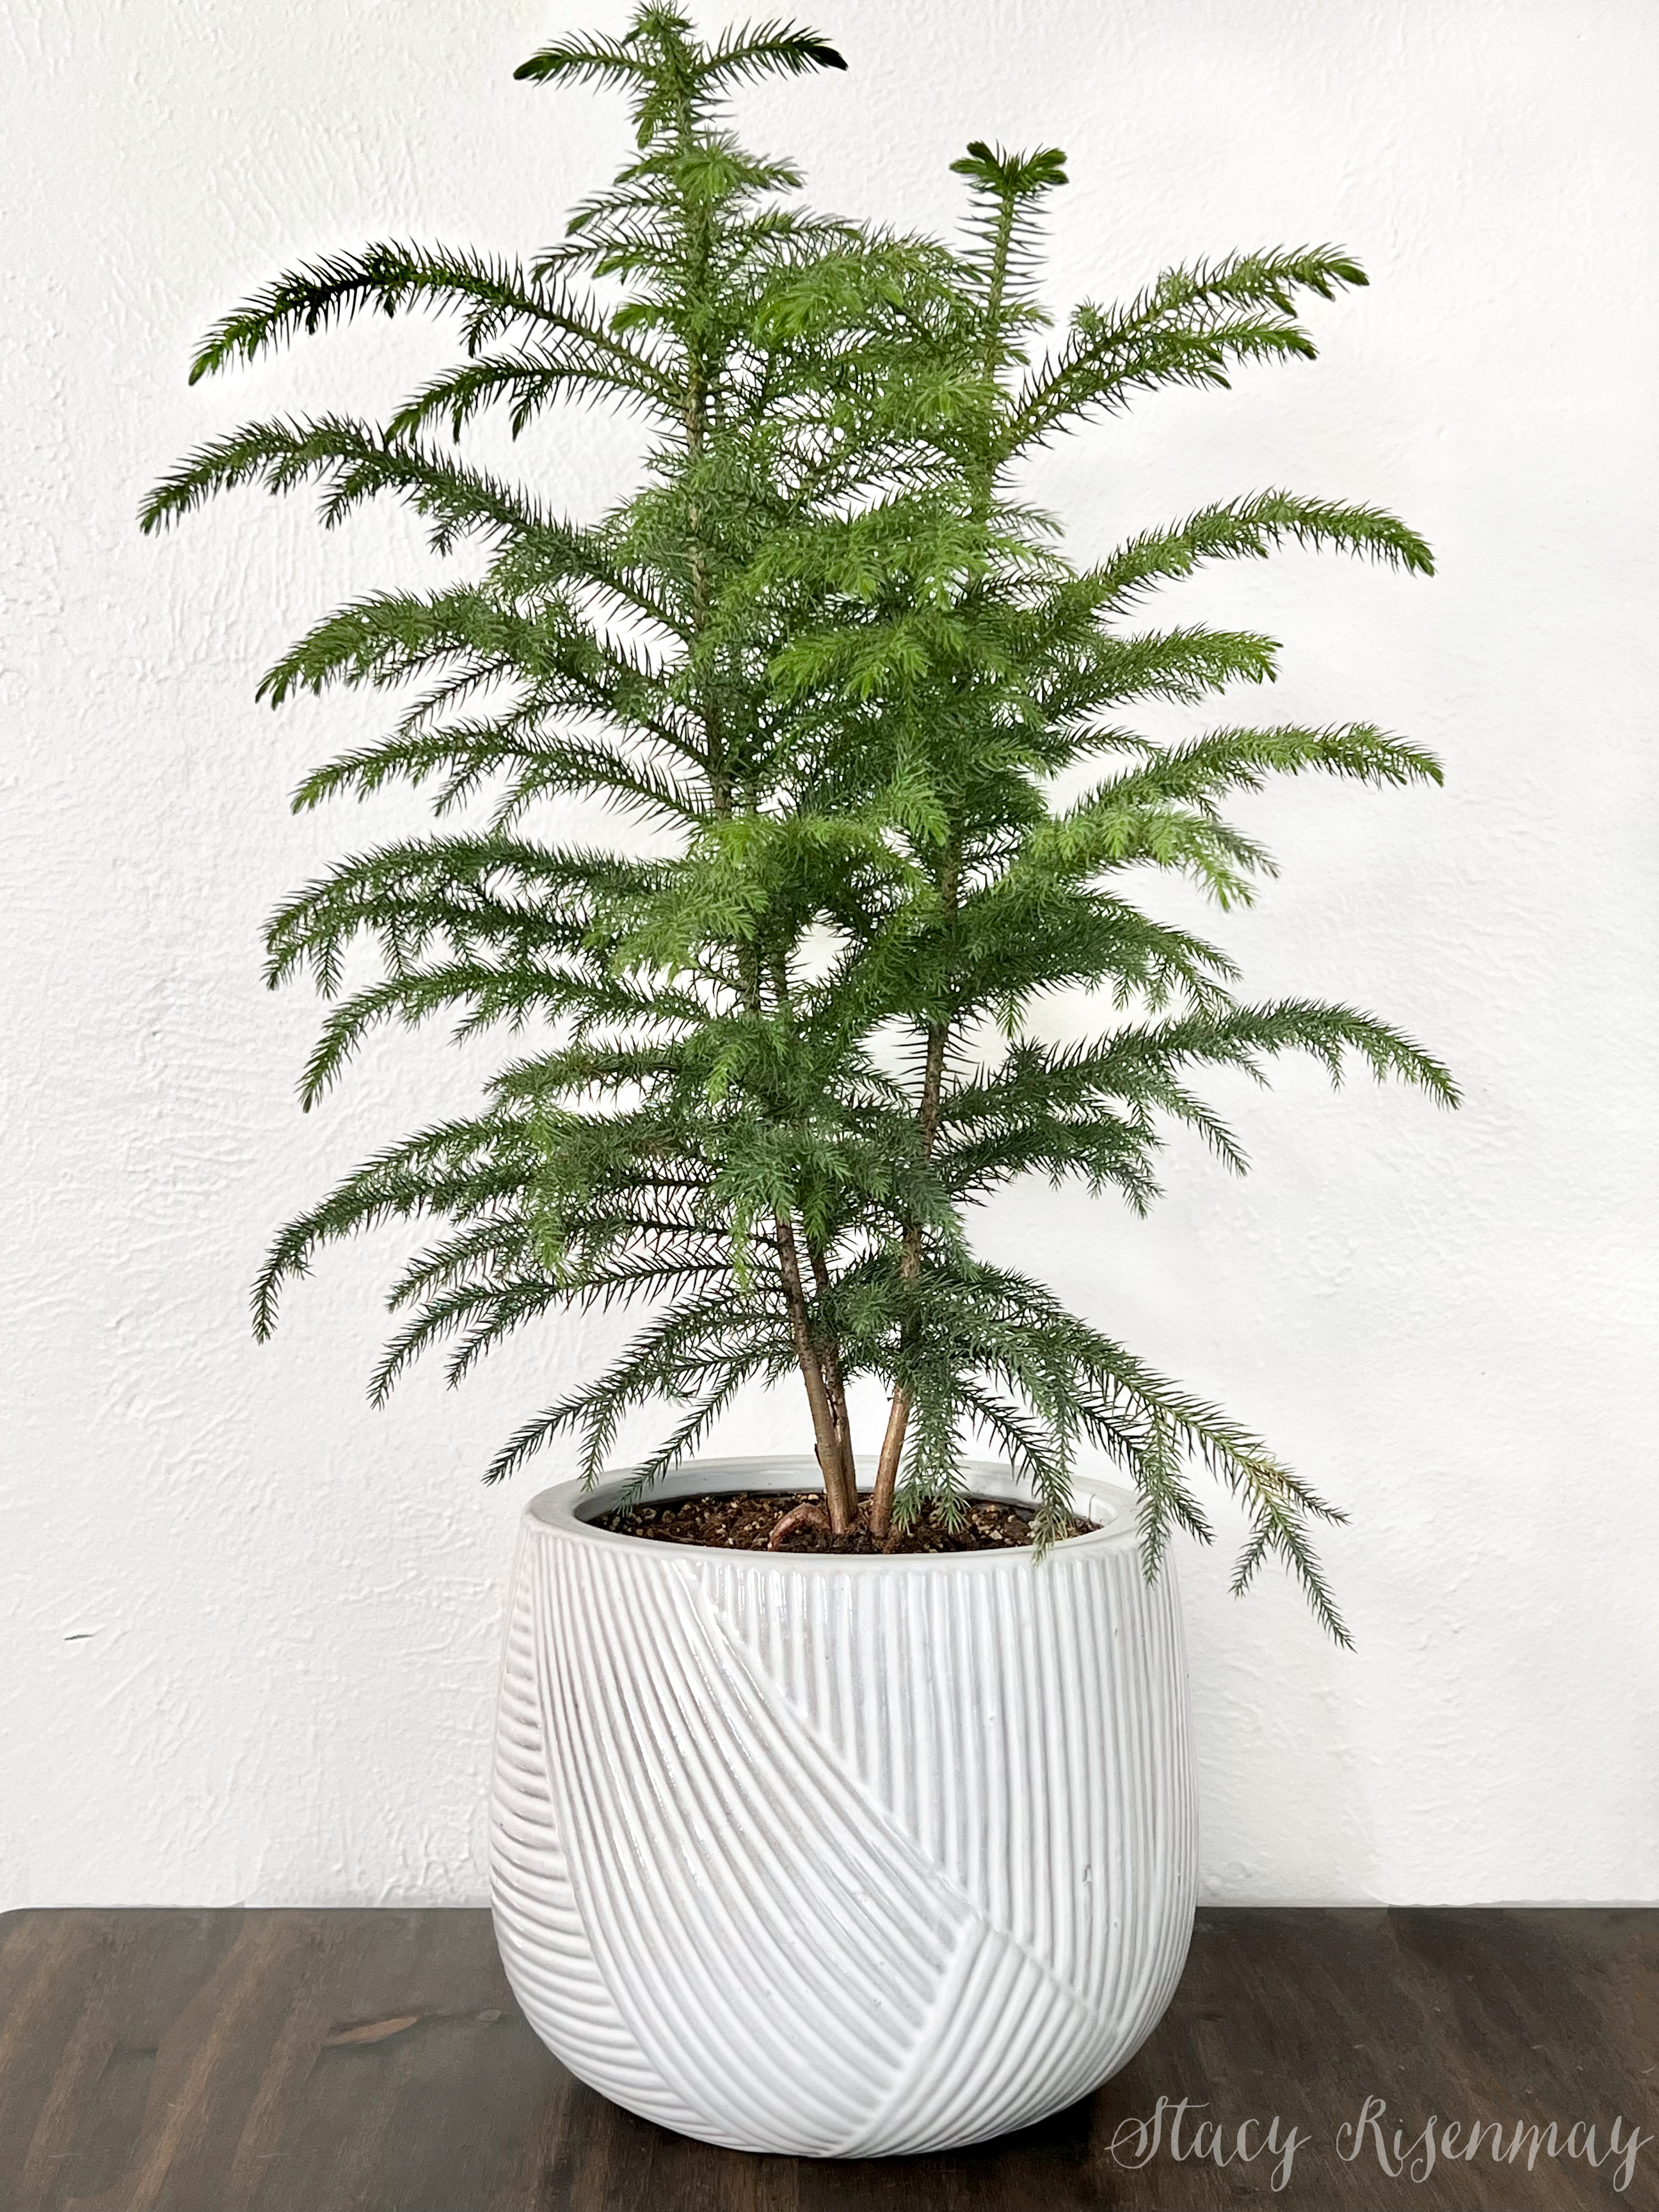
5. Finding a Good Spot:
Now, these here Norfolk Pines, they like a lot of light, but not direct sun beatin’ down on ‘em all day. A bright spot near a window is good, but not so close that the leaves will get scorched. And remember to turn the pot every now and again so all sides of the plant get some light. Otherwise it’ll start reachin’ towards the sun and get all lopsided, like a crooked fence post. And keep that dirt damp, but not soakin’ wet. Stick your finger in the dirt every few days, and if it feels dry about an inch down, it’s time to water it again.
What If You Don’t Repot?
Well, if you don’t repot your Norfolk Pine when it needs it, it’s gonna get root-bound. That means the roots will start circling around in the pot, and the plant won’t be able to take up water and nutrients properly. It’ll start to look kinda sad and droopy, and the leaves might turn yellow or brown. And eventually, it might just die. So, don’t be lazy, get to re-pottin’ when the time comes!
Aftercare
After you re-pot, your Norfolk Pine might be a little bit stressed. So, take it easy on it for a while. Don’t put it in direct sunlight, and don’t fertilize it right away. Just give it some time to adjust to its new home. In a few weeks, when you see it startin’ to grow new leaves, you’ll know it’s happy.
Final Words
So, there you have it. Re-pottin’ a Norfolk Pine ain’t rocket science. Just follow these steps, and your plant will be happy and healthy for years to come. Remember, a little bit of care goes a long way. Now go on and get your hands dirty!


