

Okay, so, I’ve been meaning to repot my Norfolk Island pine for a while now. It was getting a little cramped in its old pot, and honestly, I was a bit nervous about messing it up. But, I finally took the plunge today, and it went way better than I expected!
First things first, I gathered all my supplies. I got a new pot that’s just a couple of inches bigger than the old one – you don’t want to go too big too fast, you know? Then I grabbed some potting mix, some gloves, and a little trowel. Oh, and a watering can, of course.
Next, I gently took the pine out of its old pot. This was the part I was most worried about, but I just tipped the pot on its side, and it slid right out. The roots were a little bit root-bound, but not too bad.
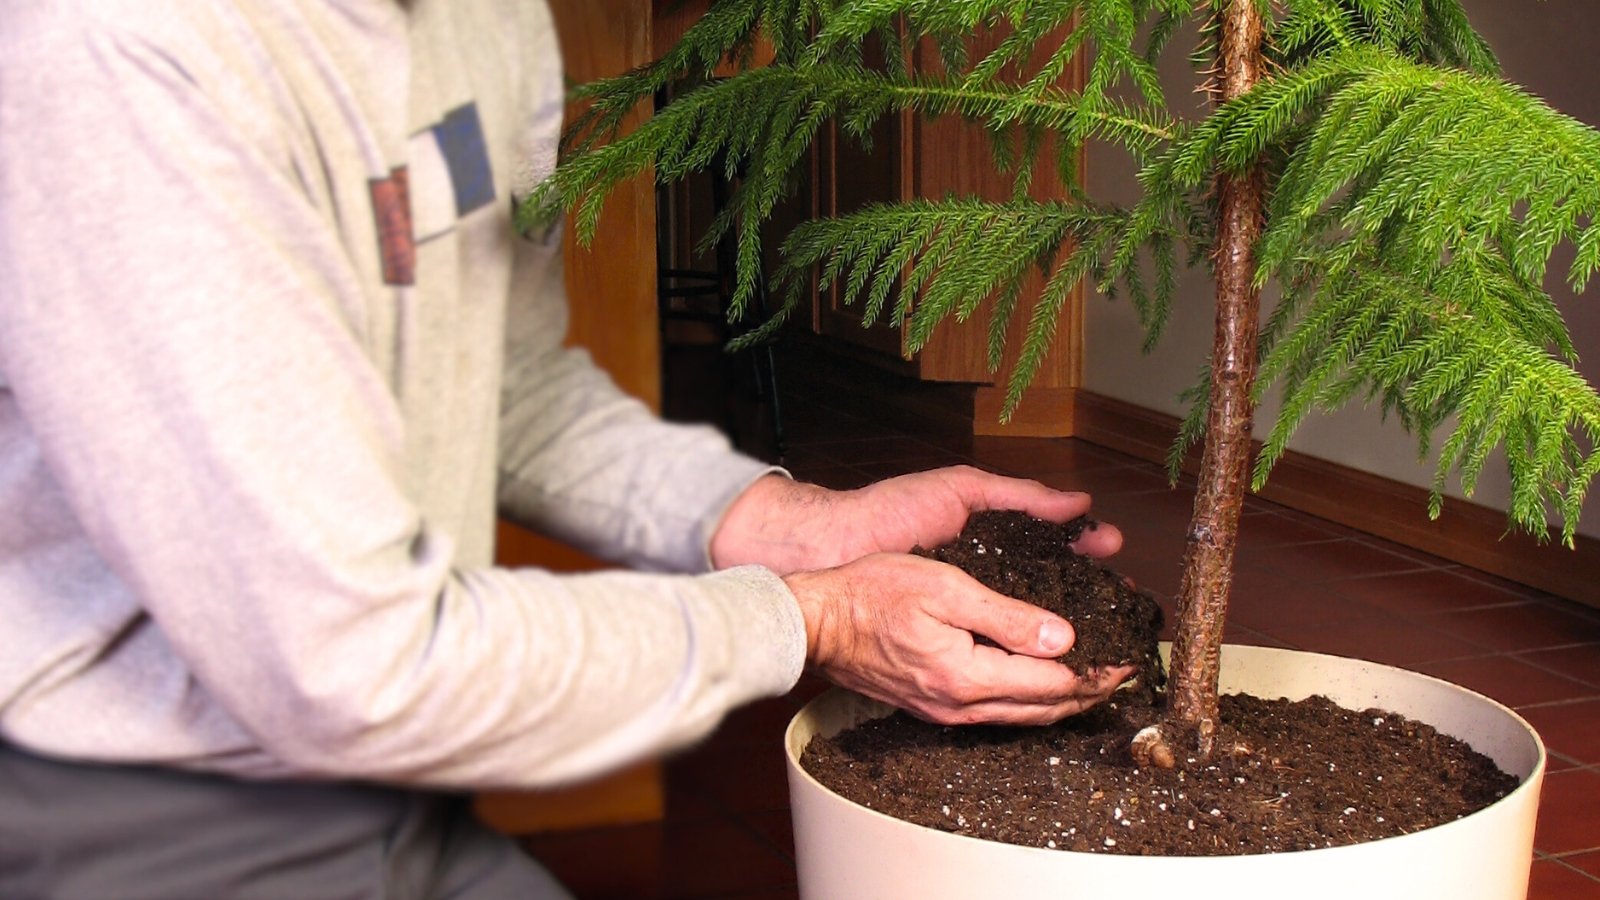
I loosened up the roots a bit with my fingers, just to help them spread out in the new pot. Then I put a layer of fresh potting mix in the bottom of the new pot. I placed the pine on top of that and started filling in around the sides with more potting mix.
Once it was all filled in, I gave it a good watering. I made sure to water it until the water started draining out the bottom of the pot. And that’s it! It was actually pretty easy.
Here are the steps I followed:
- Gathered supplies: new pot, potting mix, gloves, trowel, watering can.
- Removed the pine from its old pot.
- Loosened the roots.
- Added potting mix to the new pot.
- Placed the pine in the new pot.
- Filled in around the sides with more potting mix.
- Watered thoroughly.
Now my Norfolk Island pine has some room to grow, and I’m feeling pretty proud of myself for not killing it. If you’ve got a plant that needs repotting, don’t be scared – just go for it! It’s not as hard as you might think.


