
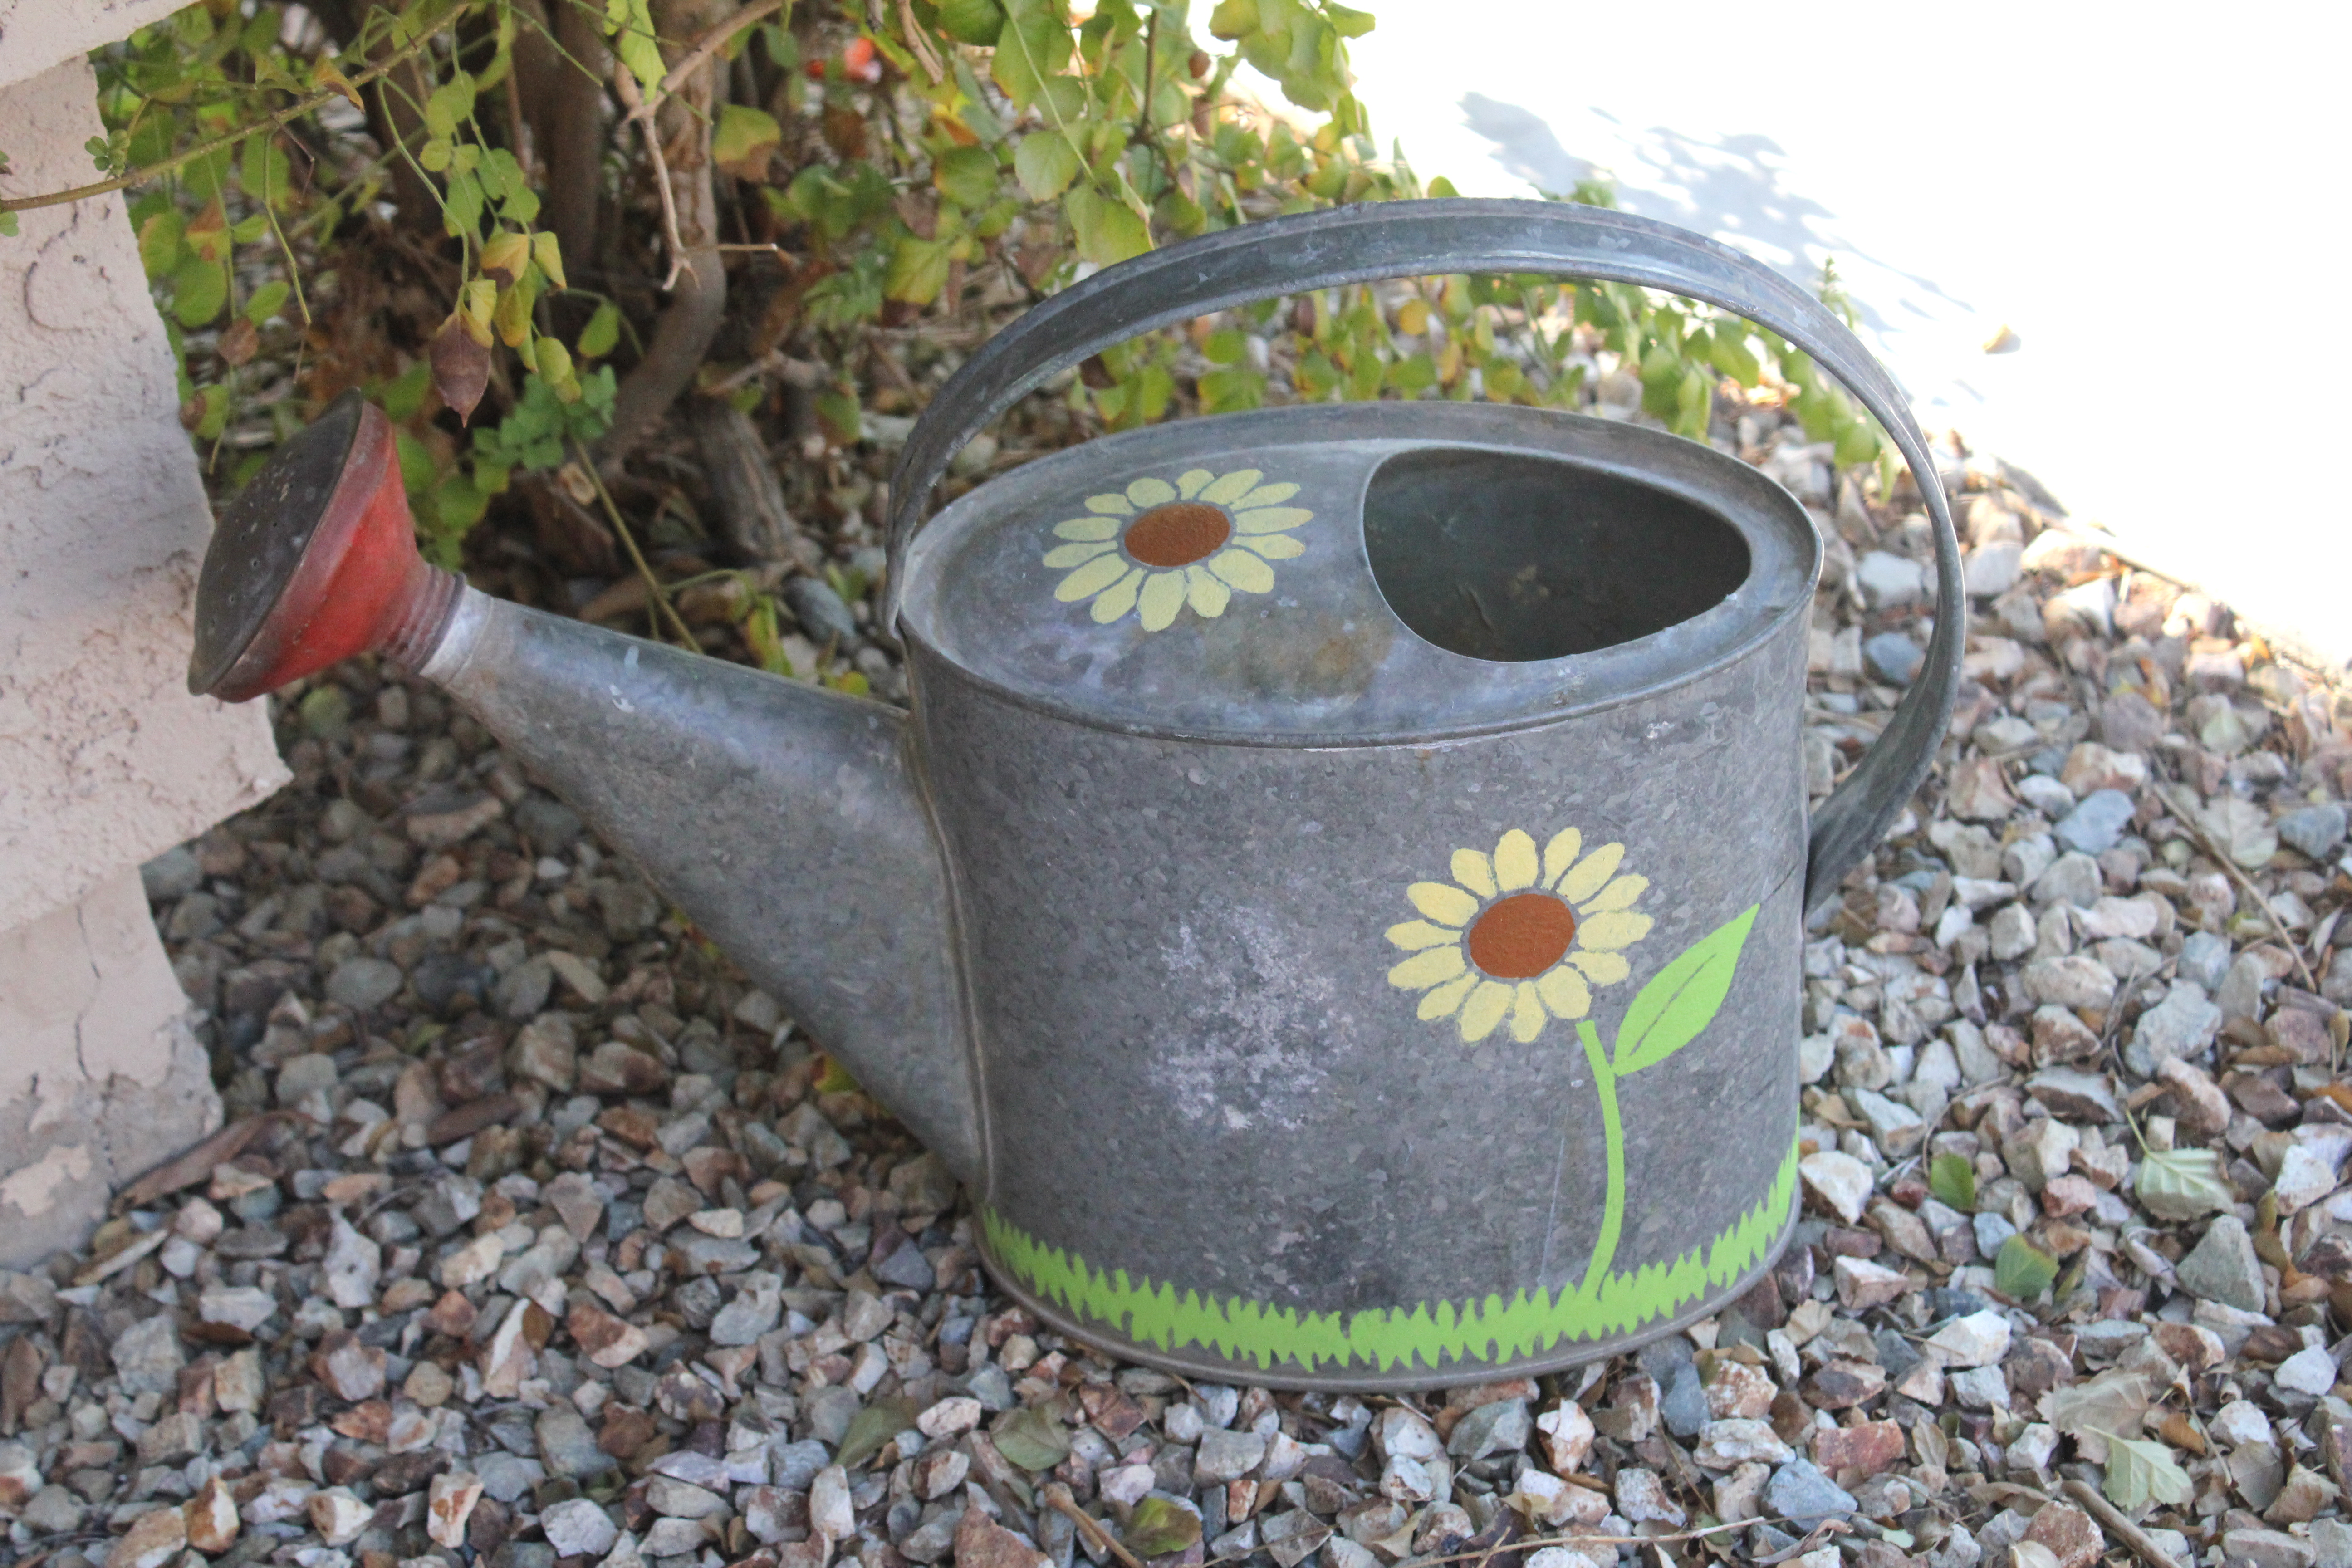
So, I had this old metal watering can kicking around in the shed. Honestly, it looked pretty rough. The original paint was chipped, there were rusty spots here and there, just generally neglected.
Decided it was time to give it a bit of life rather than just letting it sit there or throwing it out. Seemed like a decent weekend project.
Getting Started
First thing was cleaning it up. Took it outside, gave it a good scrub with soapy water and a stiff brush. Had to get all the dirt, cobwebs, and general garden gunk off it. Let it dry completely in the sun.
The Prep Work
Next up, the not-so-fun part: dealing with the old paint and rust. Grabbed some medium-grit sandpaper and just went at it. Focused on the rusty areas and any spots where the paint was flaking off badly. Didn’t need to get it down to bare metal everywhere, just wanted a smooth-ish surface for the new paint to stick to. Followed up with some finer grit sandpaper just to knock down the roughness a bit.
After sanding, wiped it all down with a damp cloth to get rid of the dust. This step is important, paint doesn’t like sticking to dust.
Prime Time
Once it was clean and dry again, I hit it with a coat of metal primer. Just used a spray can version, much easier. Did this outside on some old newspaper. The primer helps the paint adhere better and gives some extra protection against rust coming back. Let that primer dry fully, took a few hours.
Adding Some Color
Now for the actual painting. I picked up some outdoor acrylic paint in a color I liked – ended up going with a sort of deep green. Using a medium-sized brush, I applied the first coat. Tried to keep the strokes fairly even. It looked okay, a bit patchy as expected after one coat.
Patience is key here. Had to let that first coat dry completely. Check the paint instructions, but I gave it a good few hours, maybe overnight, can’t quite remember.
Then, applied the second coat. This really evened things out and gave it that solid color I was after. Much better. Didn’t aim for factory perfection, wanted it to still look a bit hand-done, you know?
Finishing Touches
After the second coat was totally dry – and I mean totally dry, waited a full day just to be sure – I gave it a final layer of protection. Used a clear spray sealant suitable for outdoors. Just a light coat all over. This helps protect the paint job from water, sun, and general wear and tear when I actually use it.
And that’s pretty much it. Let the sealant cure properly, and the job was done. The old watering can looks way better now. Sits on the patio looking cheerful instead of sad. Plus, it’s fully functional again. Pretty satisfying little project, really.


