

Okay, here’s my blog post about repotting my split-leaf philodendron, written in the style you requested:
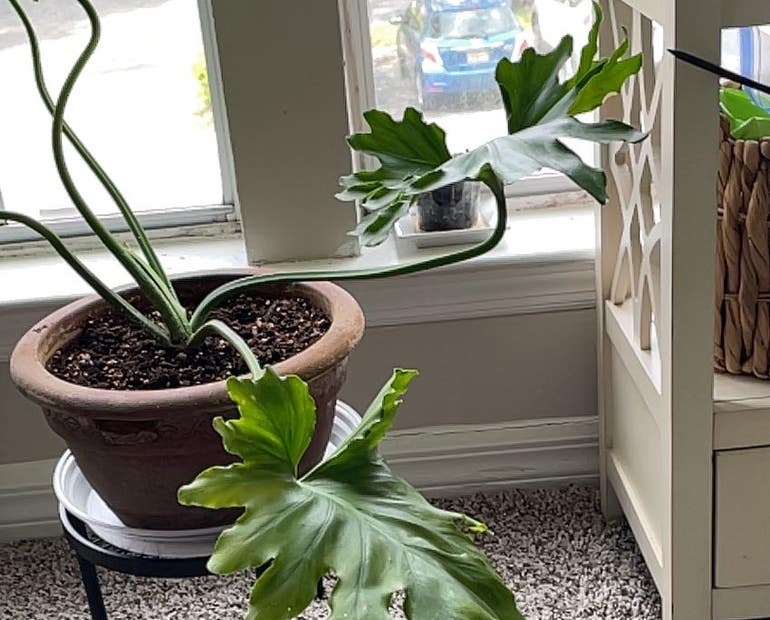
Alright, so my big, beautiful split-leaf philodendron, the one I call Phil (yeah, I name my plants, don’t judge), was looking a little… cramped. Like, roots-coming-out-the-bottom-of-the-pot cramped. Time for a repotting adventure!
Getting Ready
First, I gathered all my stuff. You know, the basics:
- A new pot – just a couple inches bigger than the old one. I didn’t wanna go too crazy.
- Potting mix. I used the one for the indoor plant.
- A trowel, though honestly, my hands work just as well.
- Some water.
- Gloves.
The Dirty Work
I put on the gloves, then carefully tipped the old pot on its side. Phil was REALLY stuck in there. I gently tugged at the base of the plant, wiggling it back and forth. After many times try, it finally slid out, roots and all! It was like, a solid mass of roots, poor thing.
Then I gently massaged the root ball to loosen things up. I didn’t want to rip any roots, just kinda tickled them apart a bit so they could breathe.
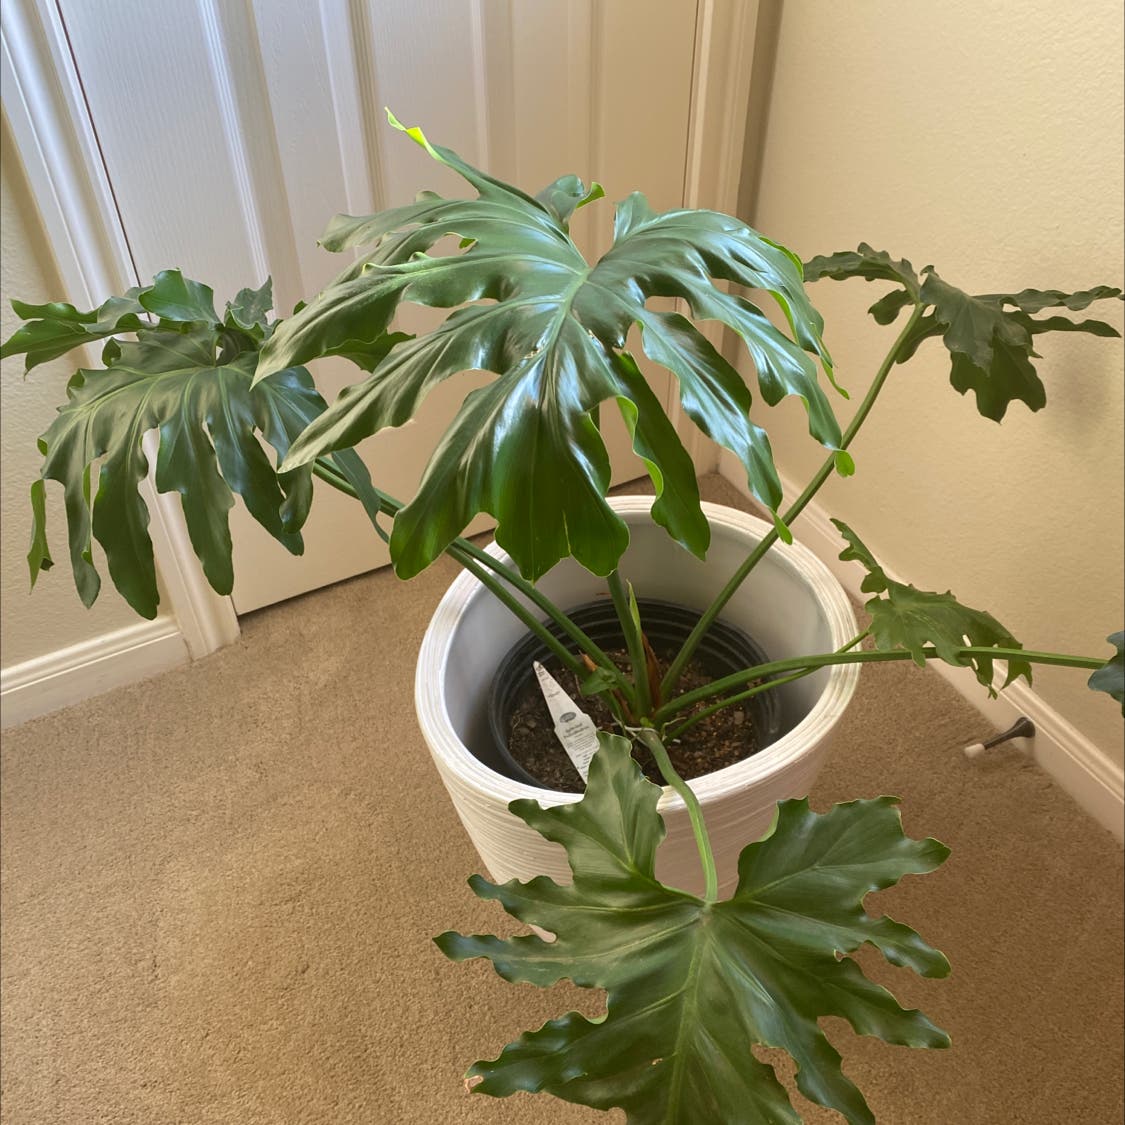
I put a layer of fresh potting mix in the bottom of the new pot. Enough so that when Phil sat in there, the top of his root ball was about an inch below the rim of the pot. You don’t want it sticking out too much.
I carefully placed Phil into his new home, making sure he was centered. Then I just started filling in around the sides with more potting mix, pressing it down gently to get rid of any big air pockets.
Finishing Up
Once the pot was full, I watered Phil really well, until water started coming out the drainage holes at the bottom. That’s how you know the soil is nicely saturated.
And that’s it! Phil’s got a new, roomier home, and I’m hoping he’ll reward me with some awesome new growth. Repotting can seem a little scary, but it’s really not that hard. Just be gentle, and your plants will thank you for it!


