

Okay, guys, gather ’round, let me tell you about this little project I’ve been working on. So, I’ve always been a bit of a plant person, right? Love having some green around the house, makes everything feel more alive. But my old watering can? Ugh, total eyesore. Functional, sure, but ugly as sin. It got to a point where I felt sorry for the poor plants when it came to watering them. I know it sounds a little strange, right? So I thought, “Why not make one that’s actually nice to look at?”
First things first, I needed to figure out what I wanted. Browsing online, I saw a bunch of fancy stainless steel ones. They looked pretty, no doubt, especially those with the long, curved spouts. And I do love the sleek look of stainless steel, and the idea of something that won’t rust was definitely appealing. Also, I found that there’s a ton of custom and unique designs out there. But they were a bit, you know, too fancy for my taste. And honestly, a little out of my price range. I just wanted something simple and elegant, not a museum piece. And some of them were huge! I don’t have a jungle in here, just a few houseplants.
So, off to the craft store I went! I grabbed a plain, galvanized steel watering can. It was a decent size, about 35 ounces, which is perfect for my indoor plants. Plus, it was cheap! Then, I hit the paint aisle. I picked up some primer, some outdoor acrylic paint in a nice, soft sage green. I found some cute stencils in floral patterns to add a nice touch. Also, a clear sealant, because I wanted this thing to last.
The process itself was pretty straightforward. I’m no artist, but even I could handle this.
- First, I gave the watering can a good clean, made sure it was completely dry.
- Next, I applied a couple of coats of primer, letting it dry completely between each coat. This is important, you don’t want the paint chipping off later.
- Then came the fun part – painting! I used a small brush for the details and a larger one for the body of the can. I went for three thin coats of that lovely green paint. Thin coats are key, people, thin coats!
- After that dried, I used those stencils I picked up and some white paint to add some delicate flower patterns on the sides. Nothing too crazy, just a touch of decoration.
- Finally, once everything was completely dry, I sprayed the whole thing with a clear sealant. I did a couple of coats to make sure it was good and protected from water and wear.
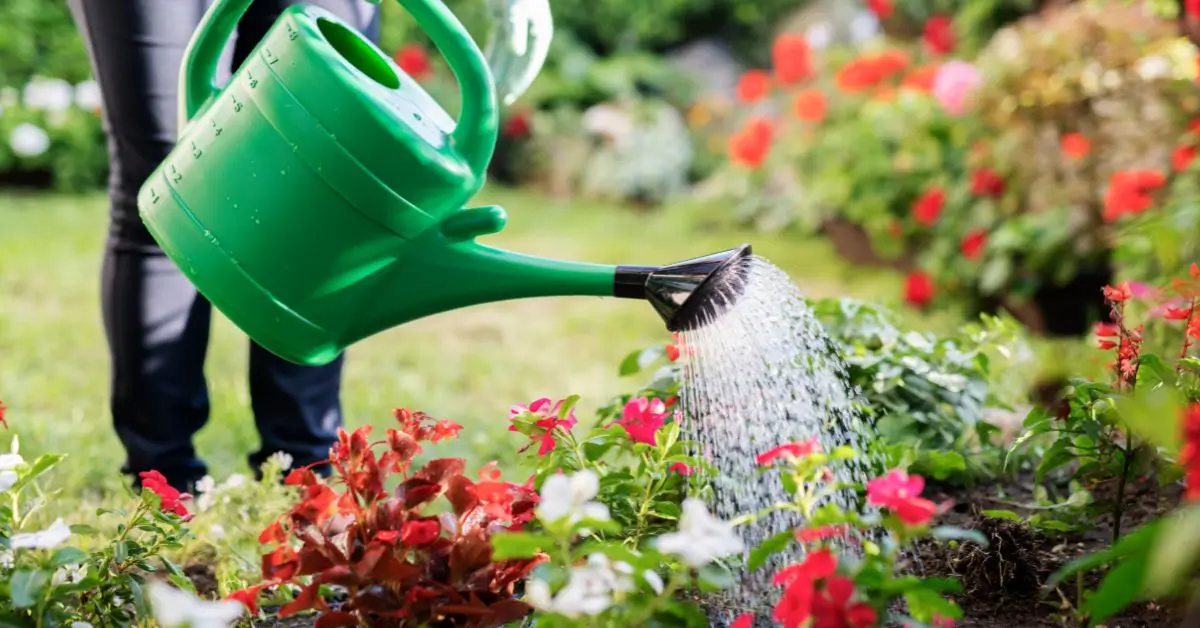
And that’s it! It took a couple of days, mostly waiting for paint to dry, but the actual work was maybe a couple of hours total. It turned out way better than I expected, to be honest. Now I’ve got a watering can that’s not only functional but also pretty darn cute. It’s not winning any design awards, but it makes me smile every time I use it. And my plants? They seem happier too, but maybe that’s just me. I’ll make sure to give them a good enough drink for them to thrive with my new watering can.
If you’re looking for a little weekend project, I definitely recommend giving this a try. It’s easy, cheap, and you end up with something you actually made yourself. Plus, your plants will thank you, or at least you can pretend they will.


