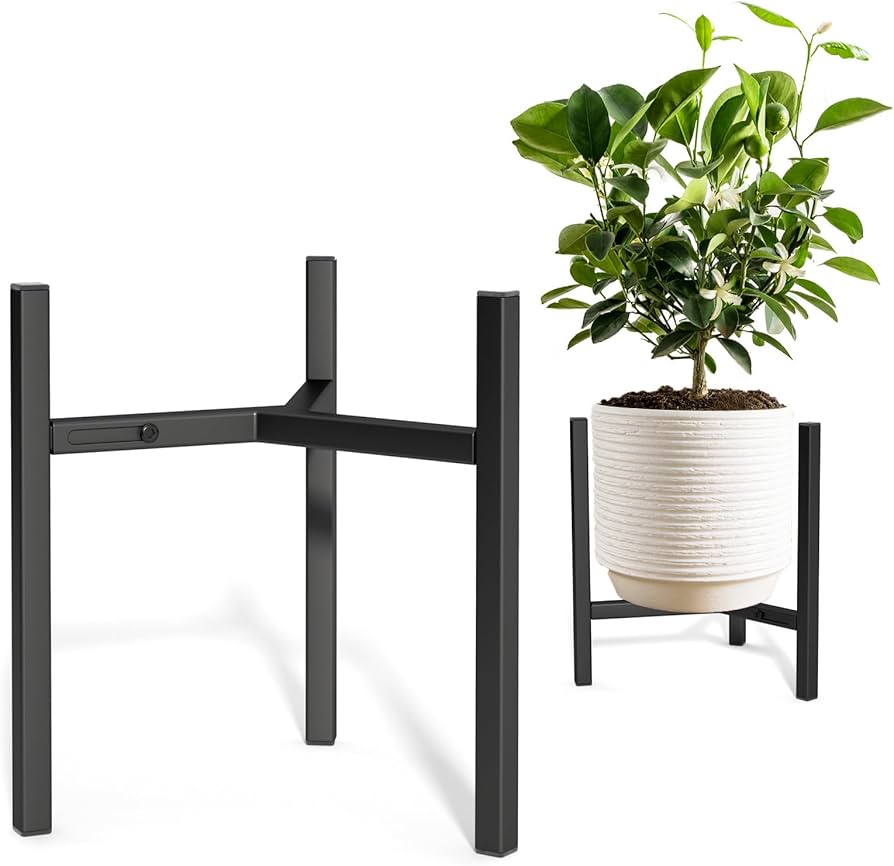
Okay, let me tell you how I put together this adjustable plant stand thing. My plants were all kinda crammed together, and some needed more light than others, sitting at different heights. So, I figured, why not build something I can change up?
Getting Stuff Together
First off, I needed wood. Didn’t get anything fancy, just grabbed some basic pine boards from the local hardware store. Enough for legs and the shelf part. I also made sure to pick up:

- Bolts – long enough to go through two pieces of wood.
- Washers – gotta have those.
- Nuts – wing nuts seemed easiest for adjusting later, so I got those.
- Sandpaper – gotta smooth things out.
- My trusty drill and some bits.
- A handsaw. Nothing electric, just simple stuff.
I also had some leftover wood stain in the garage, thought I might use that later.
Cutting and Drilling
Alright, phase two was cutting the wood. I decided on a simple X-leg design. So, I measured out four pieces for the legs, making them the same length. Used the handsaw, wasn’t perfectly straight, but good enough, right? Then I cut a couple of pieces for the actual shelf part where the pot would sit. Sanded down the rough edges a bit so I wouldn’t get splinters later.
Next up, drilling. This was the important bit for the ‘adjustable’ part. I clamped two leg pieces together (that would form one side of the ‘X’) and drilled holes through both, spaced out maybe every few inches. Did the same for the other pair of legs. This way, I could bolt the shelf support at different heights. I also drilled holes near the top of the legs to bolt them together into the ‘X’ shape, and holes in the shelf pieces.
Putting It All Together
Assembly time! I took two leg pieces and bolted them together near the top to make the ‘X’. Put a washer on each side of the bolt, tightened the nut. Did the same for the other two legs. So now I had two ‘X’ structures.
Then, I worked on the shelf. It was just two pieces of wood. I needed something to connect them and also attach to the legs. I cut two smaller pieces of wood to act as supports under the main shelf planks. I drilled holes in these supports that lined up with the holes I’d drilled in the legs.
Now for the adjustable magic. I picked a height, lined up the holes on the shelf supports with the holes on the legs, and slid bolts through. Popped a washer on, then spun on the wing nuts. Did this for both sides. The wing nuts are key – makes it super easy to loosen, move the shelf up or down to another set of holes, and tighten it again by hand. No tools needed for adjusting!
Finishing Touches
I stood back and looked at it. It was… functional! Gave everything a final quick sanding, especially where I made cuts. Decided to slap on that wood stain I had lying around. Just brushed it on, let it dry. Gave it a bit more of a finished look instead of just plain pale wood.

The Result
And there it was. My own adjustable plant stand. I put one of my bigger ferns on it, set it to a medium height. Seemed sturdy enough. Then I tried adjusting it – loosened the wing nuts, slid the shelf down to the lowest setting, tightened them back up. Easy peasy. Pretty happy with how it turned out, honestly. Solved my plant height problem without buying something expensive. Just took an afternoon and some basic stuff. Works for me!


