

Today, I decided to tackle a little project I’ve been putting off – giving my old, tarnished silver watering can a new lease on life. It’s been sitting in the shed for ages, looking all dull and sad. Time to fix that!
Getting Started
First, I gathered all my supplies. I needed:
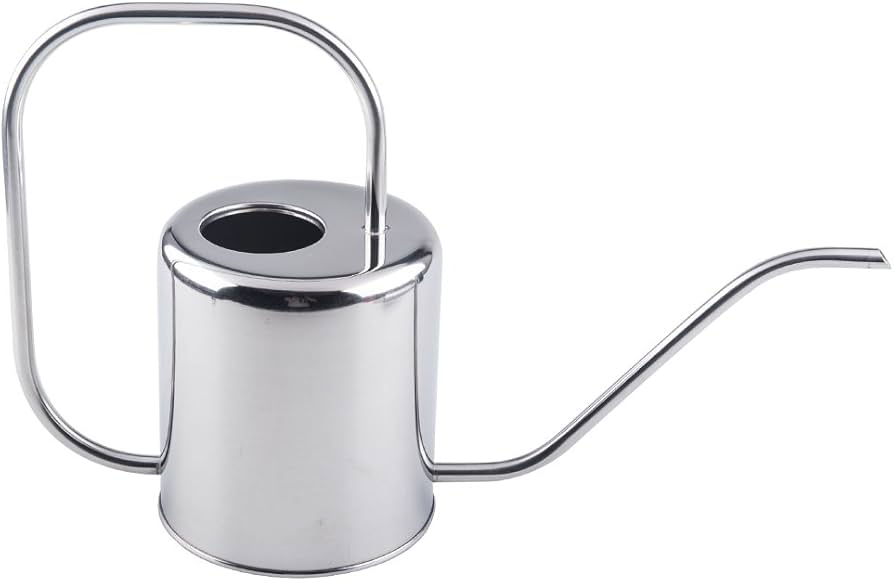
- The sad-looking silver watering can, of course.
- A soft cloth – actually, a few of them, because I knew this was going to get messy.
- Some silver polish. I just used the stuff I had on hand for cleaning jewelry.
- Warm, soapy water.
- An old toothbrush (for those hard-to-reach spots).
The Cleaning Process
I started by giving the watering can a good wash with the warm, soapy water. This helped get rid of any loose dirt and grime. I scrubbed it down, making sure to get into all the nooks and crannies. Then I rinsed it thoroughly and dried it with a cloth.
Next came the polishing part. I applied a small amount of silver polish to a clean cloth and started rubbing it onto the watering can. I worked in small sections, using circular motions. It was instantly gratifying – I could see the tarnish disappearing right before my eyes! For the really stubborn spots, I used the old toothbrush, I dipped it in to polish and give it a polish too. It worked like a charm.
I kept polishing and polishing, and after a good while, It really does take a time to get it shining. Finally it finished! The whole watering can was gleaming. I rinsed it one last time with clean water and dried it with a fresh cloth, buffing it to a beautiful shine.
The End Result
Honestly, I was amazed at the difference. It looked almost brand new! From a dull, forgotten item to a sparkling, almost decorative piece. I’m actually excited to use it now, and it’ll definitely look much nicer sitting on my porch. This was a super satisfying little project, and it didn’t even take that long. Totally worth the effort!


