

Okay, so yesterday I had this little project – dealing with some loose shingles on my roof. I’ve seen those fancy roofing shovels online, and figured it was time to give one a try. Let me tell you, it was… an experience.
Getting Started
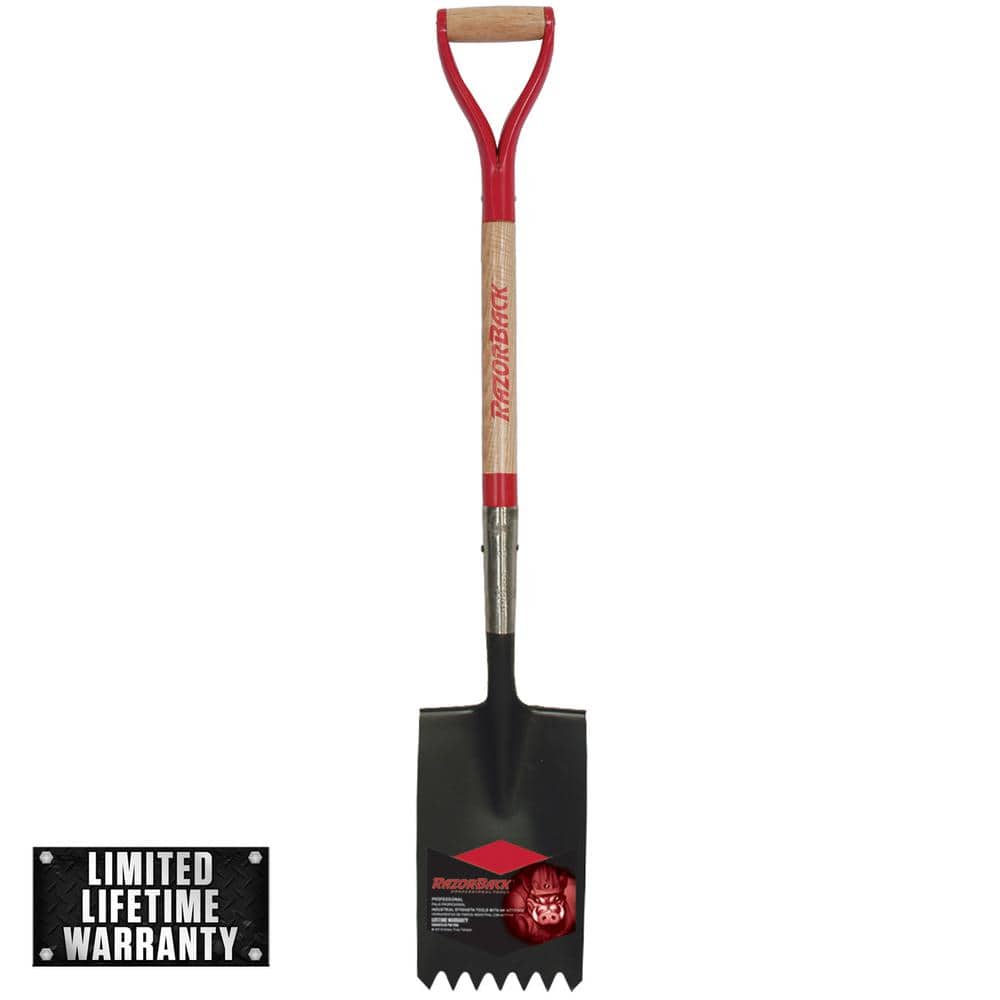
First things first, I headed to the local hardware store. They had a few different types, some with long handles, some short, some with these weird serrated edges. I grabbed the one that looked sturdy enough, with a medium-length handle – didn’t want to be bending over too much, you know?
The Process
-
Climbed up the ladder, shovel in hand. Safety first, always. I made sure my ladder was super stable and on the non-skid pad.
-
Located the offending shingles. A few were curled up at the edges, letting water sneak in. Not good.
-
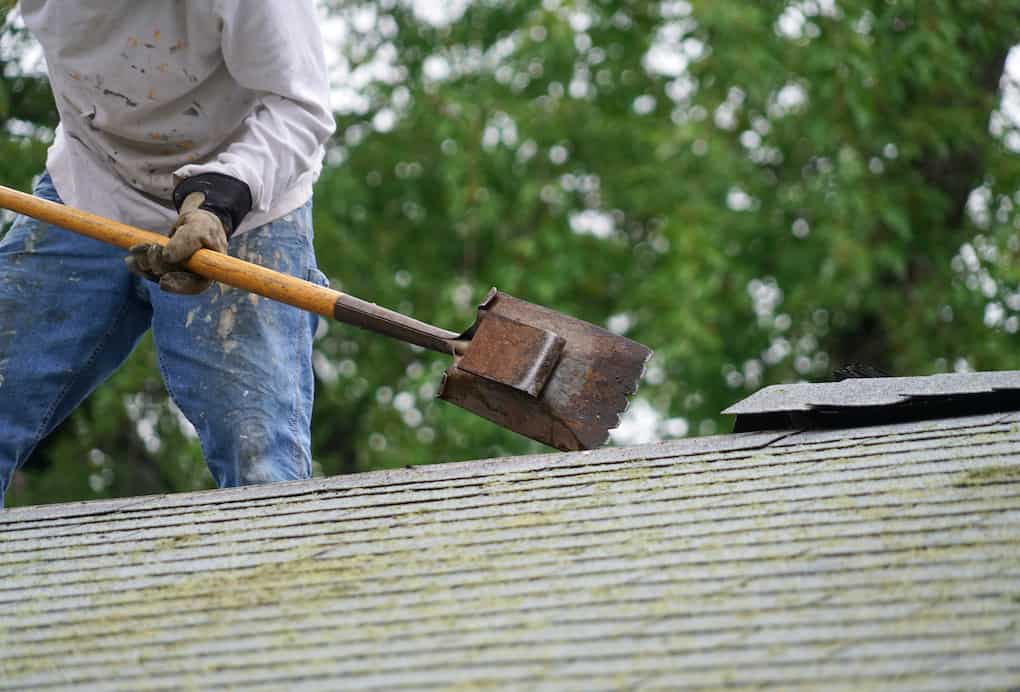
This is where the shovel came into play. I tried to gently slide it under the shingle, to break the seal of the old adhesive. It… kinda worked. Some parts were really stuck on there!
-
I had to apply a little more force, wiggling the shovel back and forth. It definitely felt easier than using a regular pry bar, which I’ve tried before. The wider blade of the roofing shovel spread the pressure out, so I wasn’t damaging the surrounding shingles.
The Real Test
The real challenge was getting those stubborn nails out. Some of them came out easily with the shovel’s built-in nail puller, but others… Man, I had to really work at it. I even bent the handle a little on one particularly stubborn nail! (Note to self: don’t go full Hulk on the next one.)
Once the old shingles were off, putting the new ones in was a breeze. I got a good rhythm going: a few taps with the hammer, and done.
Final Thoughts
So, would I recommend a roofing shovel? Yeah, I think so. It definitely made the job easier than it would have been with just a hammer and a pry bar. It’s not magic – you still need to put in some effort – but it does help. Just be prepared to wrestle with a few stubborn nails, and maybe don’t get the cheapest one at the store.
I learned that much, at least!


