

Hey everyone, it’s your boy back again with another DIY project. This time, it’s all about fixing up a broken shovel. Yeah, you heard that right, a shovel. Mine broke the other day, and instead of tossing it and getting a new one, I thought, “Why not try to fix it?” So, let’s get into how I replaced the T-handle on my trusty shovel.
First off, I had this old shovel lying around, and the wooden handle just snapped right in the middle while I was digging in my garden. It wasn’t anything fancy, just your standard shovel with a wooden handle, but it’s been with me for a while, and I’ve gotten used to it. I stared at the broken handle for a moment, thinking about the easiest way to get rid of it.

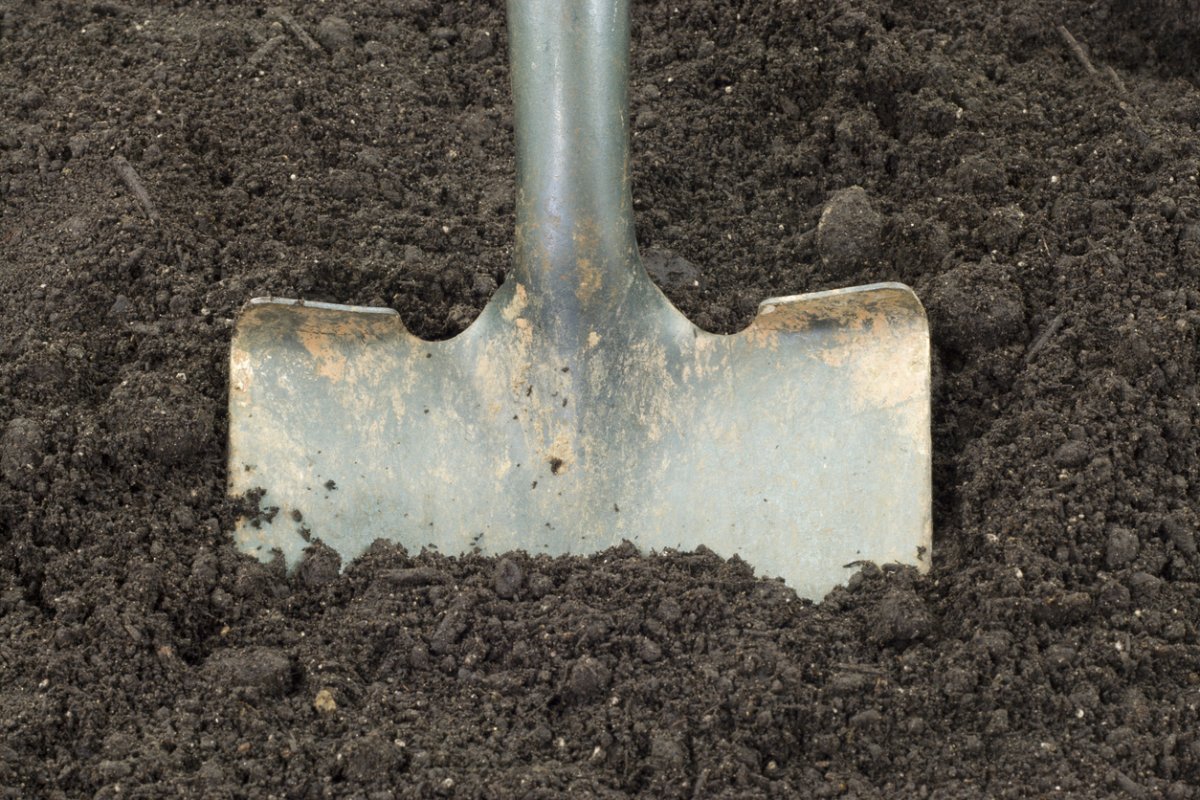
Inspecting the Damage
I took a closer look at the shovel. The break was clean, but the real issue was getting the remaining bit of the old handle out of the shovelhead. This is where I remembered someone mentioned using heat to loosen up stuck parts, so I considered throwing it into a fire. It sounded a bit extreme, but I was ready to try anything.
- Examined the broken handle
- Noticed the clean break
- Thought about how to remove the stuck part
Getting the Old Handle Out
Before resorting to fire, I decided to try a more controlled approach. I clamped the shovelhead into my vice, nice and tight. Then, I grabbed a chisel and a hammer. The idea was to carefully chisel away at the wood stuck inside the shovelhead. It wasn’t easy. The wood was really wedged in there, but I kept at it, chipping away little by little.
- Clamped the shovelhead in a vice
- Used a chisel and hammer to chip away the wood
- Took my time, making sure not to damage the shovelhead
Finding a New Handle
With the old handle finally out, I needed a new one. I remembered reading somewhere that ash wood is pretty good for tool handles because it’s strong and flexible. Also, I needed to find one that was long enough. The standard size is 48 inches, but since I’m a bit taller, I looked for a 54-inch one. I wanted something comfortable that wouldn’t strain my back too much.
- Searched for a suitable replacement handle
- Considered ash wood for its strength and flexibility
- Looked for a longer handle for better leverage
Fitting the New Handle
I managed to find a decent ash wood T-handle at the local hardware store. Fitting it into the shovelhead took a bit of work. I had to sand down the end of the handle a little to get it to fit snugly. Once it was in, it was pretty solid, but I wanted to make sure it wouldn’t go anywhere, especially when I’m doing some heavy digging.
- Found an ash wood T-handle
- Sanded down the end for a snug fit
- Ensured it was solid in the shovelhead
Securing the Handle
To really secure the handle, I decided to use a rivet. I drilled a hole through the shovelhead and the handle, then hammered in the rivet. This part was a bit tricky because I had to make sure everything was lined up perfectly. After a few tries, I got it right, and the handle was firmly attached.
- Drilled a hole for the rivet
- Hammered in the rivet to secure the handle
- Made sure the alignment was perfect
Testing It Out
With the new handle in place, it was time to test it out. I went back to my garden and started digging. The shovel felt great! The longer handle definitely made a difference, giving me more leverage and making it easier on my back. It felt sturdy, and I was pretty proud of myself for not giving up on it.
- Tested the shovel in the garden
- Noticed the improved leverage with the longer handle
- Felt satisfied with the repair
So, there you have it. That’s how I fixed my broken shovel. It wasn’t the easiest project, but it was definitely worth it. Not only did I save a few bucks, but I also got to keep using a tool that I’m comfortable with. Plus, it’s always a good feeling to fix something yourself instead of just throwing it away. Hope this little story of mine inspires you to give fixing things a try. Until next time, keep those hands busy!


