

Alright, let’s talk about my latest gardening adventure – building a raised bed garden. I’ve always wanted a garden, but the soil in my backyard is, well, let’s just say it’s not exactly plant-friendly. It’s mostly clay, hard as a rock, and doesn’t drain well. So, a raised bed was the obvious solution.
First things first, I needed to gather my tools. You can’t just start throwing dirt around without the right equipment, you know? I made a list of what I thought I’d need and headed to the local hardware store.
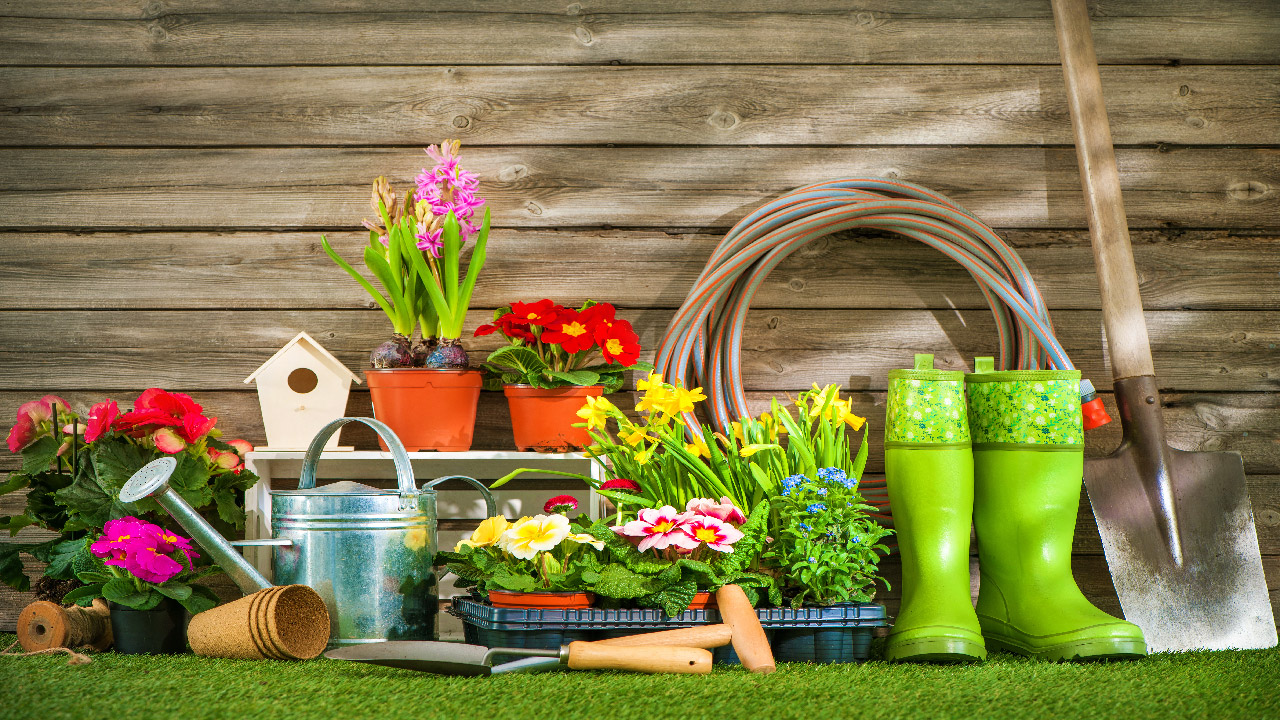
Gathering My Arsenal
Here’s what I picked up:
- Gloves: A good pair of gardening gloves is essential. I went for some sturdy ones with reinforced fingertips because I knew I’d be dealing with rough wood and dirt.
- Measuring Tape: Gotta make sure those bed dimensions are right! I got a standard 25-foot tape measure, which was more than enough.
- Saw: Since I was building the frame from scratch, I needed a saw to cut the wood to the right lengths. I already had a trusty handsaw at home, so I didn’t need to buy a new one.
- Drill and Screws: To put the frame together, a drill and some wood screws were a must. I made sure to get screws that were long enough to securely fasten the boards.
- Level: Nobody wants a wonky garden bed, right? A level helps ensure everything is straight and even.
- Shovel and Spade: These are the workhorses of any gardening project. I used the shovel for moving large amounts of soil and the spade for digging and edging.
- Wheelbarrow: A lifesaver for transporting soil, compost, and other materials. My back definitely thanked me for this one.
- Rake: Once the soil was in, I needed a rake to level it out and remove any debris.
- Garden Trowel: Perfect for planting seedlings and doing smaller digging tasks.
- Watering Can or Hose: Obviously, plants need water! I opted for a watering can with a fine rose head for gentle watering.
Getting Down to Business
With my tools assembled, it was time to get building! I measured and cut the wood, then used the drill and screws to assemble the frame. It wasn’t exactly a masterpiece of carpentry, but it was solid and functional. I placed the frame in its spot and used the level to make sure it was sitting evenly. Then came the fun part – filling it with soil!
I used a mix of topsoil, compost, and peat moss, which I transported to the bed with the wheelbarrow. It was a bit of a workout, but seeing the bed take shape was super satisfying. Once it was filled, I used the rake to level the soil and get it ready for planting.
Planting Time!
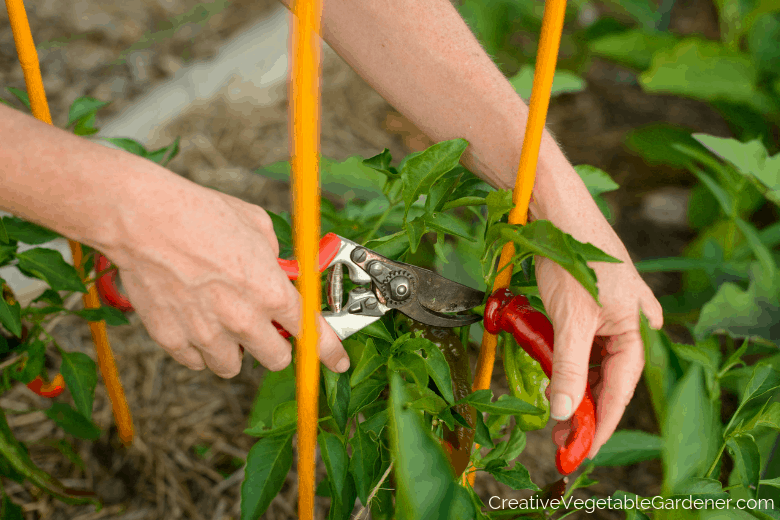
Finally, the moment I’d been waiting for – planting! I carefully planted my seedlings using the garden trowel, spacing them out according to the instructions on the seed packets. After everything was in the ground, I gave the bed a good watering with my watering can.
And there you have it! My raised bed garden was complete. It took some time and effort, but having the right tools made the whole process so much easier. Now, I have a beautiful, thriving garden, and I can’t wait to harvest the fruits (and veggies!) of my labor.
It’s not just about having tools, though. It’s about using them, getting your hands dirty, and creating something with your own effort. It was a bit rough, a bit messy, but totally worth it. And I get fresh veggies! Nothing beats that, right?
This whole experience has been a blast. So if you’re thinking of doing something similar, I say just go for it!


