
Alright, let me tell you about my mulberry tree pruning adventure. It was a bit of a learning experience, to say the least!
So, I started by just staring at the tree. I mean, where do you even begin, right? It was a tangled mess of branches going every which way. I knew I needed to get rid of the dead stuff first, so that’s what I tackled first. Snapped off the brittle branches – easy peasy.
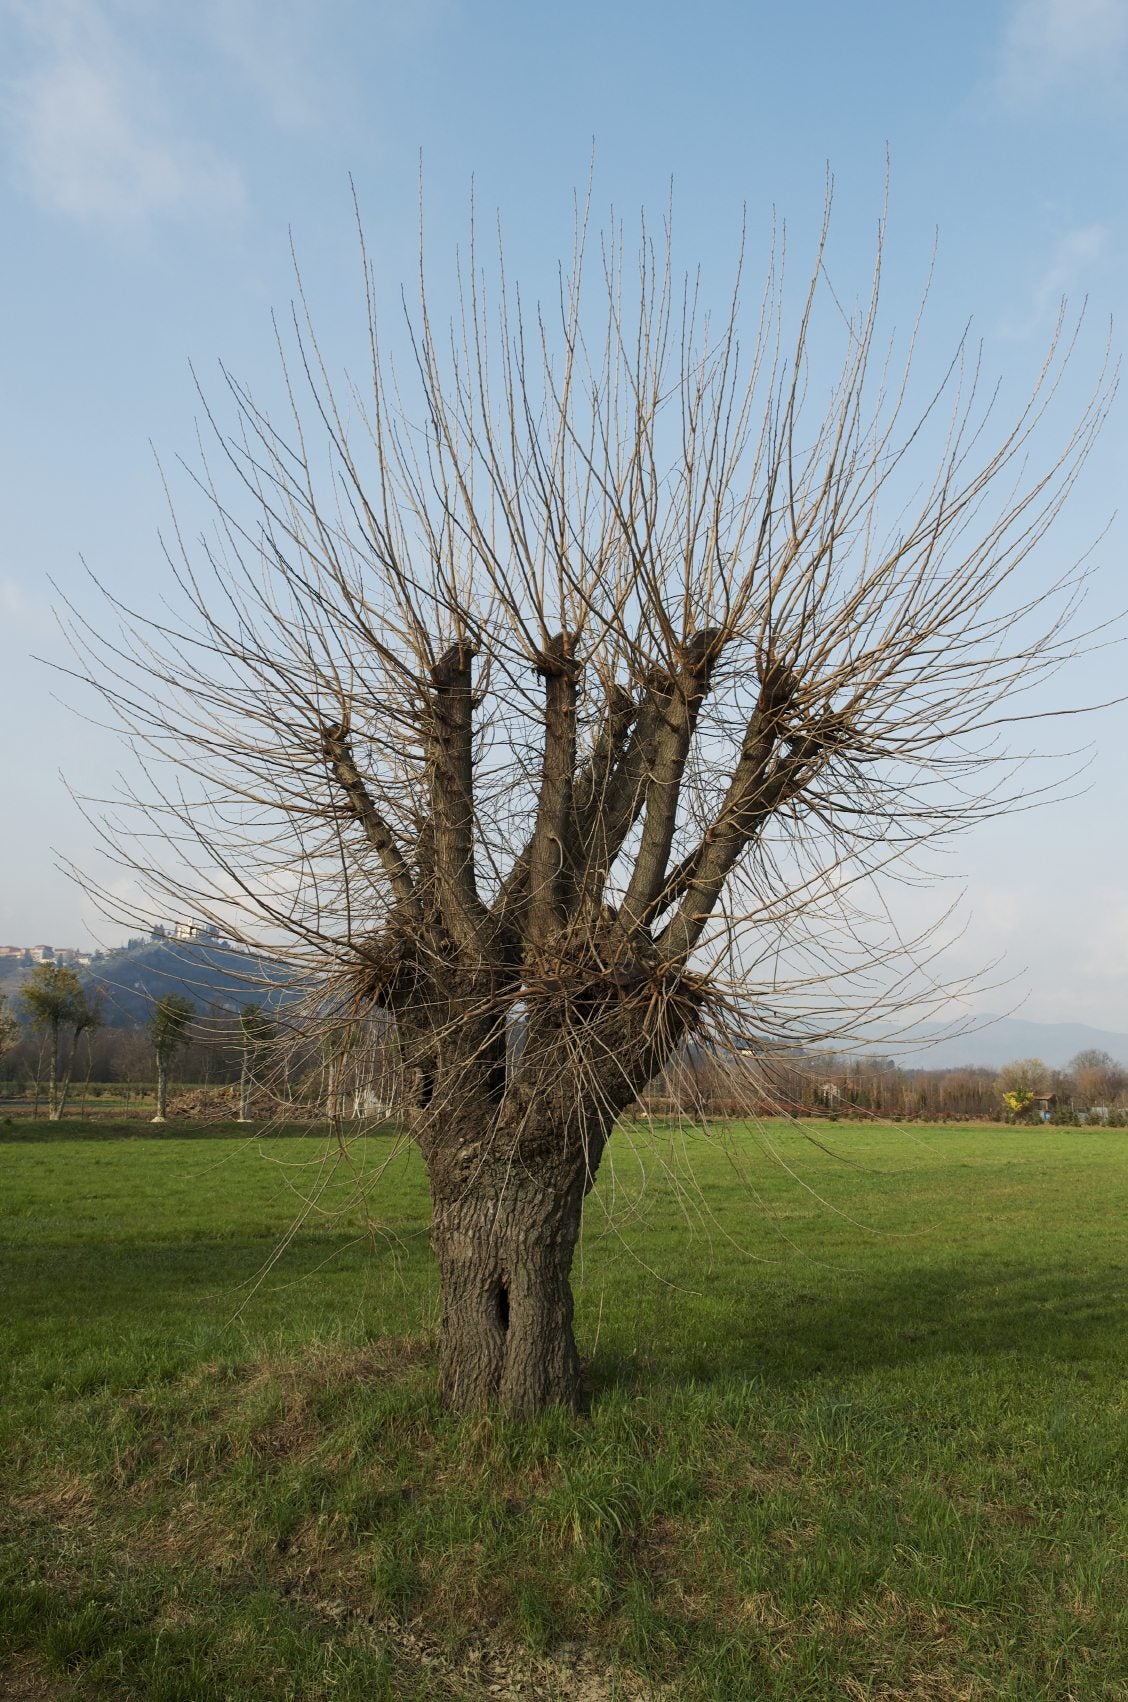
Then I grabbed my loppers – those big scissor-looking things. I started hacking away at the thicker branches. Honestly, I was just winging it at this point. I figured I wanted to open up the center of the tree to let more sunlight in. Read that somewhere, probably on the internet.
Next up was trying to figure out which branches were crossing each other. Heard that’s a no-no, can cause rubbing and disease or something. So I snipped out the ones that were clearly in each other’s way. Made a few oopsies along the way, accidentally taking off a branch I didn’t mean to. Oh well, can’t be perfect, right?
Biggest lesson learned: those little sucker branches that shoot straight up from the main branches? Gotta get rid of those! They just steal energy from the fruiting branches. So, I went to town on those, snipping them off close to the branch.
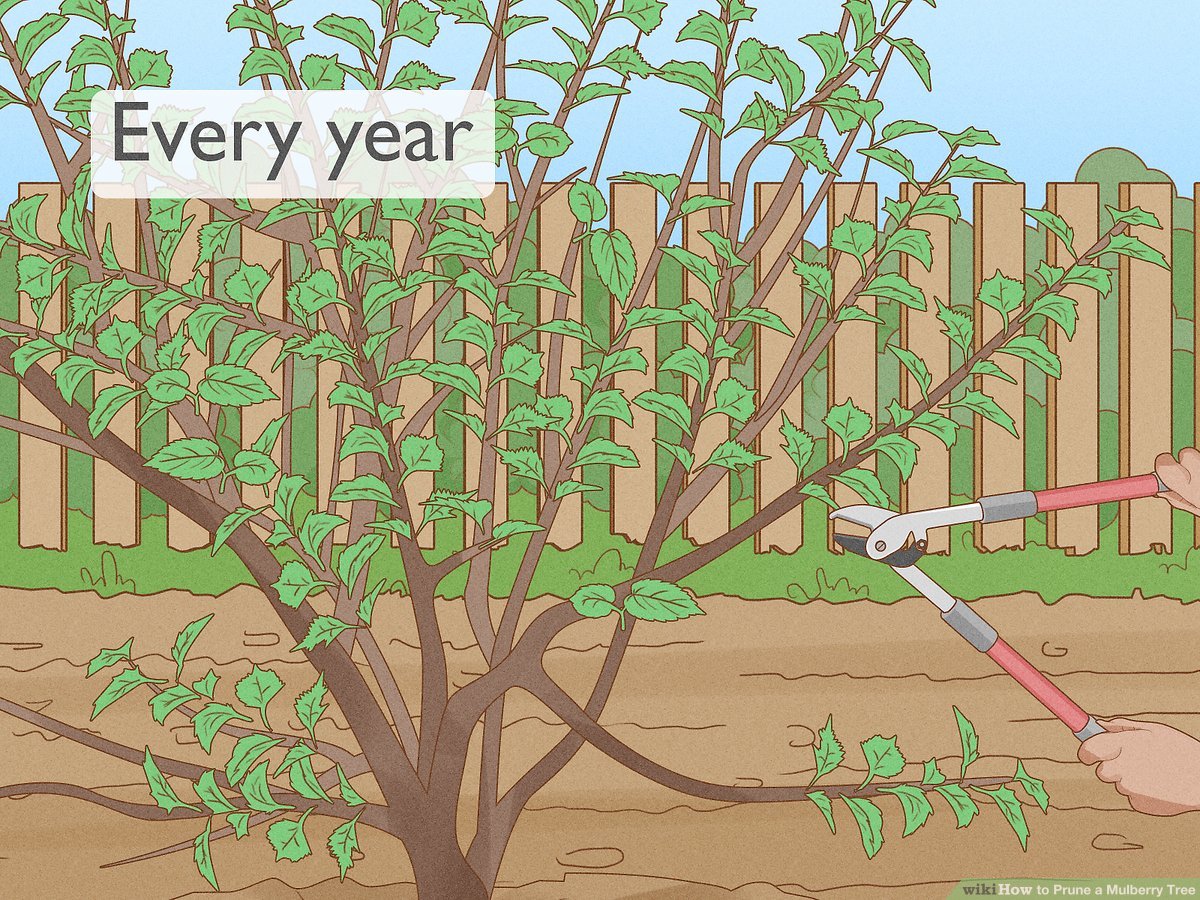
- First, I removed any dead, damaged, or diseased wood.
- Then, I thinned out the canopy to improve airflow and sunlight penetration.
- After that, I headed to shorten the remaining branches to encourage fruit production.
Things I wish I’d known beforehand:
Gloves are essential! My hands were all scratched up afterwards. And maybe a taller ladder would have been helpful – some of those higher branches were a pain to reach. Also, a sharper pair of loppers would have made things go a lot faster. My arms were aching by the end!
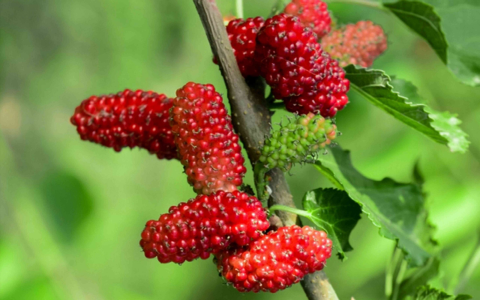
All in all, I think I did a decent job. The tree looks a lot neater now, and hopefully it’ll produce even more delicious mulberries next year. I also used wound sealer on larger cuts to protect the tree from pests and diseases.
Finally, I cleaned up all the branches and debris around the tree. It’s always good to leave the area neat and tidy. I’ll be sure to keep an eye on the tree over the next few months and make any adjustments as needed.
Anyway, that’s my mulberry tree pruning story. Hope it was somewhat helpful! Now, if you’ll excuse me, I’m gonna go soak my sore muscles!


