
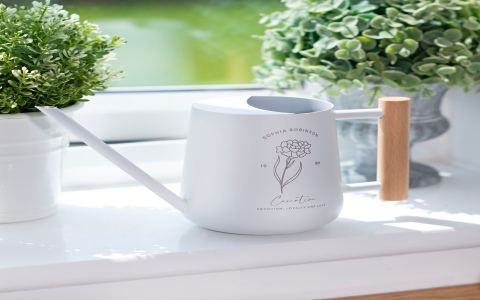
Okay, so, I’ve really gotten into gardening these days. It’s super chill and gets me outdoors, you know? But my gear was kinda boring, all standard stuff. I wanted to spice things up a bit, make it more “me”. I had this plain old watering can, nothing special, just your average, run-of-the-mill metal one. And I thought, “Hey, why not personalize this thing?”
So, I started brainstorming. What could I do to make it unique? I could paint it, sure, but that’s a bit much, and I’m not exactly an artist. Then it hit me – why not try monogramming it? Classy, simple, and adds that personal touch. And I thought it is a great gift for gardeners, too.
Finding the Right Tools
First things first, I needed to figure out how to actually monogram something. I’m no craftsman, so I hit up the internet, watched a few videos. Turns out, you need some specific tools for engraving metal. I didn’t have any of those, so I made a quick trip to the local hardware store. Picked up a basic engraving tool – nothing fancy, just a simple handheld one with a few different tips.
Practice Makes Perfect
Before I went all in on the watering can, I grabbed some scrap metal to practice on. I tried out different tips, different angles, and pressures. It’s trickier than it looks! My first few attempts were pretty rough, ngl. The lines were wobbly, the depth was inconsistent, it was a mess. But I kept at it. After a few hours, I started getting the hang of it. My lines were straighter, the engraving was cleaner, and I was feeling pretty good about my skills.
The Moment of Truth
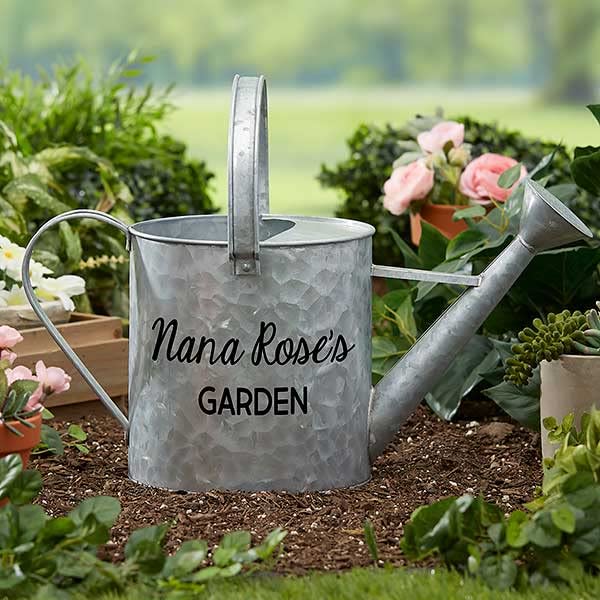
Alright, time for the real deal. I took a deep breath, grabbed my watering can, and started engraving. I decided to go with my initials, a simple “J.D.” on the side. I started with the “J”, carefully etching the curve, then the straight line. It was slow going, but I was determined to make it look good.
- First Initial: “J” – Started with the curve, then the straight line.
- Second Initial: “D” – Focused on getting the curves right, making it symmetrical.
- Period: Added a small dot after each letter for that classic monogram look.
Next up was the “D”, which was a bit trickier with its curves. I took my time, making sure the lines were smooth and even. Finally, I added a little dot after each letter, you know, for that classic monogram look. And there it was! My very own monogrammed watering can. It wasn’t perfect, a few minor imperfections here and there, but I was proud of it. It was unique, it was personal, and it was something I made myself.
Now, every time I water my plants, I have this little reminder of my DIY project. It’s not just a watering can anymore, it’s a piece of me. And honestly, it makes gardening even more enjoyable. So, if you’re looking for a way to add a personal touch to your gardening tools, or maybe even create a thoughtful gift for a fellow gardener, give monogramming a try! It’s a fun little project, and you end up with something truly special. Also, I want to give it to my friend as a birthday gift with a pair of gardening gloves and a ‘garden’ scent candle next month!


