
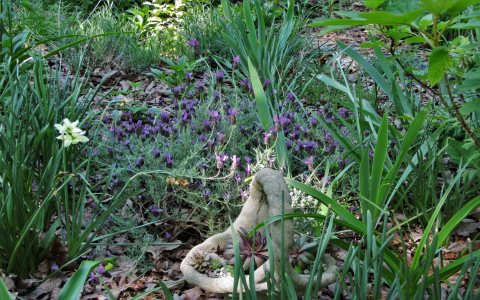
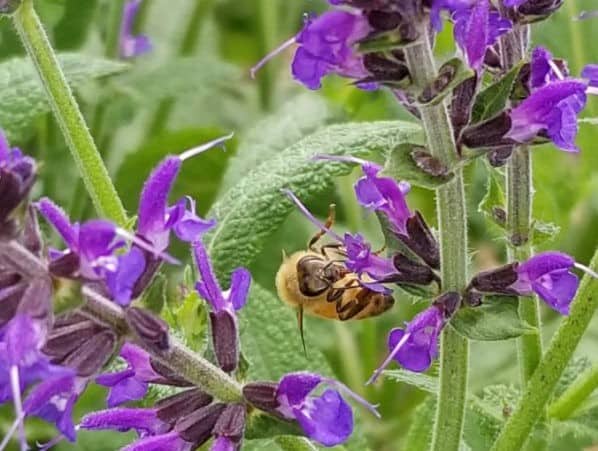
Yesterday, I decided to get my hands dirty and do some gardening. I’ve always wanted a splash of color in my little garden, and I thought, “Why not mint? It smells great, and some have purple flowers!” So, I went for it.
Getting Started
First, I gathered my supplies. I already had some basic gardening tools, like a trowel and gardening gloves, so I didn’t need much. I made a quick run to the local nursery and picked up a small mint plant – one with a few tiny purple buds already showing. The guy at the nursery told me that it’s important to find a variety which do have purple flower, because not all of them have.
The Planting Process
- I found a nice spot in my garden that gets a good amount of sun but also some shade in the afternoon. Mint isn’t too picky, but it does like things balanced.
- Then, I dug a hole. It didn’t have to be huge, just big enough for the mint’s roots to fit comfortably. The soil in my garden is okay, but I mixed in a bit of compost to give the mint a good start.
- Next, I carefully took the mint plant out of its container. I loosened the roots a bit – they were a little packed together.
- I gently placed the plant in the hole and filled it back up with the soil/compost mix. I made sure not to bury the plant too deep, just enough so the roots were covered.
- Finally, I watered the plant well. I didn’t soak it, just a nice, gentle watering to help it settle in.
Keeping an Eye on It
Now, it’s all about keeping an eye on it. I’ve been watering it every few days, especially since it’s been pretty sunny. I also checked for any bugs – I don’t want them munching on my new plant!
It’s only been a day, but I’m already seeing the tiny purple buds starting to open up a little more. Fingers crossed, in a few weeks, I’ll have a beautiful mint plant with a bunch of lovely purple flowers! I’m even thinking about adding a few more around the garden. I also have to remind my self that I will need to prune the mint plant regularly, cause I was told that it is easy to get out of control. Wish me luck!


