
Okay, so I’ve been wanting to get some of my plants off the ground, you know, give them a little more prominence and make watering easier. I saw these adjustable plant stands online and thought, “I can totally make that!” So, here’s how my little DIY project went down.
Figuring Out the Plan
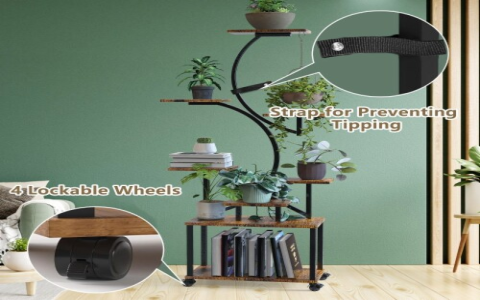
First, I needed a basic idea. I looked at a bunch of pictures of adjustable plant stands, just to get a feel for the different styles. Most of them seemed pretty simple – basically two pieces of wood that cross over each other, with some notches to adjust the width.
I decided I wanted something fairly simple, sturdy and easy to custom.
Gathering My Supplies
Next, I headed to the local hardware store. Here’s what I grabbed:
- Some wood! I used a 1×2 inch pine board, I think it was 8 feet long,cost me under 10 bucks.
- Wood stain. I want my stands into a dark walnut color.
- A ruler and * measuring and marking, I used a pencil and a ruler from home.
- A saw. I have a small handsaw, I used it to cut all.
- * and fine grit, to smooth everything out.
- Wood glue. Just in case I needed to reinforce anything.
- Screws and a screwdriver. To hold the pieces together.
Getting Down to Business
First I measured and cut the wood. I decided to make two stands, so I cut the wood into four equal pieces, each about 2 feet long. I measured twice and cut once.
Next, I figured out where the cross-pieces would go. I wanted the stands to be adjustable, so I decided to make notches instead of just screwing the pieces together permanently. I marked out the center of each piece, and then made marks for the notches. I think I made them about half an inch deep and an inch wide.
Then came the fun part – cutting the notches! I carefully used my handsaw to cut along the lines I’d marked. It took a little bit of time to make sure they were all * I sanded all the pieces, especially the edges and the notches, to make sure everything was smooth and there were no splinters.
Putting It All Together
Now it was time to assemble the stands. I fitted the two pieces of wood together at the notches, making sure they were nice and snug. I used some screws and make sure it’s all level and secure.I made sure it’s strong enough and wouldn’t fall.
I applied the wood stain, following the directions on the can. I did two coats to get a nice, rich color,I put the first coat and let it dry,then the second coat to make a deeper color.
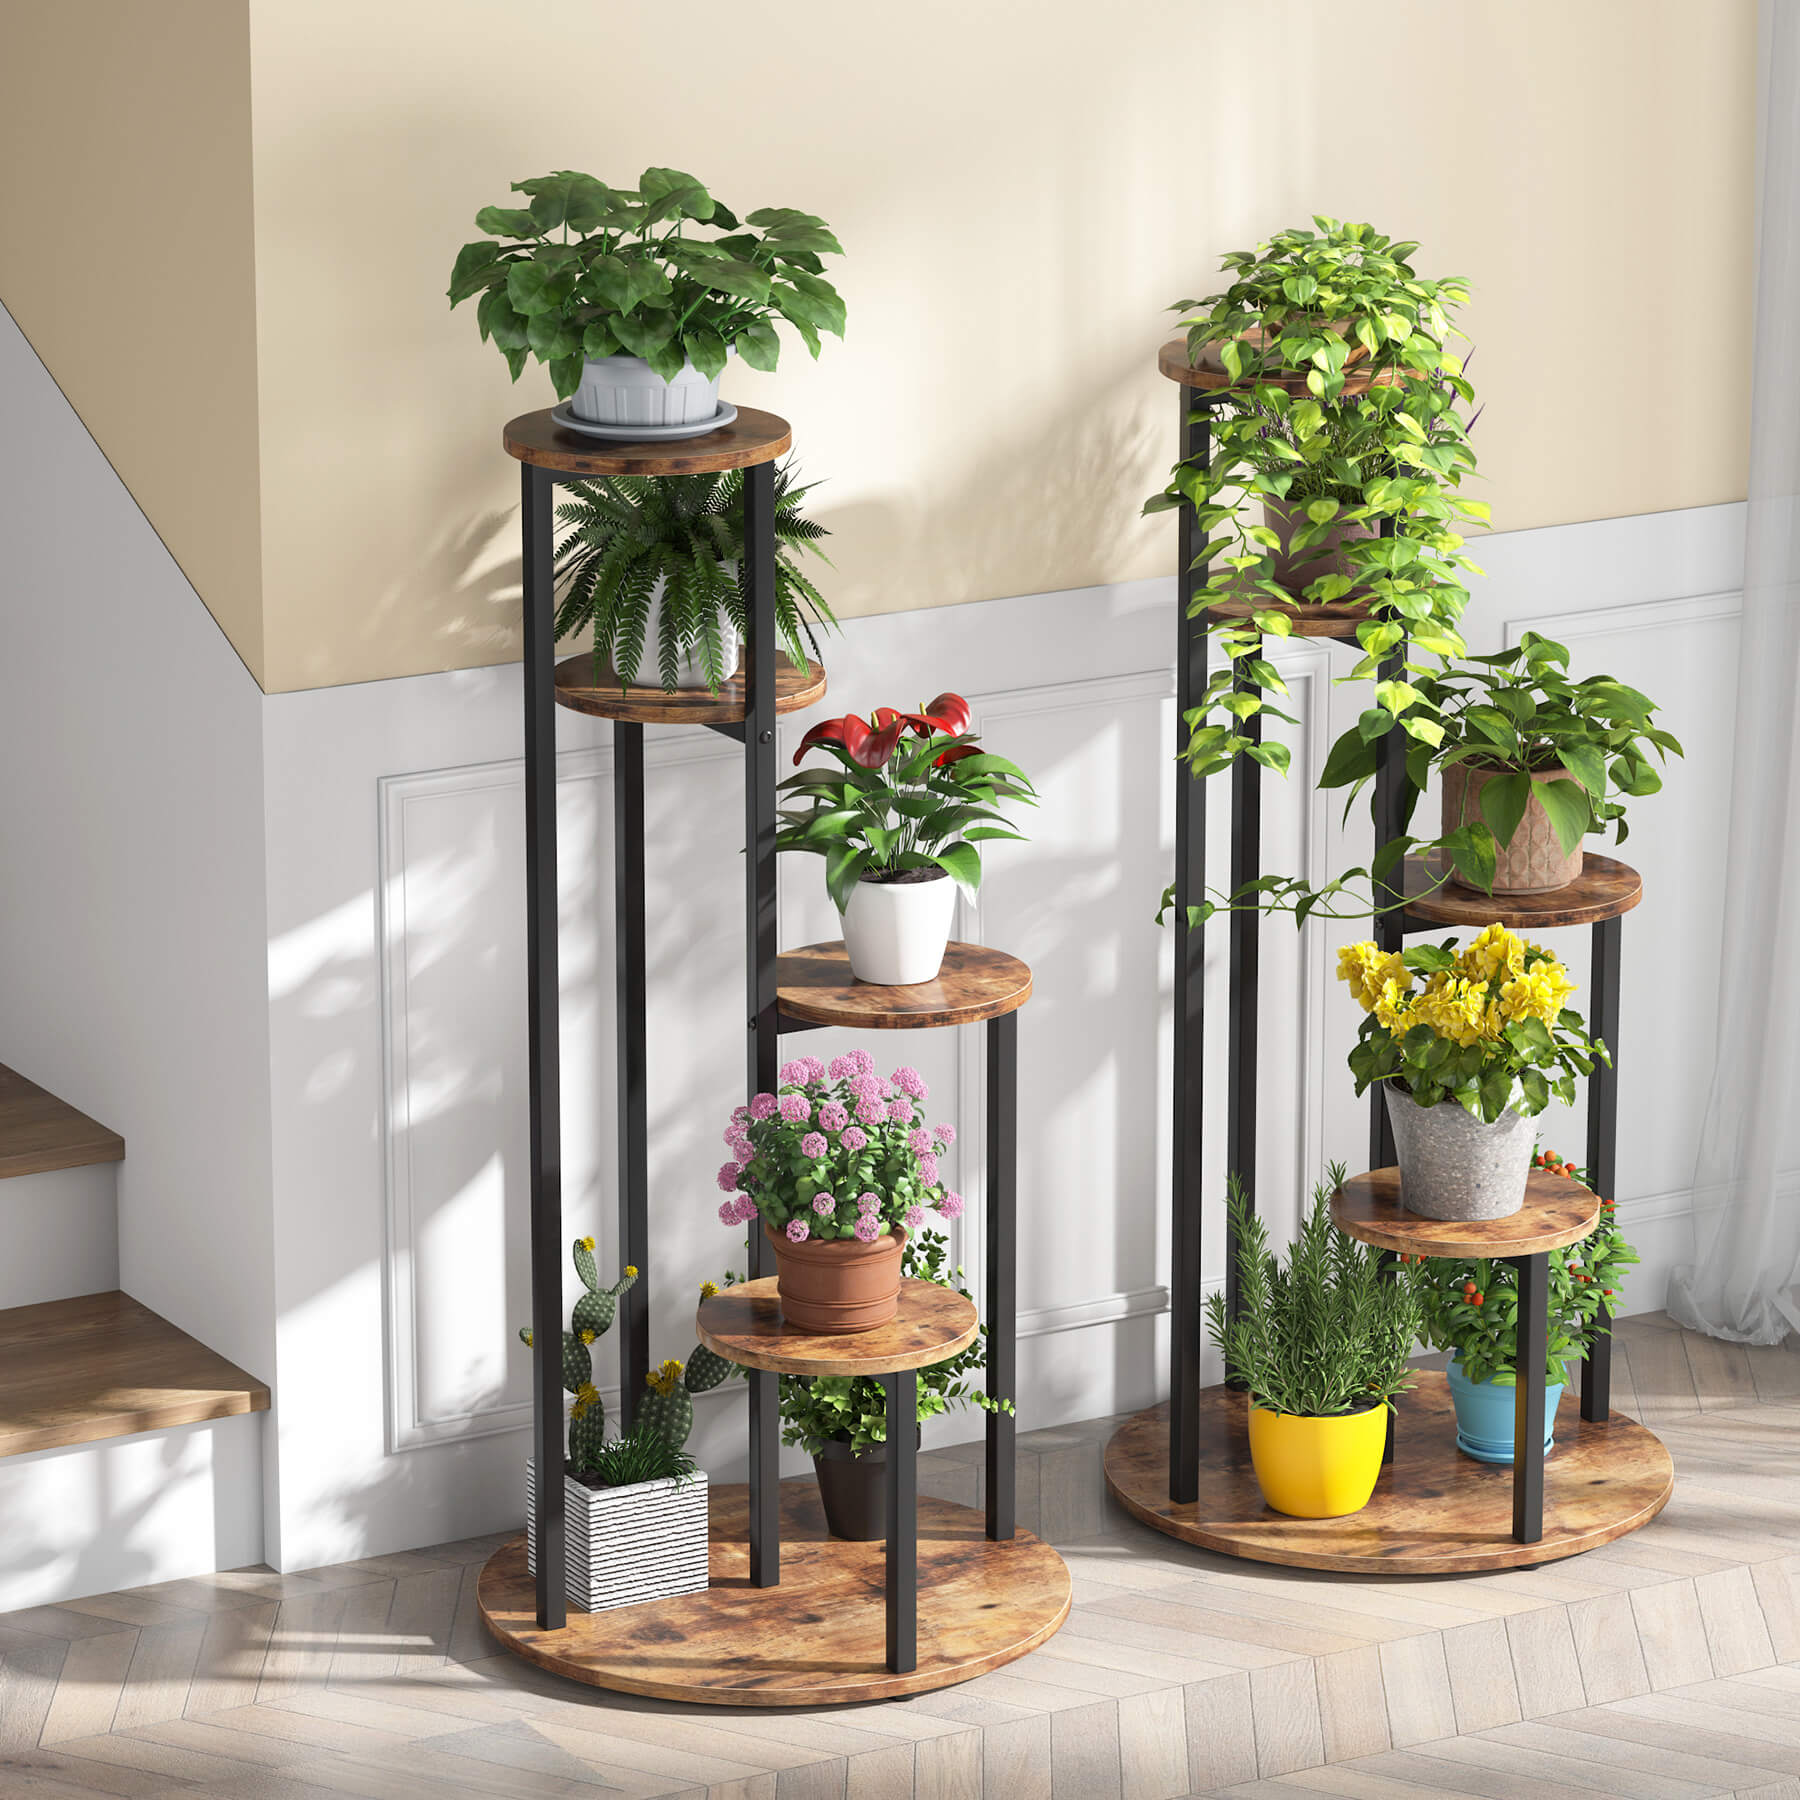
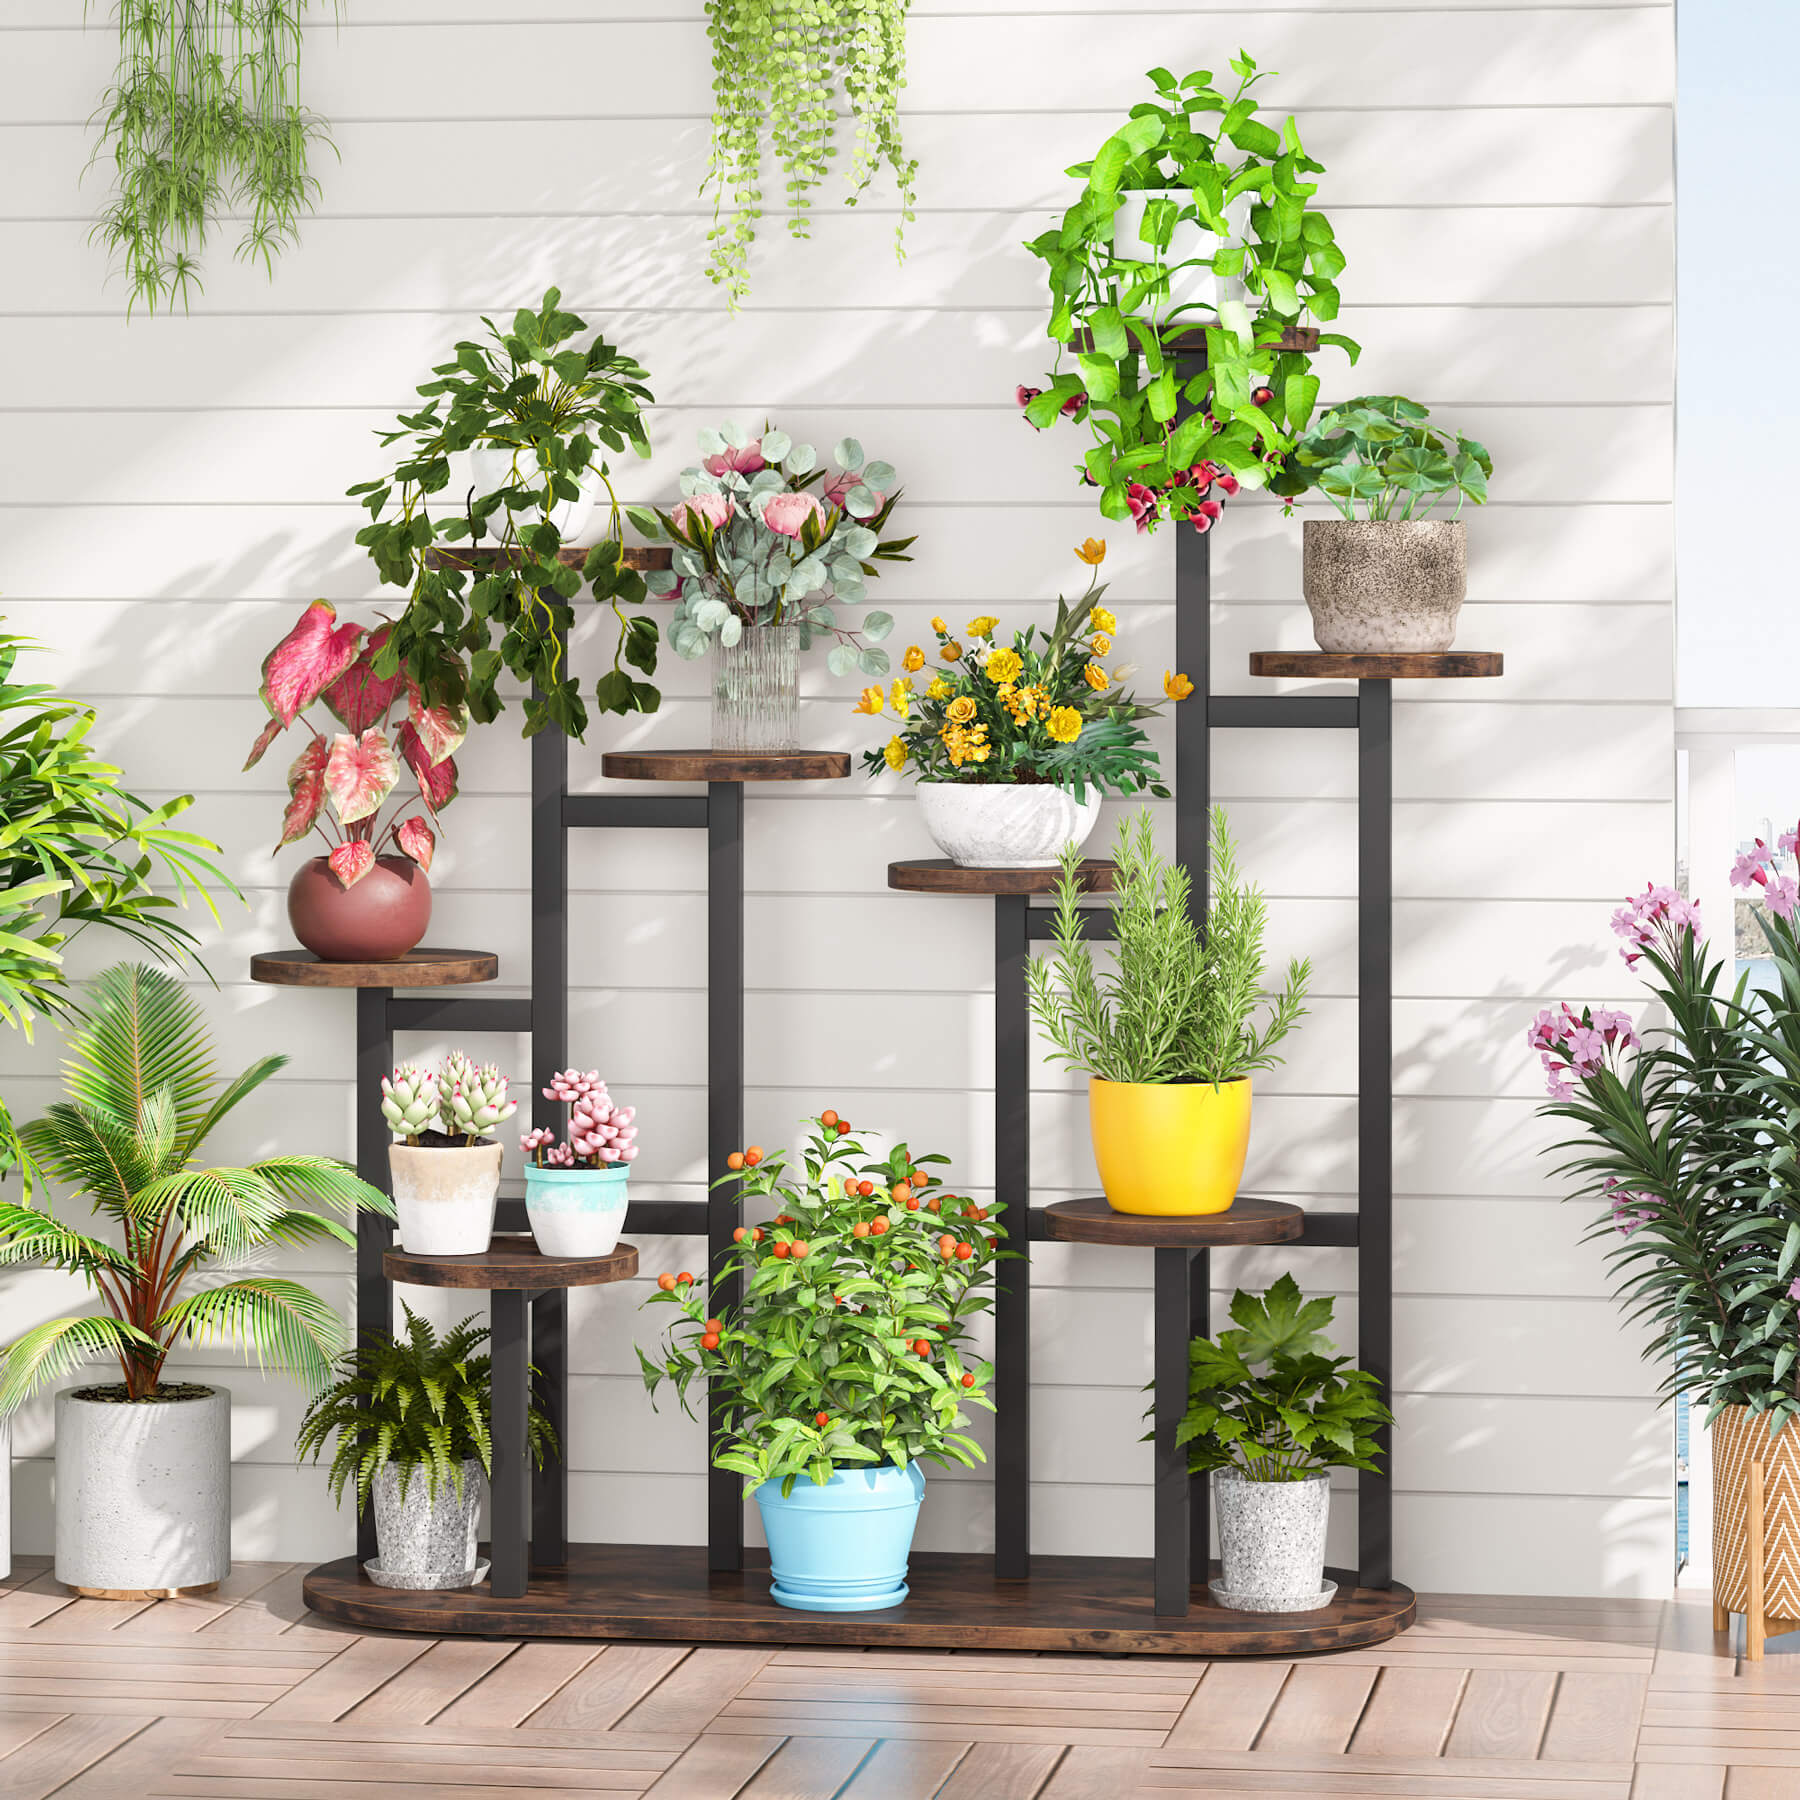
The Finished Product!
And there you have it! My very own adjustable plant stands. I put my plants on them, and they look great! The whole project took a few hours, and it was actually pretty fun. Plus, I saved a bunch of money by making them myself. If I can do it, you can too!


