

Okay, so I finally got around to building that scissor car lift I’ve been planning. It’s one of those things I’ve needed for ages, but kept putting off. You know, life gets in the way. But, with some free time on my hands, I decided it was now or never.
First things first, I gathered all my materials. This involved a trip to the hardware store, which, let’s be honest, is always a bit of an adventure. I made sure I had plenty of sturdy metal – didn’t want this thing collapsing on me! I opted for some heavy-duty steel beams and a bunch of bolts, nuts, and washers. And, of course, the hydraulic jack – that’s the heart of the whole operation.
The Build Begins
I started by laying out the base. This is the foundation, so it had to be rock solid. I cut the steel beams to size, which was a bit of a workout, even with my trusty angle grinder. Then, I bolted them together, making sure everything was square and level. It’s pretty satisfying seeing those first pieces come together.
Next up was constructing the scissor mechanism. This was the trickiest part, requiring a lot of precise measurements and careful welding. I’m no professional welder, but I’ve done enough to get by. It’s all about getting a good, strong connection. I spent a good chunk of time double-checking my welds, making sure there were no weak spots.
Once the scissor arms were assembled, I attached them to the base. This involved more bolting and a bit of finagling to get everything lined up perfectly. It’s like a giant, metal puzzle, and you have to make sure all the pieces fit just right.
- Base Construction: Cutting and bolting steel beams.
- Scissor Mechanism: Welding and precise measurements.
- Assembly: Attaching scissor arms to the base.
- Hydraulic Jack: Positioning and securing the jack.
Then came the fun part – installing the hydraulic jack. I carefully positioned it in the center of the scissor mechanism, making sure it was securely mounted. This is what’s going to provide the lifting power, so it had to be in the right spot and firmly attached.
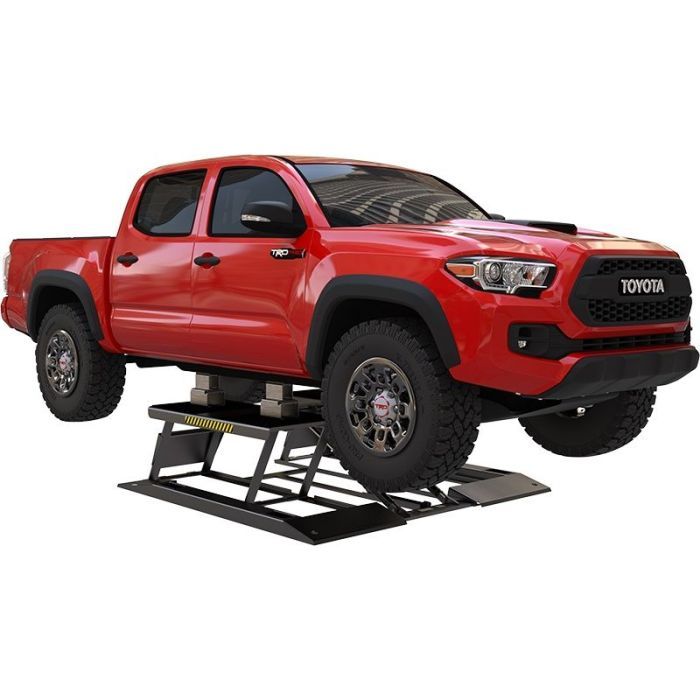
Finally, I added the platform on top. This is where the car will actually sit. I used some more of the steel beams, making sure it was wide enough and strong enough to support the weight. I even added some rubber padding to protect the car’s undercarriage.
After a final check of all the bolts and welds, it was time for the moment of truth – the first test lift! I slowly pumped the hydraulic jack, and the platform started to rise. It was a bit nerve-wracking, but it worked! The whole thing felt incredibly solid and stable. I raised and lowered it a few times, just to be sure, and it performed perfectly.
Honestly, building this scissor car lift was a real challenge, but it was totally worth it. Now I can easily work under my car, which is going to make maintenance so much easier. Plus, there’s something really satisfying about building something yourself, from scratch. It’s a good feeling.


