
Man, let me tell you about my plant stand saga. My place was starting to look like a jungle floor, plants everywhere, and I figured I needed to get them off the ground, make ’em look a bit more, you know, intentional.
The Hunt Begins (and kinda disappoints)
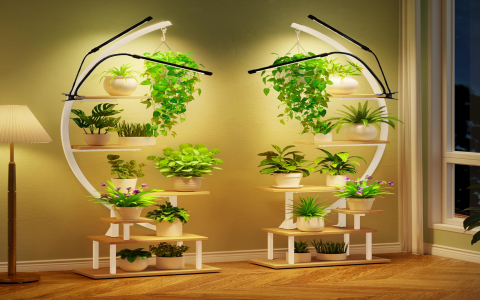
So, first thing, I hit up the usual stores. And wow, talk about options. You got your fancy metal ones, some that looked like they belonged in a museum, and then a ton of flimsy stuff that looked like it’d fall over if a cat sneezed nearby. And the prices! For a few bits of wood or metal? Crazy. I saw some rattan ones that were okay, kinda beachy, but not really my style. And concrete? Looked cool, but imagine lugging that around.
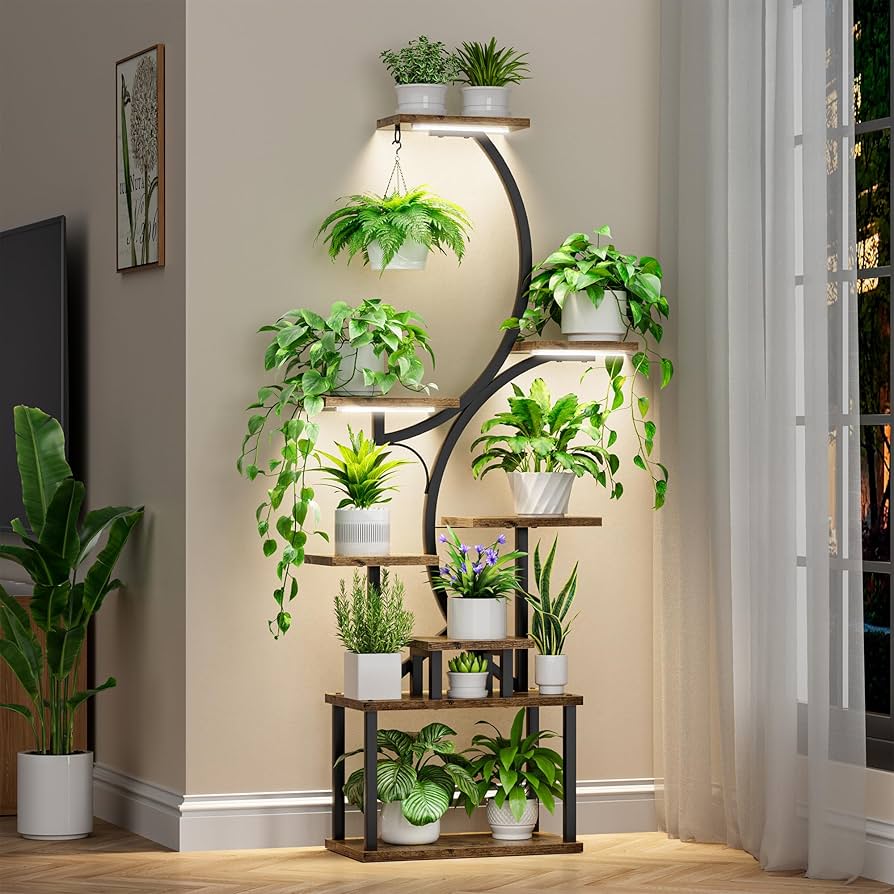
I even went down the rabbit hole online, looking at DIY ideas. People are creative, I’ll give ’em that. Saw folks repurposing old tires – no thanks, not for my living room. Someone used an old wooden ladder, which was neat, but way too rustic for what I wanted. Then there was this whole trend of wallpapering a plain stool. I mean, sure, it’s a plant stand, but that just felt like too much faff for something so simple. I just wanted something… contemporary. Clean lines, you know? Not shouting for attention, just doing its job and looking good doing it.
Figuring Out My Own Way
I was about ready to just leave my plants on stacked books, not gonna lie. But then I thought, how hard can it be? I’m pretty handy, or at least I like to think so. My main thing was, I wanted something that looked modern, but didn’t cost an arm and a leg. Wood seemed like the way to go. Versatile, not too expensive, and you can make it look pretty slick.
So, off to the hardware store I went. Wandered the aisles for a bit, trying to picture things. I grabbed some decent-looking pine boards – not too knotty. And some screws, obviously. I wasn’t about to get into complicated joinery. My plan was: keep it simple, stupid. I sketched out a couple of basic designs on a napkin. One was like a little bench, another was a taller, more slender thing with a cross base. Nothing groundbreaking, but functional.
Getting My Hands Dirty
Okay, so cutting the wood. Yeah, that was an adventure. My first few cuts were… let’s just say not perfectly straight. Good thing I bought a little extra wood. Sanding took forever, but it’s worth it, makes everything feel nicer. Then came assembly. I basically just screwed the pieces together. For the cross-base ones, I had to be a bit careful to get them even, otherwise the whole thing would wobble. Drilled some pilot holes, which helped stop the wood from splitting. Little tricks you pick up.
- Measured twice (mostly).
- Cut the pieces.
- Sanded everything smooth.
- Screwed ’em together.
I decided to leave some of them natural wood, just put a clear coat on. For a couple, I used some leftover black paint I had from another project. Gave them a real modern, kinda minimalist vibe. Took me a weekend, all in all. Bit of sweat, a few splinters, but hey.
The Payoff – Happy Plants, Happy Me
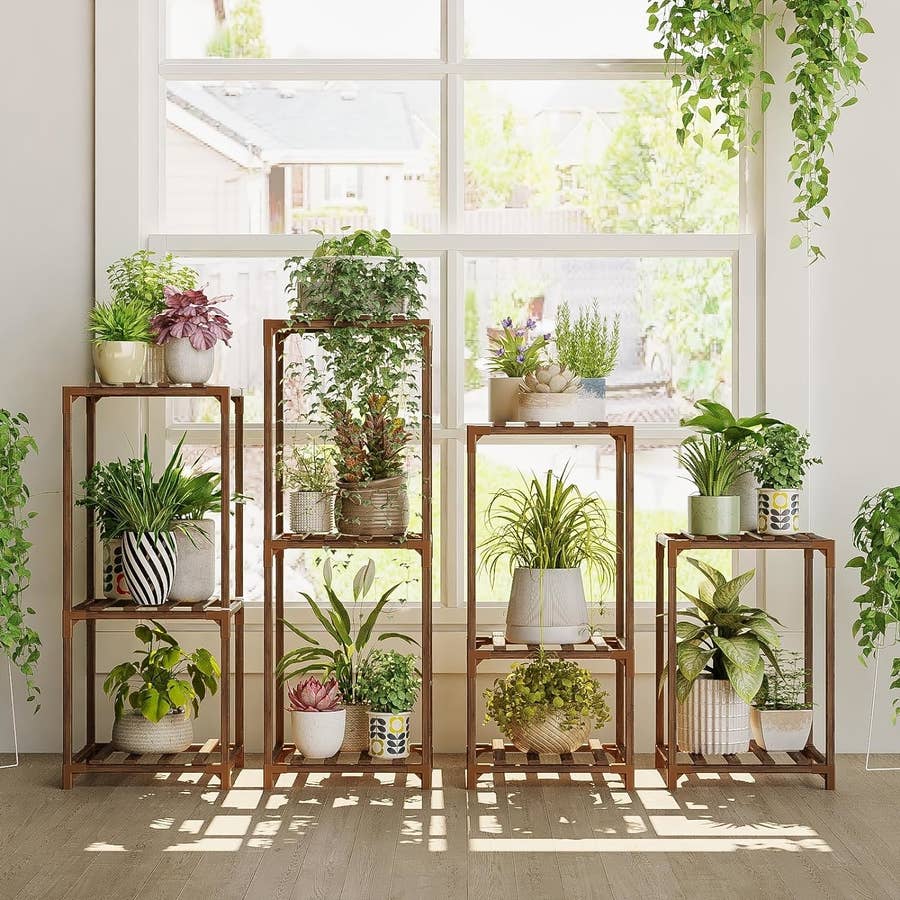
And you know what? They turned out pretty great! My plants are now nicely displayed, not just lurking in corners. They look way more put-together. And it’s satisfying, knowing I made them myself instead of just buying some mass-produced thing. Plus, I saved a bunch of money, which is always good.
It’s funny, I only got into plants in a big way last year. My apartment felt a bit sterile, you know? Like a hotel room. Someone told me plants would liven it up. They weren’t wrong. Started with one, then two, and before I knew it, I had a whole crew. And then came the “where do I put all these darn things?” problem. So, this whole plant stand project was born out of necessity, really. But I’m glad I did it. Makes the whole place feel more like home, and a bit more stylish, if I do say so myself.


