
Okay, here’s my take on sharing my scissor jack lift project, blog-style!
Scissor Jack Lift: My DIY Adventure
Alright folks, gather ’round! Today I’m gonna walk you through a little project I tackled recently: building a scissor jack lift. Now, I’m no pro mechanic, just a regular guy who likes to tinker in the garage. So, if I can do it, trust me, you probably can too!
It all started when I was trying to change the oil on my old beater truck. Wrestling with those ramps was a pain in the butt, and my floor jack? Well, let’s just say it’s seen better days. That’s when the idea hit me: a scissor jack lift! Something compact, easy to store, and that could give me some decent lift without breaking the bank.
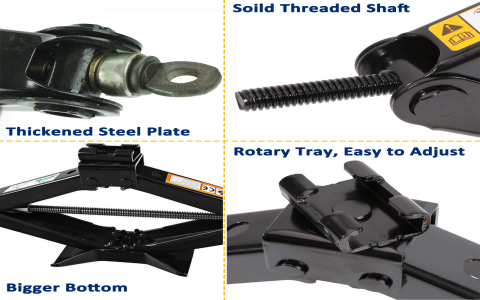
First things first: Scrounging for parts! I hit up the local junkyard and snagged a couple of scissor jacks from some wrecked cars. Cost me like 20 bucks for the pair, not bad! Then, I headed to the hardware store for some steel tubing, plate steel, and various nuts and bolts. Oh, and can’t forget the welding wire!
The build process:
- Chopped and shaped: I started by cutting the steel tubing to the desired length for the frame of the lift. Then, I used an angle grinder to smooth out the edges and get everything nice and square.
- Welding time: I’m no master welder, but I can lay down a decent bead. I welded the steel tubing together to form a rectangular frame. This was the base of the lift. I made sure to brace the corners for extra strength.
- Jack integration: This was the tricky part. I had to figure out how to mount the scissor jacks to the frame securely. I ended up welding some plate steel onto the frame, with holes drilled to match the mounting points on the jacks.
- Platform time: Next up, I needed a platform for the car to actually sit on. I cut another piece of plate steel and welded it on top of the scissor jacks. I added some rubber pads to the platform to prevent scratching the car’s frame.
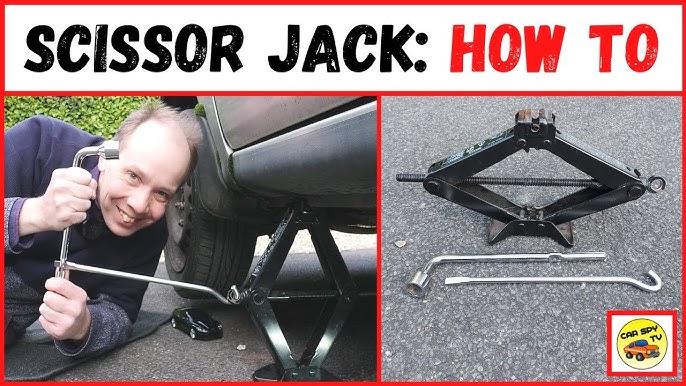
- Handle and cranking: I decided to use a long threaded rod and a socket to operate the jack. This gave me more leverage and made it easier to lift the car. I welded a nut onto the threaded rod and then attached a handle to the socket.
Testing and tweaking: Of course, no project is complete without some testing! I carefully placed my truck on the lift and started cranking. It worked! The lift raised the truck smoothly and steadily. I was so stoked!
Improvements: But, it wasn’t perfect. I noticed that the lift was a bit wobbly, so I added some extra bracing to the frame. I also realized that the rubber pads weren’t grippy enough, so I replaced them with some textured rubber mats.
The final product: After a few tweaks, my scissor jack lift was finally finished! It’s not the prettiest thing in the world, but it’s sturdy, reliable, and makes working on my truck so much easier. And best of all, I built it myself!
Lessons learned:
- Measure twice, cut once!
- Welding takes practice, so don’t be afraid to make mistakes.
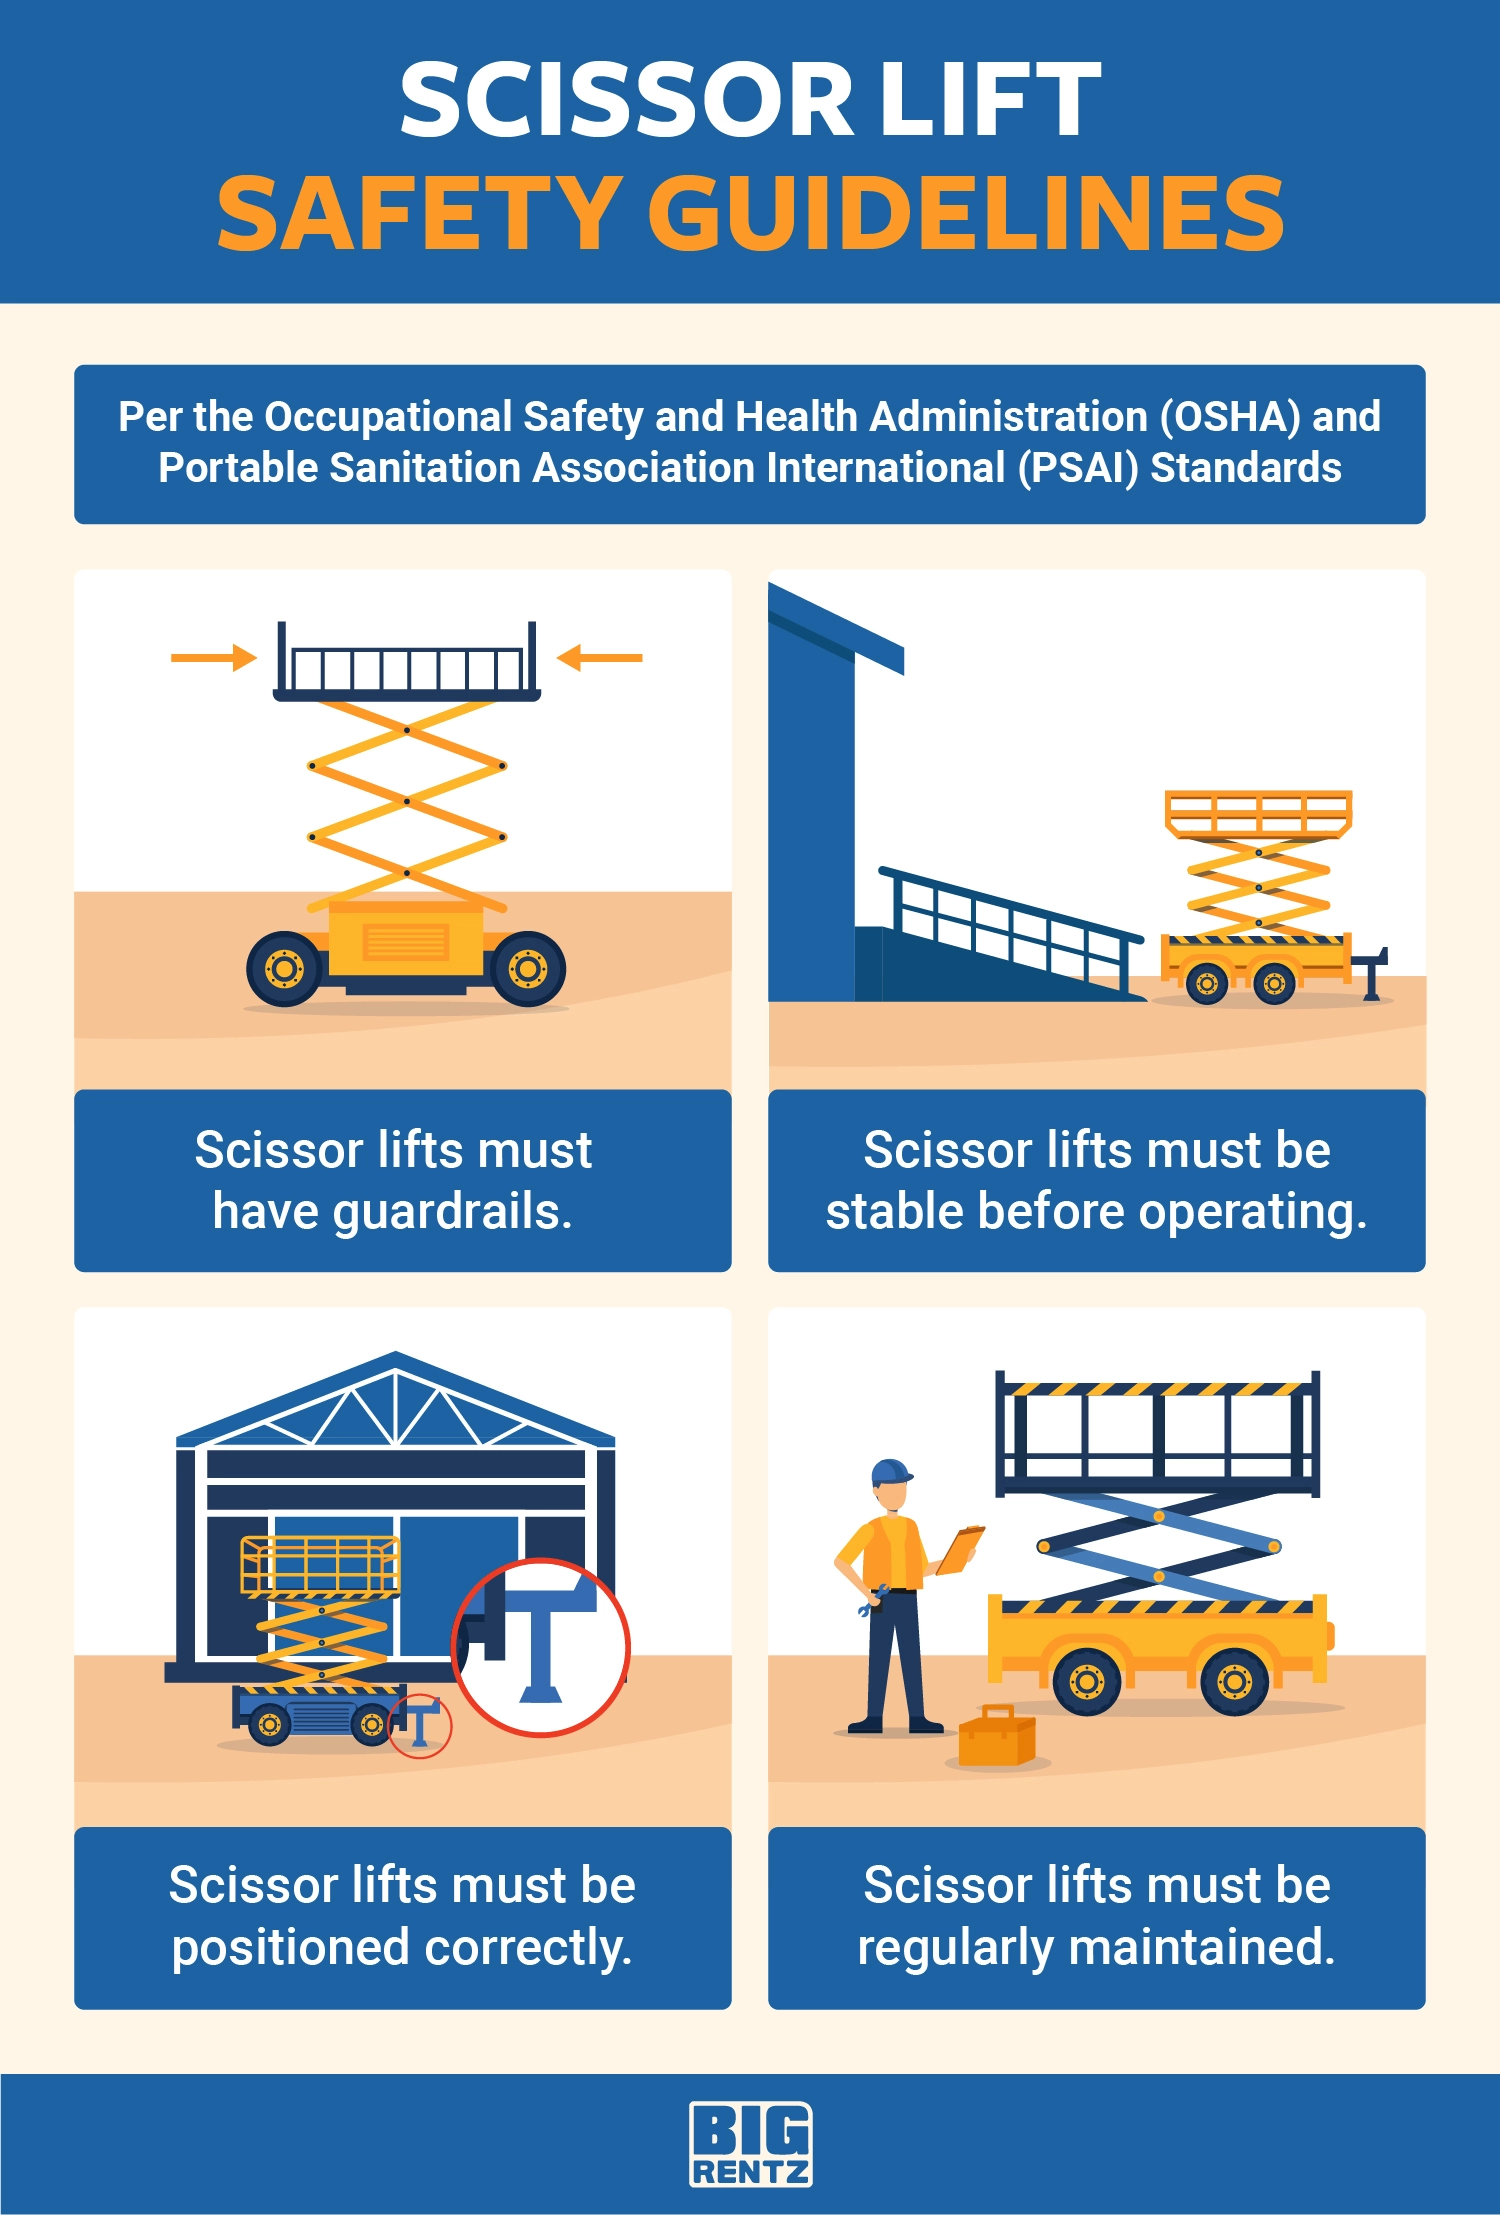
- Safety first! Always use jack stands when working under a vehicle.
So, there you have it! My scissor jack lift project in a nutshell. It was a fun and challenging project that taught me a lot about welding, fabrication, and problem-solving. If you’re looking for a DIY project to tackle, I highly recommend giving this one a try. Just be sure to do your research, take your time, and always prioritize safety. Happy building!


