

Getting Ready to Repot
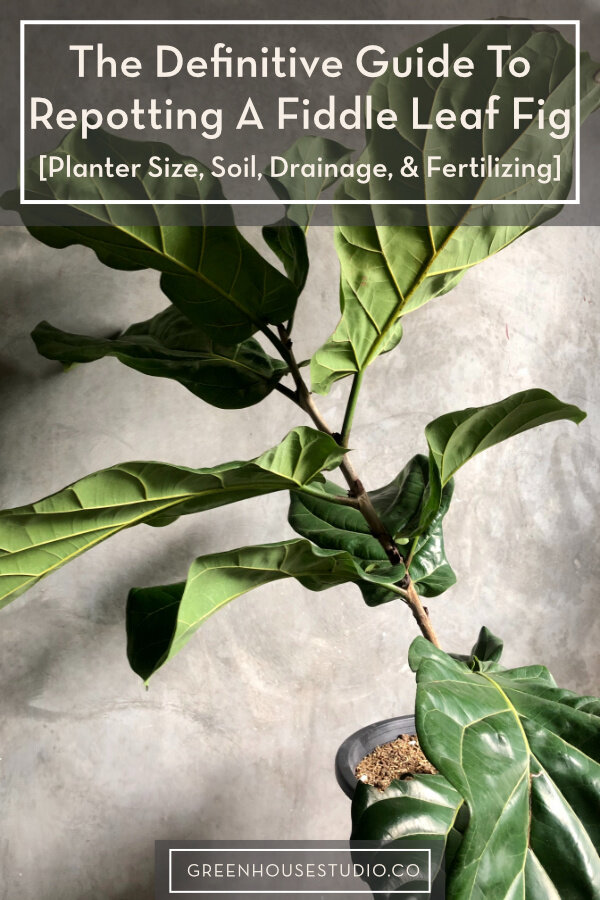
I saw my fig plant getting too big for its pot. The leaves looked kinda sad and roots were poking out the bottom like little escape artists. Time for a bigger home!
What I gathered:
- A new plastic pot (about 2 inches wider than the old one)
- Bag of regular potting soil from the garage
- Some broken pottery pieces for drainage
- My watering can
- Old newspapers to catch the mess
The Actual Repotting
First, I laid newspapers on my kitchen floor. Grabbed the fig plant firmly near its base and wiggled it out of the old pot. Took some shaking like trying to get ketchup out of a bottle!
Checked the roots – they were all tangled up in a tight ball. Gently loosened them with my fingers, like untangling Christmas lights. Didn’t go crazy, just teased apart the outer ones so they could spread out in the new place.
Placed those broken pottery pieces in the new pot’s bottom. Added fresh soil until it was about one-third full. Dropped the fig plant right in the center, making sure it sat at the same depth as before – no burying its neck!
Filled around the sides with more soil, pressing down lightly as I went. Gave it a good drink until water ran out the bottom. Saw air bubbles coming up – that’s normal, means the soil’s settling in.
Aftercare Tips
Put it back in its usual sunny spot but kept it out of direct sunlight for two days. Didn’t water again right away – stuck my finger in the soil first to check moisture. Only gave more when the top inch felt dry.
Noticed new growth after about three weeks! The leaves perked up like they’re happier in their roomier home. Super satisfying seeing that fresh green shoot pop up.
Biggest lessons:

- Don’t panic when roots look messy – just be gentle
- Bigger pot doesn’t mean GIANT pot – just a little upgrade
- Water thoroughly but then leave it alone for a while
Repotting’s way less scary than I thought. My fig’s living its best life now!


