
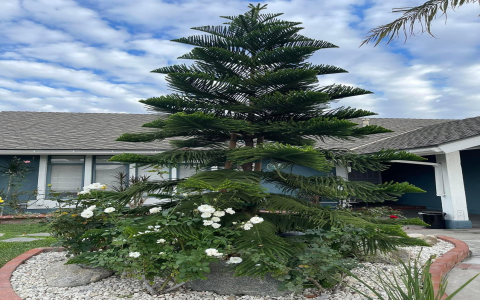
Alright, folks, let’s talk about repotting a Norfolk pine. Now, I’ve had this lovely little tree for a while, and it was starting to look a bit cramped in its original pot. Kinda like me after Thanksgiving dinner, you know? So, I figured it was time to give it a bit more room to stretch its roots.
Getting Started
First things first, I needed to gather my supplies. No way was I starting this without everything I needed within arm’s reach. Here’s what I rounded up:
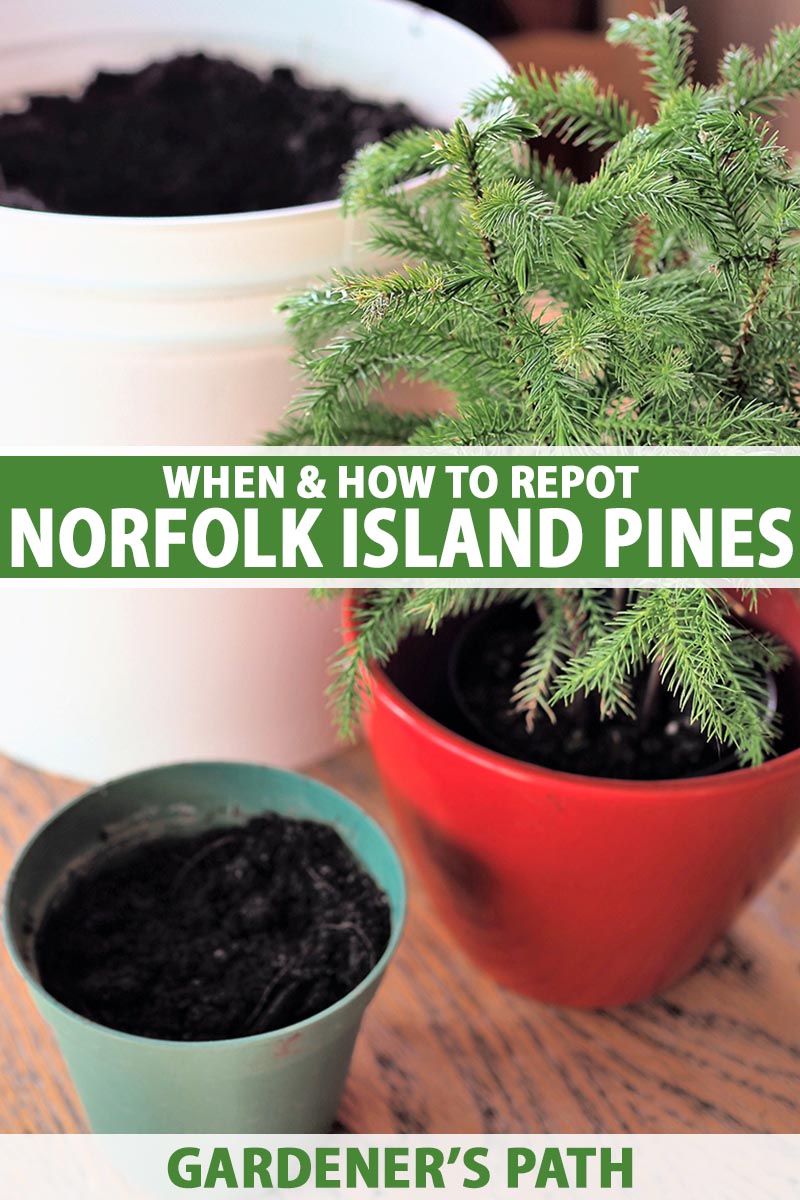
- A new pot: I didn’t need something huge, just a bit bigger than the old one. I went for a nice ceramic pot that’s a couple inches wider. I thought about using the old pot but I wanted a change.
- Potting mix: I picked up a bag of well-draining potting mix. These pines don’t like sitting in soggy soil.
- Gloves: Because I don’t like dirt under my fingernails.
- Water: Of course, gotta give the little guy a drink after the big move.
The Dirty Work
Now for the fun part – getting my hands dirty. I put on my gloves and gently removed the pine from its old pot. I had to give it a little tug, but it came out pretty easily. The roots were definitely a bit crowded in there. I took a moment to inspect the root. Everything looked good. No root rot, thankfully! Then I teased the roots apart a little bit, just to encourage them to spread out in their new home.
Next, I filled the new pot with a layer of potting mix, then placed the pine in the center. I made sure it was sitting at the same level as it was in the old pot – didn’t want to bury it too deep. After that, I filled in the rest of the pot with more potting mix, gently tapping it down to get rid of any air pockets.
Finishing Up
Once the pine was snugly in its new pot, I gave it a good watering. I made sure the water drained out the bottom, then placed it back in its usual spot by the window. And that’s it! My Norfolk pine is now happily settled in its new home. Hopefully, it’ll grow into a big, beautiful tree. I’ll be watching it closely the next few weeks. Fingers crossed!


