

Okay, here’s a blog post about making a flowerpot pendant lamp, written in a casual, conversational tone, just like a real person would share their DIY project experience.
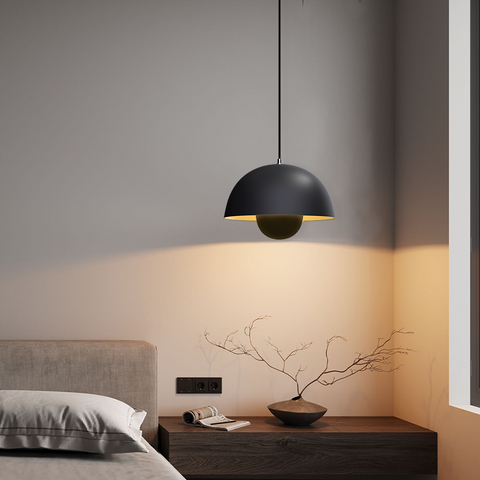
So, I got this wild idea the other day. I was looking at my boring old ceiling light and thinking, “Man, this needs a serious upgrade.” Then I saw this cute little flowerpot I had lying around, and a light bulb went off—literally! Why not combine the two? That’s how my flowerpot pendant lamp adventure began.

Gathering My Stuff
First things first, I needed to gather some supplies. Here’s what I rounded up:
- A flowerpot – Obviously, this is kinda important. I used a ceramic one, but I bet you could use metal or even a sturdy plastic one.
- A pendant light kit – You can grab these at most hardware stores. It’s basically the cord, socket, and all the bits to hang it up.
- A drill with a masonry bit – If you’re using a ceramic pot like I did, you’ll need this to make a hole in the bottom.
- Some spray paint – I wanted to jazz up my pot, but this is totally optional.
- A light bulb – Don’t forget this! I went with a nice, warm LED bulb.
Let’s Get to Work
Alright, with all my supplies in one place, it was time to get down to business. First, I took my flowerpot outside and gave it a good cleaning. Then, since I wanted a different color, I spray painted it. Let me tell you, spray painting is trickier than it looks. I ended up with a few drips, but hey, it adds character, right?
After the paint dried, the scary part came – drilling the hole. I was so nervous about cracking the pot, but I went slow and steady, and it worked out fine. Phew! The hole needs to be big enough for the light kit’s cord to fit through.
Putting It All Together
With the hole drilled, I threaded the light kit’s cord through it. Then, I followed the instructions on the kit to wire up the socket. This part was a little fiddly, but just take your time and double-check everything. Safety first, folks!
Once the wiring was done, I screwed in the light bulb and got ready to hang this bad boy up. I turned off the power to the old light fixture (super important!), removed it, and then attached the new flowerpot pendant using the hardware from the kit.
The Big Reveal
Finally, the moment of truth! I flipped the power back on, held my breath, and… it worked! My flowerpot pendant lamp was shining bright. I gotta say, it looked even cooler than I imagined. It’s amazing what you can do with a little creativity and some elbow grease.
So, there you have it. My flowerpot pendant lamp journey. It wasn’t too hard, and it was actually pretty fun. If you’re looking for a unique way to light up your space, give it a try! Just remember to be careful when drilling and wiring. And most importantly, have fun with it!


