
Okay, so, I’ve been messing around with this olive tree thing for a while now, and let me tell you, it’s been quite the ride. I always wanted to grow these beauties. You know the ones – they’ve got that chill Mediterranean vibe.
First thing I did was pick out my tree. I learned the hard way that not all olive trees are the same. You gotta consider your area’s weather and how much space you’ve got. I went for a variety that’s cool with my local climate. Trust me, this is one place where it pays not to be stubborn.
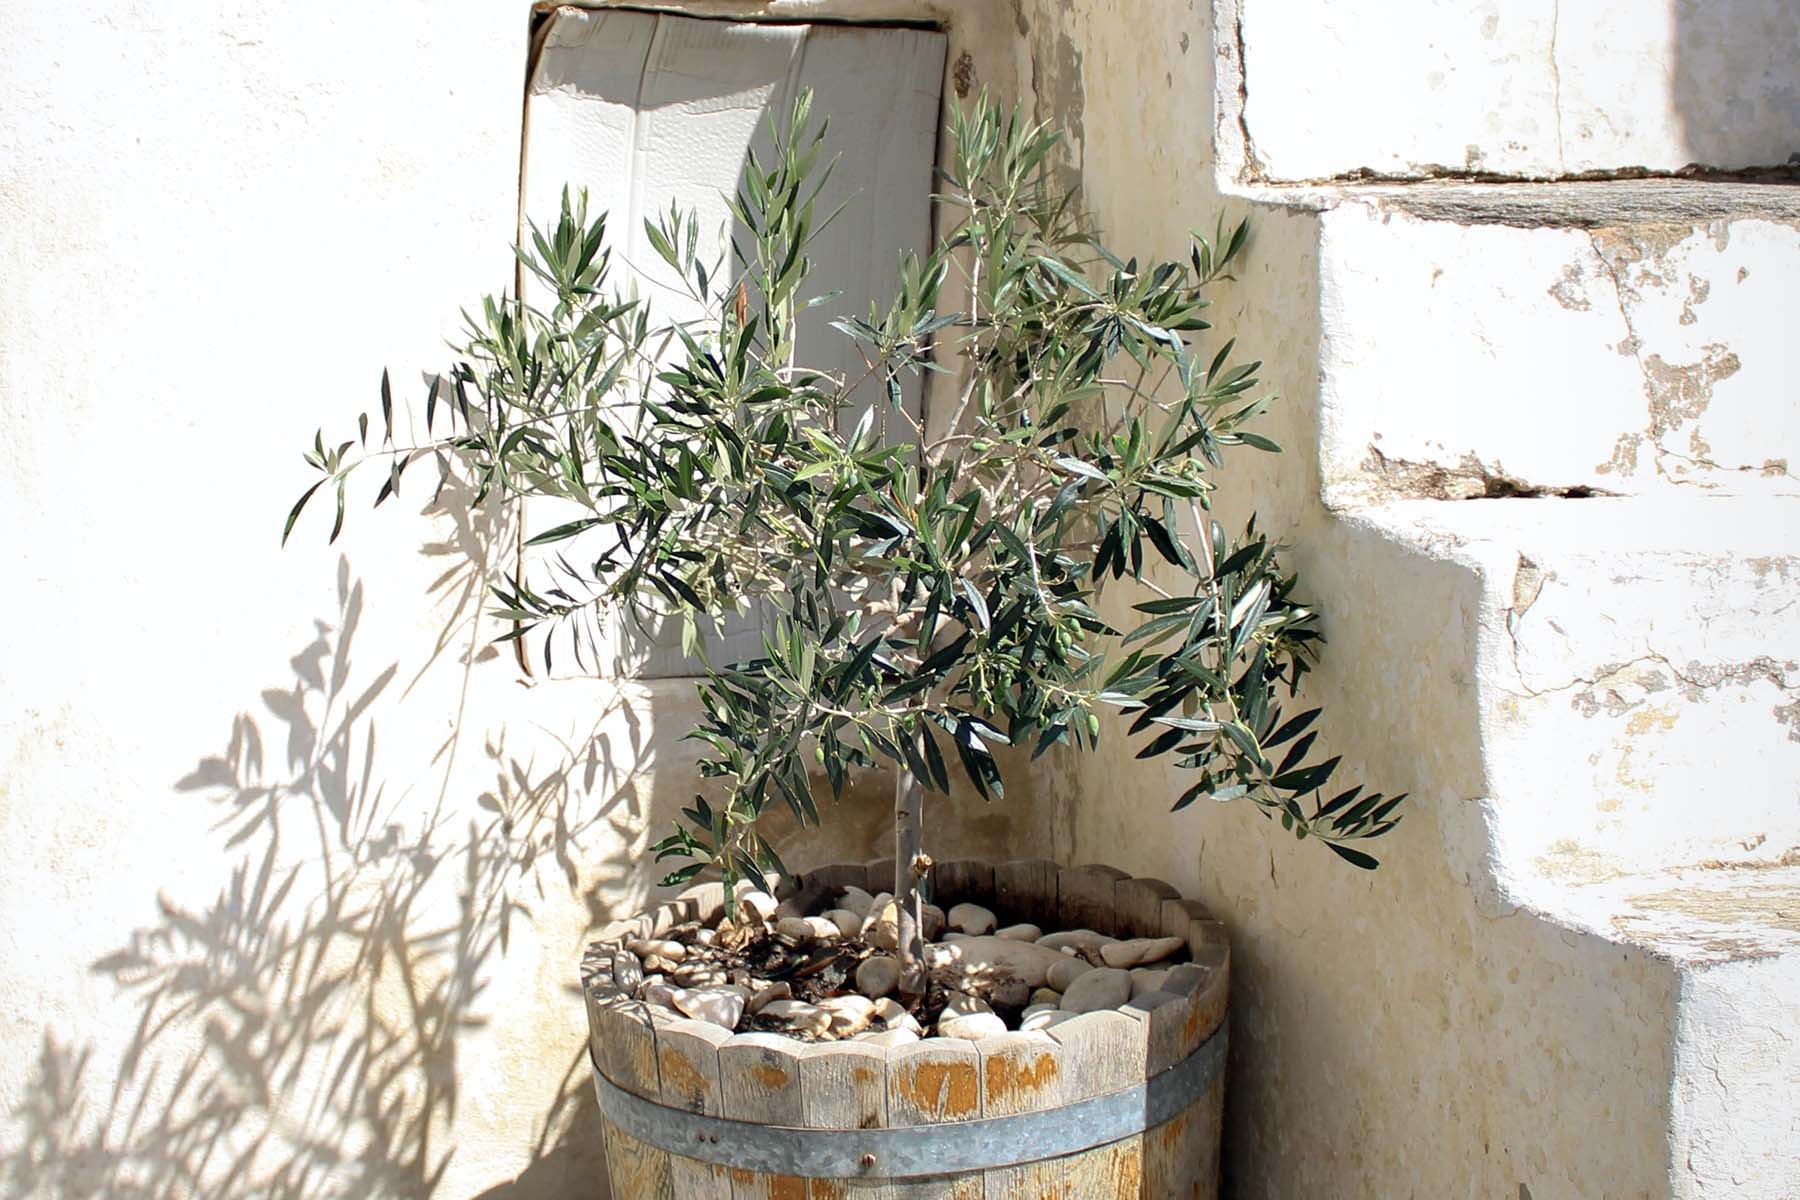
Next up, finding the right spot. This was a biggie. These trees are sun worshippers – they need at least 6 hours of direct sunlight every day. I scouted my yard, watched where the sun hit throughout the day, and finally found the perfect sunny location. It also had to be a place with good drainage ’cause olive trees hate having wet feet. I learned this one from a neighbor who accidentally drowned his tree. Not pretty.
Then there’s the whole planting process. It’s a big deal! It took me a couple of days just to get the spot ready. I dug a decent-sized hole and made sure the soil was just right – not too compact, not too loose. I even added some stuff to help with drainage ’cause, like I said, these trees are not fans of soggy soil.
Watering is something I’m still figuring out. It’s like, you don’t want to overdo it, but you can’t let them get too dry either. I started with watering it deeply once a week, but I had to adjust based on the weather. When it was super hot, I watered a bit more. When it rained, I took a break. It’s all about balance.
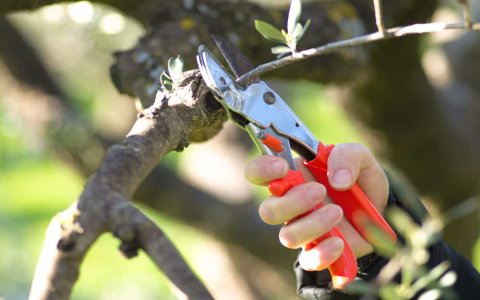
One other thing that keeps me busy is keeping an eye out for pests and diseases. I noticed some weird spots on the leaves once, and I freaked out. I took a bunch of photos and asked around on some forums, and it turns out it was just some minor fungal thing. I got some organic spray, and it cleared right up. I also try to keep the area around the tree clean to prevent any unwanted guests.
- Choosing my tree: This was step one. I learned that you gotta match the tree to your local weather and the space you have. I picked mine based on what grows well around here.
- Finding the perfect spot: Olive trees love the sun, so I spent a good chunk of time figuring out the sunniest spot in my yard. I also had to make sure the soil drains well, ’cause these trees don’t like sitting in water.
- Getting the soil ready: This took some work. I had to dig a good hole and make sure the soil was just right. I learned that you gotta add stuff to the soil to help with drainage.
- Watering: This is a balancing act. I had to figure out how much water was enough but not too much. It changes with the weather, too.
- Dealing with pests and diseases: This can be scary, but it’s part of the deal. I had a little freak-out moment with some leaf spots, but it turned out okay.
Honestly, taking care of an olive tree has been a real learning curve. It’s not just about watering it and hoping for the best. You’ve got to put in the time and effort. But seeing it grow and thrive, it’s totally worth it. And yeah, I’m still learning new things every day. I’ve realized that keeping an olive tree is more than just a hobby; it’s like a relationship – it needs love, attention, and a bit of hard work.


