
Alright, let’s talk about getting those kiwifruit vines trimmed up. It’s something I tackle every year, usually around late winter, just before things really start waking up. If you wait too long, they ‘bleed’ sap like crazy when you cut them, which isn’t ideal.
Getting Started – What I Look For
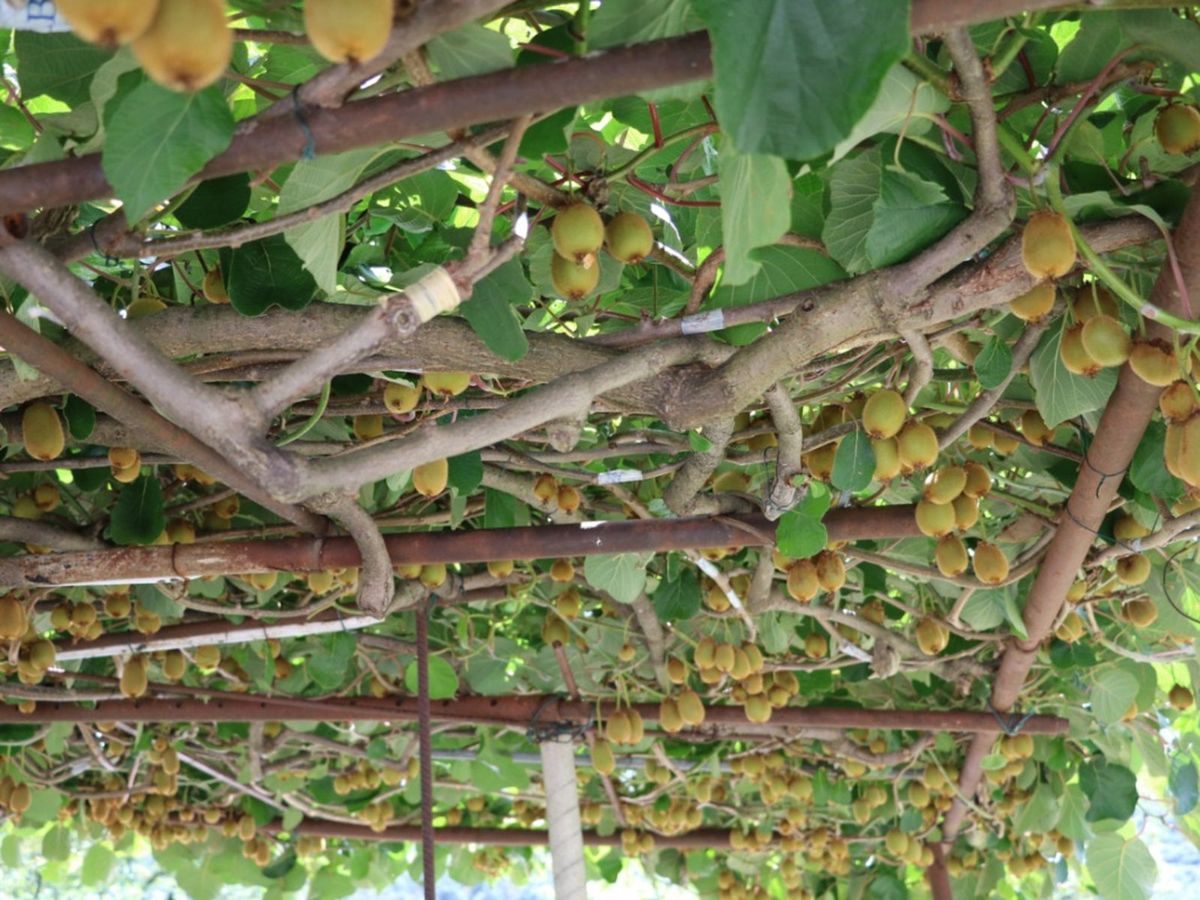
First thing I do is just stand back and take a good look at the whole vine. It helps to see the main structure, usually a main trunk and then some main ‘arms’ or cordons stretched out along wires or a pergola. You gotta figure out what grew last year, ’cause that’s where the fruit is going to pop out this coming season.
I always check for the three D’s first: dead, diseased, or damaged wood. That stuff gets cut out right away, no questions asked. Cleans things up and helps prevent problems spreading.
The Actual Cutting Part
Okay, so here’s my process:
- I grab my trusty secateurs – make sure they’re sharp and clean. Sometimes I need loppers for thicker, older wood.
- I look for the canes that grew last summer. These are usually lighter in color, smoother, and maybe about pencil-thick. These are the ones that will bear fruit.
- I select a bunch of these good-looking canes, aiming for spacing them out along the main arms, maybe every 8-12 inches or so. You don’t want them all bunched up.
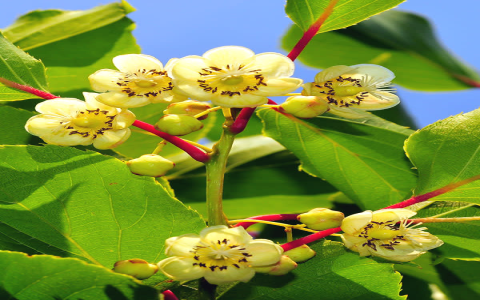
- Then, I shorten these selected fruiting canes. I usually count about 8 to 15 buds out from the main arm and make my cut just past a bud. This is where the flowers, and later the kiwis, will form.
- Now, what about the wood that fruited last year? It looks older, maybe a bit gnarly. Most of that gets cut out completely, right back to the main arm. This makes space for the new growth.
- Sometimes, if there isn’t a good new cane growing where I want one, I’ll cut an old cane back leaving just a short stub with one or two buds close to the main arm. This is called a ‘renewal spur’, and it encourages a new cane to grow from there for the next year’s fruiting wood. It’s thinking ahead!
- I also remove any suckers coming up from the base or low down on the main trunk. They just steal energy.
- Finally, I get rid of any tangled messes or weak-looking growth. Air circulation is important.
Tying Up and Finishing
Once all the cutting’s done, there’s usually a fair bit of wood on the ground to clear away. Then, I carefully tie the canes I’ve kept onto the support wires. I spread them out nicely, trying not to damage the buds. I use soft ties so they don’t cut into the vine as it grows.
Don’t be afraid to remove quite a bit! Kiwis are vigorous growers. The first few times I did it, I was probably too timid. Removing maybe 70% or even more of the growth from last year sounds like a lot, but it really focuses the vine’s energy into producing good fruit on the canes you’ve left, rather than just growing miles of leaves.
And that’s pretty much it. It takes a little while, especially if the vine’s gotten a bit wild, but it’s satisfying work. Now just gotta wait for spring and watch those buds swell. Always exciting to see the results come harvest time.


